Disassembly/Reassembly Procedures: Radio Reassembly 8-25
8.6.6 Reassemble the Shroud (47)
1. Slide the Shroud (47) into the Chassis’ frame until the latch clicks into place as shown in
Figure 8-35.
Figure 8-35. Assemble the Shroud
8.6.7 Reassemble the Main Subassemblies (A and B)
1. Complete the steps in Section 8.6.1. through Section 8.6.5.
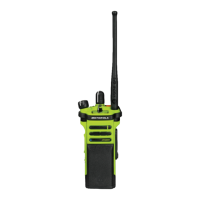
2. Slide the Chassis assembly into the Front Housing as shown in Figure 8-36.
Figure 8-36. Slide chassis assembly into Front Housing
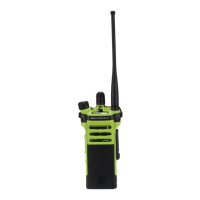
3. With the Chassis assembly fully slided in, press down the bottom part of the Chassis to lock
the two subassemblies (A and B) together as shown in Figure 8-37.
Figure 8-37. Assemble Back Kit and Front Kit together

 Loading...