9
English
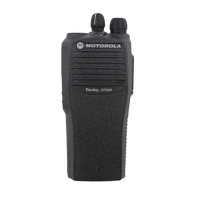
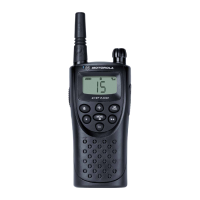
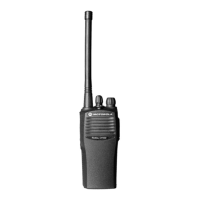
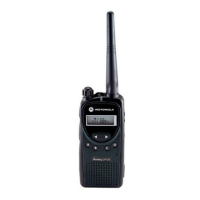
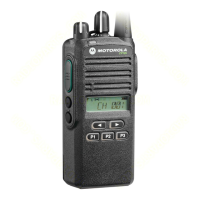
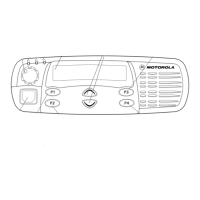
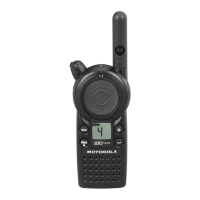
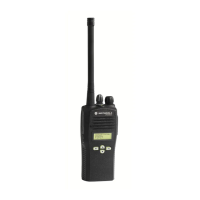
RADIO OVERVIEW
WALL CHARGER
Note: Do not use the wall charger if using lithium-
ion (Li-Ion) or nickel-metal hydride (NiMH)
batteries. The wall charger is for a nickel-
cadmium (NiCd) battery only.
To Charge the Battery:
DESKTOP CHARGERS
Rapid Charger
1 Turn the radio OFF.
2 Lift the dust cover to expose the audio
accessory connector.
3 Insert the charging adapter into the accessory
connector.
4 Plug the charging adapter into an electrical
outlet.
• The LED on the charging adapter lights
red while the charger is plugged into an
electrical outlet.
Note: Do not leave the charger connected to
the radio when it is not connected to
the electrical outlet.
5 Unplug the charger from the electrical outlet
and radio after 10 hours.
Note: After the initial charge of 14 to 16
hours, do not charge the battery more
than 10 hours.
1 Turn the radio OFF.
2 Place the battery, with or without the radio, in
the charger pocket.
• The charger LED indicates the charging
progress.
LED color Status
No LED Indication Battery inserted incorrectly
or battery not detected.
Single Green Blink Successful charger
power-up.
Blinking Red
a
Battery unchargeable or not
making proper contact.
Steady Red Battery is in Rapid charge
mode.
 Loading...