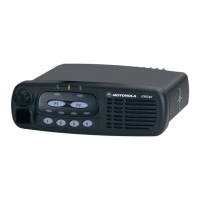
Dash Mounting 9
Figure 4 Dash Mount Installation with Data Adapter FLN2659 (for Data Applications)
Trunnion Installation
1. Using the trunnion bracket as a template, mark the positions of the holes on the
mounting surface (see Figure 6 or Figure 7). Use the innermost four holes for a
curved mounting surface such as the transmission hump, and use the four outmost
holes for a flat surface such as under the dash.
2. Centerpunch the spots you have marked and drill a 4 mm Ø hole at each.
3. Secure the trunnion mounting bracket with the four screws provided.
Radio Installation and Connections
1. Connect the accessory wires to the accessory plug as explained in the various
connection plans in this section.

 Loading...