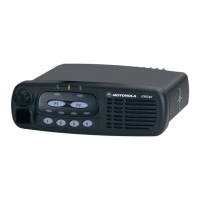
14 Dash Mounting
6. Insert the speaker into the trunnion bracket and tighten the two wing screws.
7. Open the accessory plug and follow the instructions on pages 14-18.
Figure 12 Mounting Speaker under Dashboard
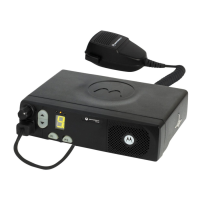
Installation Instructions for Accessory Plug
Introduction
To connect the various accessories to the MTM300, use thespeaker’s accessory plug. When
using the FLN2659 Data Adapter, do not use the speaker’s accessory plug (see Figure 4,
page 9). For speaker and other accessory connections with FLN2659, see Section 3.
Disassembling and Reassembling Accessory Plug
Numbers for pin locations in the pin housing of the accessory plug are visible only when
the pin housing is removed from the shell and its wings are fully open.
Disassembly
1. Squeeze tabs together (see Figure 13, A), and remove the cover from the accessory
plug (see Figure 13, B).
2. Using thumb pressure from the bottom of the shell, push the pin housing up and out
of the shell (see Figure 13, C).
3. Open out both wings of the pin housing (see Figure 13, D).
4. Remove the jumper wire from locations 4 and 9 in the accessory plug.
If installed, remove the jumper wire from locations 1 and 2.
Connect the jumper wire to locations 21 and 10. (If an external emergency switch is
installed, do not connect the jumper wire to locations 21 and 10—see page 17.)
5. Pass the pin ends of the wires for any additional accessories (e.g., an ignition sense
cable), which are to be connected to the radio, through the eye of the strain relief
clip.
6. To connect the accessory wires to the accessory plug, see the various connection
plansinthissection.
Note

 Loading...