Remote Mounting 23
Table 3 Mechanical Parts for Control Head Mounting Trunnion
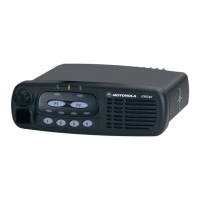
Control Head Installation
1. Install the bushings into the trunnion (see Figure 22).
2. Slide the control head into the mounting trunnion until it snaps into place.
3. Hand tighten the wing screws (over-tightening with a tool will cause damage to both
the control head and the trunnion). After a few turns, tilt the control head for an
optimum view of the display. Then complete tightening of the wing screws.
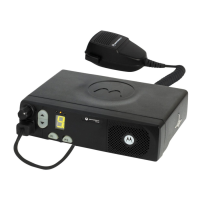
Control Head Connections
1. Connect the control head-to-junction box cable to the back of the control head.
2. Mount the microphone clip to a convenient spot near the control head.
3. Plug the microphone into the control head front panel.
4. Attach the S-hook and crimp (on the microphone cable) to the hole on the control
head trunnion.
Junction Box Installation and Connections
Installation
Secure the junction box by screwing the four supplied screws straight into the location.
Connections
1. Connect all accessories to the junction box terminal board (see Figure 19 and
page 29)
.
2. Connect the control head-to-junction box cable to the junction box.
3. Connect the transceiver-to-junction box cable to the junction box.
Callout No.
Motorola Catalogue
No.
Description
1 0305760W01 WingScrew(2)
2 4380128N01 Screw (4)
3 4380128N01 Bushing (2)
4 3205780W01 Trunnion
Not shown 0780127N02 Gasket
 Loading...