Application Deployment 7 - 15
12. Select the Image Files To Load.
13. In the Comm Port drop-down list, select USB: Symbol Device.
14. Click Download to begin the operation.
15. During download, the Downloading screen on wearable terminal displays the Device Status and a progress bar.
16. When complete, Device Status displays Result was: Success!, or in the case of an error, the cause of the error.
17. On completion, press ENTER to return to the IPL menu to select the next partition to download.
18. To exit IPL, select the System Reset item from the IPL menu (see Figure 7-9 on page 7-11).
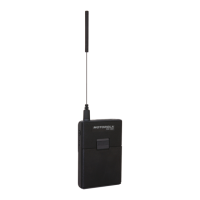
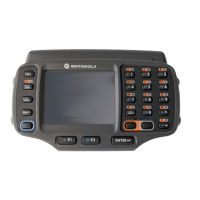
Voice Only WT4090
1. Press the P1 and P2 keys and Power button.
2. The Voice Only WT4090 performs a cold boot.
3. Press the P2 key. The three LEDs turn on indicating that the Voice Only WT4090 is in IPL mode.
4. On the development computer, click Load on the TCM toolbar. The Load Terminal window > Serial tab appears.
Figure 7-15
Load Terminal Window - Serial and Ethernet Tabs
5. Select the Image Files To Load.
6. In the Comm Port drop-down list, select USB: Symbol Device.
7. Click Download to begin the operation. As soon as the download starts, all three LEDs turn on and then the three LEDs
indicate the progress of the download. When 33% is completed the first LED turns on, followed by second LED when 66%
is completed and finally the third LED when 100% of the download. Depending on the size of each image the time taken to
indicate this progress may vary.
CAUTION To insure a successful download, do not remove power from the Voice Only WT4090 while in IPL mode.
NOTE The hex images must be downloaded in the following order:
1. Monitor (Voice Only WT4090 resets after downloading monitor)
2. Config Block
3. Partition Table and Power Micro
4. Platform, Splash Screen, Application and Windows CE.
If the platform or application partition sizes are changed, you must download a new partition table first.
 Loading...