d. Push the smaller end of the Tube Assembly over the Flow
Controller gas outlet and ensure tubing completely covers the
gas outlet.
e. When using Cal Kit 40, connect the other end of the tubing
over the SensorGard inlet.
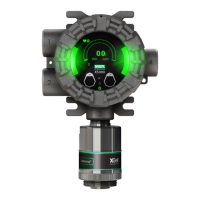
When using Cal Kit 41 (or Cal Kit 40 with the Ultima XIR),
locate the Cal Cap with a hole for tubing and push the tubing
through the hole in the bottom of the cap. Then, connect the
end of the tubing over the sensor inlet and push the calibration
cap over the entire sensor inlet (see FIGURE 2-8).
NOTE: The calibration cap (P/N 10041533) for the Ultima XIR is
shipped with the product and is not contained in the
calibration kit.
f. Turn ON the gas flow by turning the knob on the flow controller.
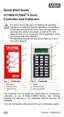
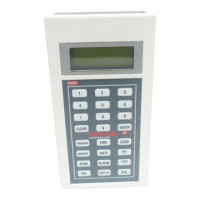
3. Point the Ultima Controller/Calibrator at the Ultima/Ultima X
Monitor display and press the Controller/Calibrator
CAL/CALIBRATE button.
The display shows:
• A countdown from 30 to 0 seconds
• APPLY ZERO GAS.
NOTE: The zero or calibration process can be aborted at any time
during the 30-second countdown interval; simply press the
ZERO, CAL or ADDRESS button on the
Controller/Calibrator while aiming it at the unit.
NOTE: The 30-second countdown interval is omitted for oxygen
units. It is electronically zeroed.
4. After the 30 second countdown:
• The display alternates between "CAL" and a value
(example: 0 PPM). This value is the actual reading of the gas
concentration the sensor is detecting. The engineering units
(PPM, %, or %LEL) are predetermined by the type of sensor
installed and are not changeable.
• Once the gas value is stable, the alternating display stops. If
the calibration is successful, the display will show END.
a. If using the zero cap, remove it.
b. If using a zero gas cylinder:
1) Turn OFF the gas flow by turning the flow controller knob.
2-12