7
Configuring the job computer
Entering the sprayer geometry
Entering the sprayer geometry
Sprayer geometry is a set of parameters that describe the dimensions of your implement.
Setting the sprayer geometry lets the software know exactly how long and how wide the sprayer is
and where the individual sections are located.
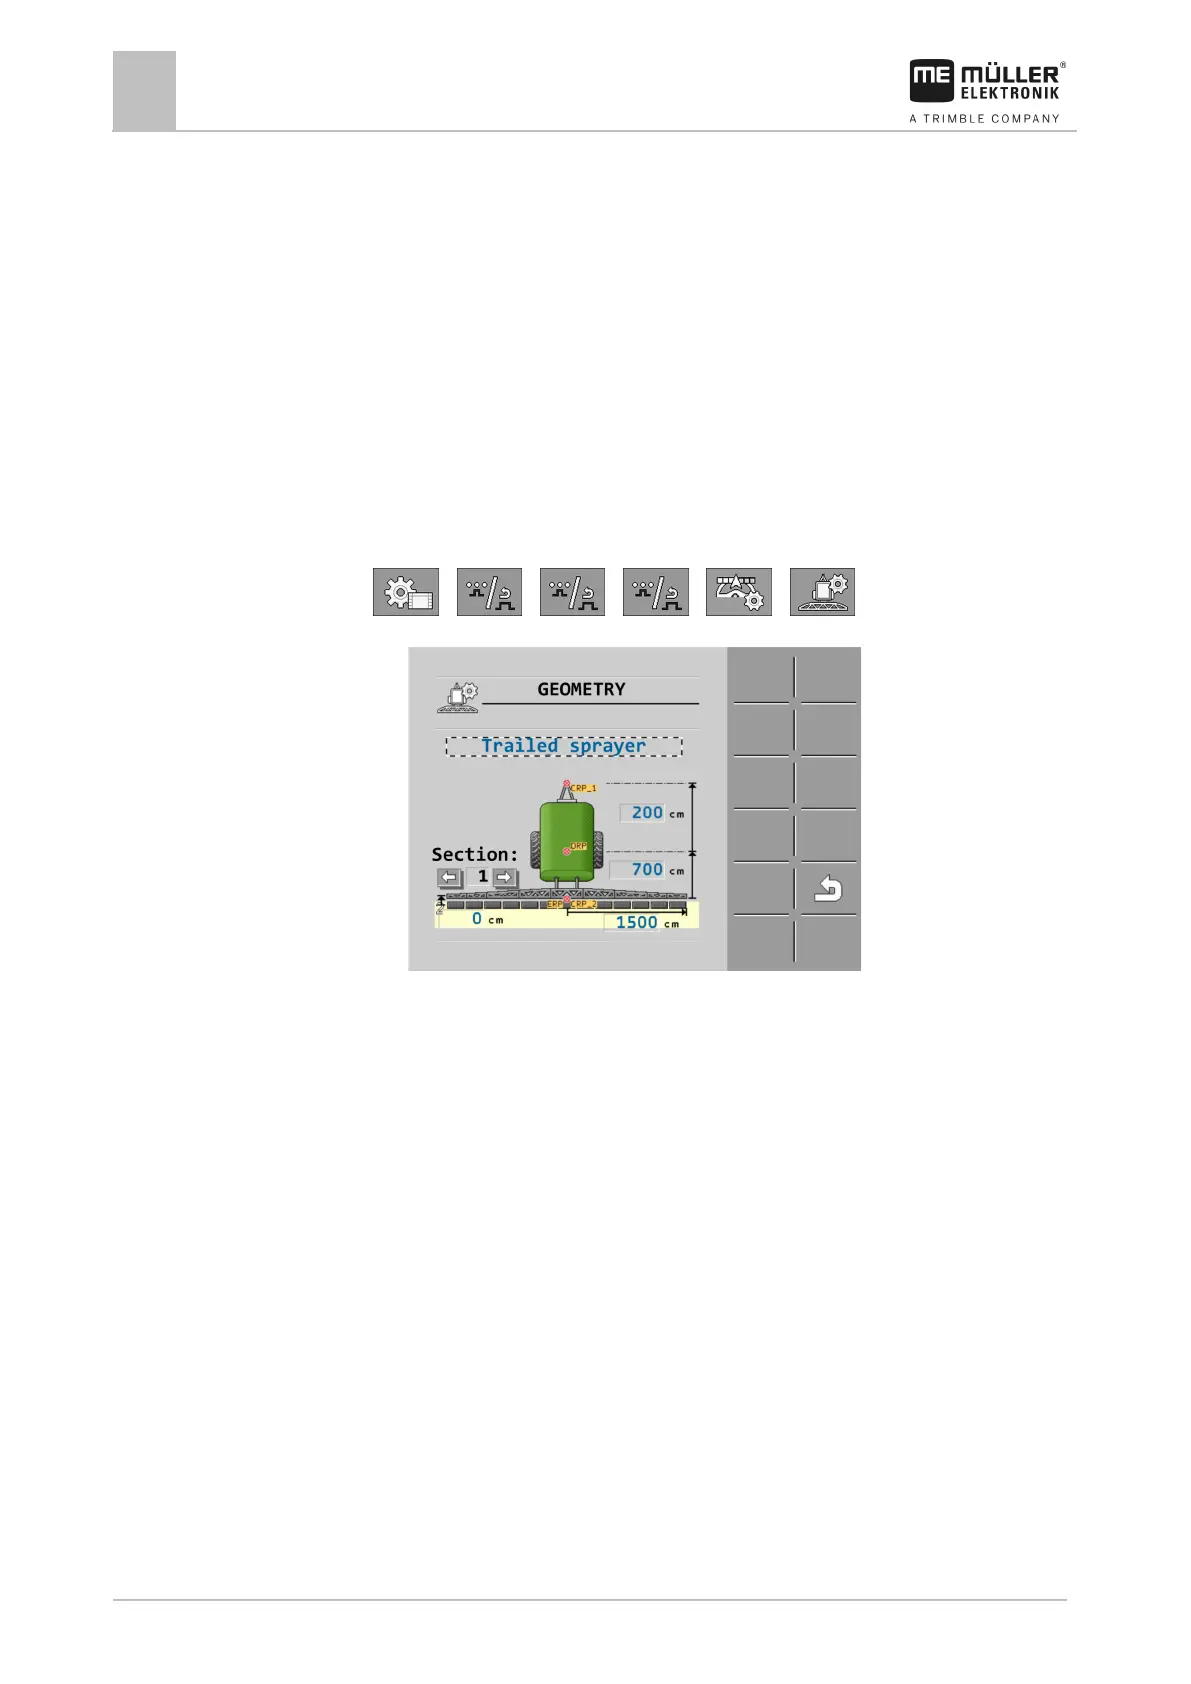
Sprayer geometry parameters
When setting the sprayer geometry, you must measure the following distances:
▪ CRP – Attachment point of the trailed sprayer.
▪ DRP – Pivot point of the sprayer, or point at which there is soil contact.
▪ ERP – Position of the nozzles.
1. Switch to the “Geometry” screen:
> > > > >
⇨ The following screen appears:
⇨ A diagram of the sprayer appears.
2. Measure the distances shown in the figure.
3. Enter the distances measured.
Assigning the joystick buttons
If you are using the AUX2 auxiliary protocol, you can assign the buttons on the joystick yourself.
The buttons on the joystick can be assigned in the „Service“ application of the terminal. You can read
how to do this in the operating instructions for the terminal.
The functions that can be assigned to the individual buttons can also be seen in the „Service“
application of the terminal. You can always recognise the respective function by the function icon.
The meaning of the respective function icons can be found in the different sections of these
instructions.
 Loading...