Moving to the EXP menu:
4 to MENU, r (SETUP appears),
3 to CONTRL, r (DR Q appears),
3 to EXP AI, r
The current setting flashes. Our example shows the
EXP setting for AI = ROLL. Use the 3-D digi-adjustor
to select the desired value within the range 0% to -
100% in 10% increments.
A brief press r on the 3-D digi-adjustor concludes the
process. The value is stored.
Note: observing the effect of EXP on the model
The centre point and end-points of the control surfaces
are not altered by EXP. If you wish to see the effect of
your settings on the model, you must hold the stick at
half-travel.
16.10. Activating flight phases
If you are setting up a new model helicopter, flight
phase 1 is always active by default; the other phases
(phase 2, 3 and auto-rotation) are blocked. This makes
the basic settings easier to carry out and understand.
16.10.1. What is possible with flight phases?
Flight phases 1, 2 and 3 (PH switch) are equal-value
phases. Auto-rotation (A-ROT switch) is a separate
flight phase, and always has top priority. You can freely
select which flight phase to use for hover, cruise or 3-D
flying.
When you set up a new model, flight phases 2, 3 and
auto-rotation are not activated. Only when you have
activated the flight phases (Î 16.10.2.) does the
screen display (Î 16.10.3.) which flight phase is se-
lected using the appropriate switches.
In all four flight phases you can set different values for
the following:
• Collective pitch curve
• Dual-Rate (D-R)
for ROLL (DR A), PITCH-AXIS (DR E) and YAW (DR
R)
With throttle there is a difference:
• Throttle curve only in flight phases 1, 2 and 3
(for auto-rotation TH AR Î 16.6.6.)
• Auto-rotation throttle (GAS AR) in the A-ROT phase,
fixed throttle value for auto-rotation practice
If you wish to work with switchable flight phases please
use this procedure:
• Activate flight phases Î 16.10.2.
• Copy flight phase 1 into phases
2 and 3 as a starting point Î 16.10.4.
• Prepare the flight phase A-ROT
• Set up flight phases 2 and 3
16.10.2. Activating flight phases
Menu: PHASES
Moving to the PHASEN menu:
4 to MENU, r (SETUP appears),
r (MODEL appears), r (MODE
appears),
3 to PHASEN, r
The current setting for PHASEN appears in the bottom
line:
0 = only flight phase 1 is activated
1 = all flight phases are activated
Select 0 or 1, then press the 3-D digi-adjustor again
briefly r. The flashing ceases; the selected setting is
now active, and stored.
16.10.3. On-screen display
of the active flight phase
The top section of the screen displays the flight phases
in the form of three figures.
When you are flying (INFO display visible) this applies:
A-ROT
switch
PH
switch
Display
1
1
Flight phase 1
2
2
Flight phase 2
OFF
forward
3
3
Flight phase 3
ON
back
any
no dis-
play
Auto-rotation
(phase 4)
Table 1: Flight phase indication in the INFO displays
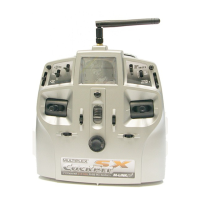
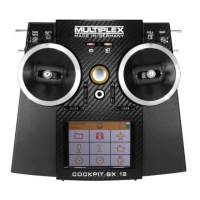
When you make changes in the menus of the COCKPIT
SX, the three figures indicate whether the selected
value is specific to one flight phase, and, if so, to which
flight phase the currently displayed value applies.
Flight phases in the menus
123
123
 Loading...


