© National Instruments | 2-7
PXIe-1095 User Manual
Connecting the Safety Ground
Caution The PXIe-1095 chassis are designed with a three-position IEC 60320 C14
inlet for the U.S. that connects the ground line to the chassis ground. For proper
grounding, a suitable cordset must be used to connect this inlet to an appropriate earth
safety ground.
If your power outlet does not have an appropriate ground connection, you must connect the
premise safety ground to the chassis grounding screw located on the rear panel. Refer to
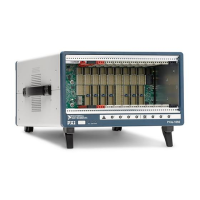
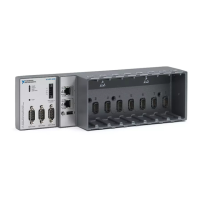
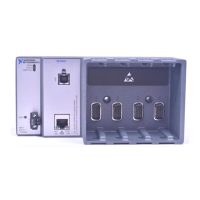
Figure 1-2, Rear View of the PXIe-1095 Chassis, to locate the chassis grounding screw.
To connect the safety ground, complete the following steps:
1. Connect a 14 AWG (2.1 mm
2
) wire to the chassis grounding screw (# 8-32 SEMS) using a
grounding lug. The wire must have green insulation with a yellow stripe or must be
noninsulated (bare).
2. Attach the opposite end of the wire to permanent earth ground using toothed washers or a
toothed lug.
Connecting to a Power Source
Cautions Do not install modules prior to performing the following power-on test.
To completely remove power, you must disconnect all power cords.
Attach input power through the rear AC inlet using the appropriate AC power cable supplied.
Refer to Figure 1-2, Rear View of the PXIe-1095 Chassis, to locate the AC inlet.
The Power Inhibit switch allows you to power on the chassis or place it in standby mode.
With an empty chassis in Default Mode, press down the Power Inhibit button and hold it down
for four seconds. Observe that all fans become operational and all three front panel LEDs are a
steady green. Pressing and holding the Power Inhibit button again for four seconds will return
the chassis to standby.

 Loading...