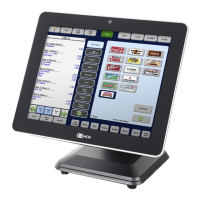
NCR P1235 e*SmartClock Installation Guide, Ver. 1.1
US-IT Restaurant Architecture Team
Page 16 of 37 12/6/16
Step Step Description Pictures
Network cable (top ceiling and route
around the back and up into the Biscuit
Box)
• Printer (if installed)
• Electrical Plug
• Panduit raceway
• Power Cable
Note: Zip ties/Velcro may be used to secure
cables
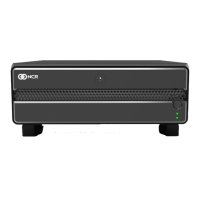
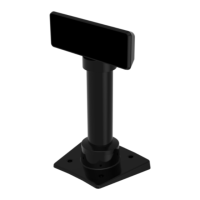
NCR P1235 cable cover need to be placed
back on e*SmartClock to hide cables and
secure ports on device
• Attach LAN and power cables
• Lock the cable cover by pushing up
NCR P1235 Panel Cover
Close cable cover by pushing up
• Cut raceway to length.
• Adhere to the wall ensuring minimal
exposed cable at the ceiling. There must
be a loose bend near the ceiling.
• Using drill and proper screws, secure
raceway to wall using screws every 12-
18 inches apart.
• Run network cable down length of
raceway.
• If applicable, run the printer power cord
in the raceway.
• Attach the raceway cover.
management to tie up any loose cables
• Attach the Velcro 7/8” square to the
retractable badge reel.
• Attach the badge reel to the center of
the power brick bracket; if necessary,
consult the Store Manager for
alternative placement location.
• Attach the laminated e*SmartClock
Quick Guide to the badge reel.
 Loading...