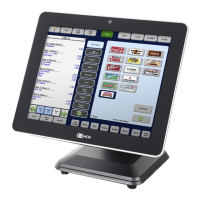
NCR P1235 e*SmartClock Installation Guide, Ver. 1.1
US-IT Restaurant Architecture Team
Page 9 of 37 12/6/16
7.2 Installation of e*SmartClock Bracket
Step Step Description Pictures
Installation is a Flat mount on the wall.
• Wall Mount with Bracket dimensions are
approximately 17” width x 20” height
• The mounting wall MUST incorporate
Plywood Backing, Cement Board, and/or
Wooden Studs. There are 4 wall mounting
points for the bracket
• At least 2 points must be installed to a stud
unless anchors are being used
• Non-studded mounting points must contain
Molly bolts or anchors
• Special consideration is needed if mounted
on Tile, or on an FRP surface
WARNING
Do not mount unit over a heat or moisture
source!
Assembly kit
• Wall Mount Bracket
• Monitor Mount Bracket
• AC Adapter Bracket
• Power Brick Bracket
• Position the wall bracket at an appropriate
height. Keep ADA requirements in mind
regarding height
• Secure the VESA Adapter (with UP arrow
pointing up) to the vertical surface using
lag screws (4)
• Use the bracket as a template to mark the
location of the holes or use the dimensions
shown
• Make sure you install the screws into the
studs or that you use hardware of similar
strength
Note: The wall bracket must be position so a
crew member can use the e*SmartClock while
standing.
VESA Adapter
Power Supply Bracket beside the
VESA Adapter.
• Loosen the screws (2) of the VESA Adapter.
• Hook the Power Supply Bracket over the
screws. Retighten the screws.

 Loading...