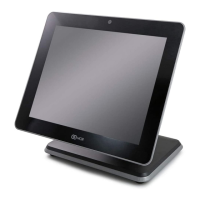
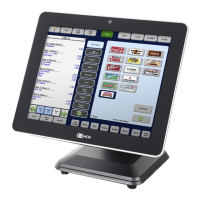
NCR P1235 e*SmartClock Installation Guide, Ver. 1.1
US-IT Restaurant Architecture Team
Page 23 of 37 12/6/16
Step Step Description Pictures
Launch
The Installer must perform the following:
• Reboot the e*SmartClock
• During re-loading, notice the following
text appears on window screen
o “Initializing….”
o “Backup has been completed”
o “Connection to ISP was found”
o “e*SmartClock is now loading
…Please wait”
• Ensure biometric reader lights are up
• Touch “Admin” in the upper left corner
then put a finger on the biometric
reader. You should get a message
“Invalid Employee / An invalid employee
ID or password was entered. Please
enter your ID and password again
Inform store manager e*SmartClock is
installed and ready for use.
Printer Configuration (Optional)
If printer is also installed for use with the
e*SmartClock, please follow the below
instructions to configure the printer setup.
These steps are not needed if printer is not
installed.
1. Touch on “Admin” in the upper left
corner of the application.
2. Manger Login screen will be displayed
3. Login to e*SmartClock application using
Manger ID and Password
3. Touch on “Close Application” button
4. Application should popup a message
showing “Are you sure you want to close
this application?”
4. Touch “OK” to close the application
5. e*SmartClock System Maintenance
screen will appear
6. Select Printer configuration button.
7. Select EPSON Printer
8. Save and Exit configuration
 Loading...