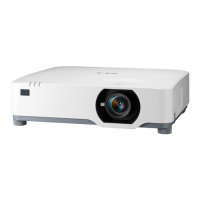
5. Making Connections
90
Attaching the USB Wireless LAN Unit
NOTE:
• TheUSBWirelessLANUnitmustbeinsertedintotheUSBWirelessLANUnitportinthecorrectdirection.Itcannotbeinsertedin
thereversedirection.IftheUSBWirelessLANUnitisinsertedinthereversedirectionwithexcessiveforceapplied,theUSBport
maybreak.
• BeforetouchingtheUSBWirelessLANUnit,touchametallicobject(suchasadoorknoboraluminumwindowframe)todischarge
thestaticelectricityfromyourbody.
• AlwaysinsertorremovetheUSBWirelessLANunitwhenthemainpoweristurnedo.Failuretodosomaycauseprojectormalfunc-
tionordamagetotheUSBwirelessLANunit.Iftheprojectorwillnotworkcorrectly,turnotheprojector,disconnectthepower
cord,andthenconnectitagain.
• DonotinsertotherUSBdevicesintotheUSB(wirelessLAN)portinthewirelessLANcover.DonotinserttheUSBWirelessLANunit
intotheUSBport.
NOTE:
• Whenthecablecoverisattached,removeitbeforeinsertingtheUSBWirelessLANUnit.
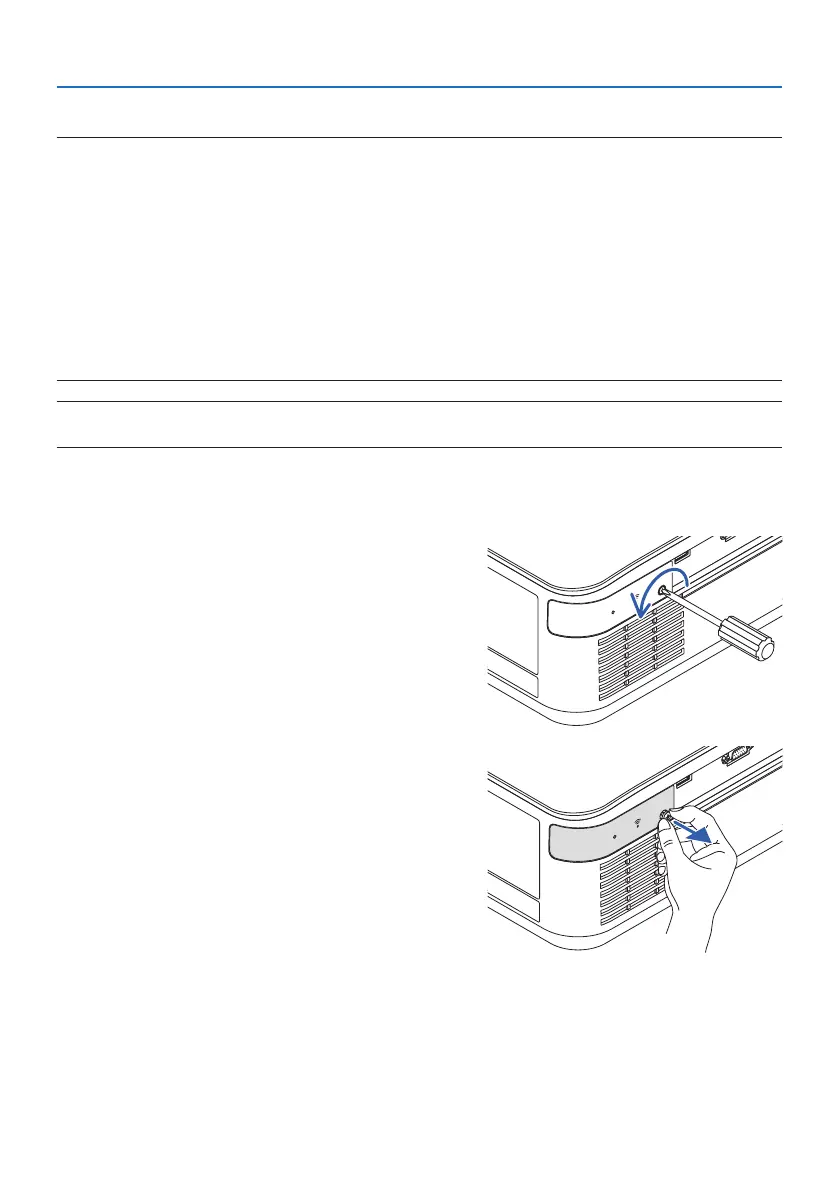
1. Press the POWER button to turn o the pro-
jector and set it into standby condition, and
disconnect the power cord.
2. Remove the wireless LAN cover.
(1) Turn the screw counterclockwise until it
turns freely.
(2) Hold the head of the screw and remove.