OPRHT70 A0310
5-1
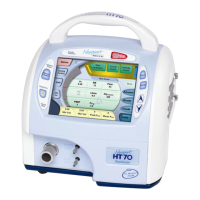
Operating the HT70 Ventilator
5
Quick Check Procedure
Introduction
This procedure is intended to assist qualified operators to establish
a routine program for verifying proper HT70 operation. Perform this
Quick Check procedure each time the ventilator is prepared for
patient use. Use the Quick Check Procedure Check-off Sheet at the
end of this section to record the results of each check.
HOMECARE PROVIDERS: This procedure should be performed prior
to delivery of the HT70 to a patient’s home.
NOTE: If Power Save is On, the screen will go to sleep (go blank)
when not used for two minutes. Just touch the screen anywhere to
bring it back into view.
WARNING Do not use the HT70 if it fails the Quick Check
Procedure.
Equipment needed:
o 1 liter test lung
o Patient breathing circuit with exhalation valve
Pre-test Inspection
1. Inspect the Air Intake Filter through the filter cover on the right
side of HT70. Replace the filter if it is dirty. See Section 8 for
replacement.
2. Examine the test lung and patient circuit to ensure that there are
no holes that will cause leaks.
3. Verify that the A.C. power supply is in good condition.
Set Up
1. Connect the A.C. power supply to an A.C. power source.
2. Verify that the External Power LED is lit.
3. Turn the ventilator on and verify that the audible alarm sounds
and the LEDs light during the self test.
4. Connect a breathing circuit with exhalation valve.
5. Perform the Circuit Check as described in Section 4.
6. Connect the test lung to the breathing circuit.
7. Press the Brightness button and verify that it scrolls through 4
levels of brightness. Set the brightness at desired level.
8. Set the ventilator to the following Standard Test Settings and
press “Start Ventilation”:
 Loading...