Safety
information
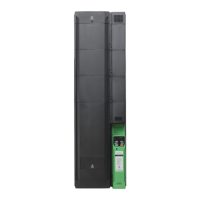
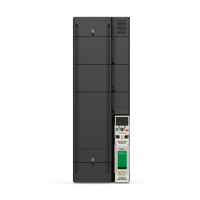
Product
information
Mechanical
installation
Electrical
installation
Getting
started
Running the
motor
Drive
parameters
Communications Diagnostics Technical data
UL Listing
Information
Commander S100 User Guide 15
3.2.1 DIN rail mounting
The DIN rail mounting mechanism has been designed so no tools are required to install and remove the drive from a DIN rail. To install the drive on
the DIN rail:
1. Press the DIN rail release
2. Position the top mounting lugs correctly on the DIN rail
3. Ensure drive is secure before releasing the DIN rail clip
4. Install DIN rail end stops either side of the drive to prevent lateral movement
The DIN rail (TS35) used should be 7.5 mm (0.3 in) to conform to ISO/EN 60715. Dimensions from the top of the drive to the DIN rail center can be
found in Table 3-2.
No additional screws are required to support the drive when it is installed on a DIN rail. However, if the drive is to be installed on a residential supply
or near sensitive equipment it may be required that the EMC backplate screw (bottom-central) be installed to ensure direct-metal contact between the
drive and cabinet. See section section 4.7 Electromagnetic compatibility (EMC).
Figure 3-4 DIN rail release location
Figure 3-5 DIN rail dimensions
Table 3-2 DIN rail dimensions
The EMC backplate screw is located slightly off centre on the frame size 3 drive (S100-03).
Model Number
DIN E1 W E2 E3
Mounting Hole
Diameter
mm in mm in mm in
mm in
mm in mm in
S100-01 46 1.81 152 5.99 68 2.70
34 1.34
34 1.34 4.8 0.19
S100-02 46 1.81 187 7.36 68 2.70
34 1.34
34 1.34 4.8 0.19
S100-03 46 1.81 187 7.36 90 3.54
50 2.17
40 1.77 4.8 0.19