Installing the Control Panel Installation
NFS-640 Installation Manual P/N 51332:B1 12/01/2003 31
Note: The initial release of chassis CHS-M2 used L-brackets and stand-offs of different lengths
than the current model; refer to Doc. 51332, Rev A.
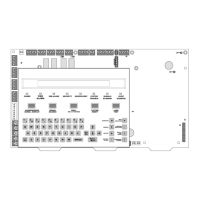
3.5 Installing the Control Panel
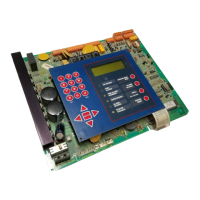
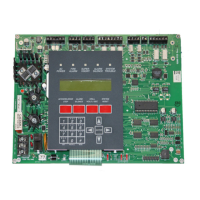
3.5.1 Control Panel Circuit Board & Keypad/Display Unit
The control panel mounts in chassis CHS-M2, which is usually positioned in the top row of the
backbox. The control panel’s CPU occupies three positions at the back of the chassis; the KDM-2
occupies two positions flush with the door. The NCA may be door-mounted directly in front of the
control panel if no KDM-2 is being used; see the NCA Manual for details and restrictions.
Note: For initial release of NFS-640, mounting instructions were different. Refer to the installation
manual shipped with the panel (Rev A).
1. Verify height of the mounting stud in the backbox. In older backboxes, the stud must be
shortened to prevent damage to the CPU-640. All electronics must be removed from the
backbox before shortening. See instructions in the warning below.
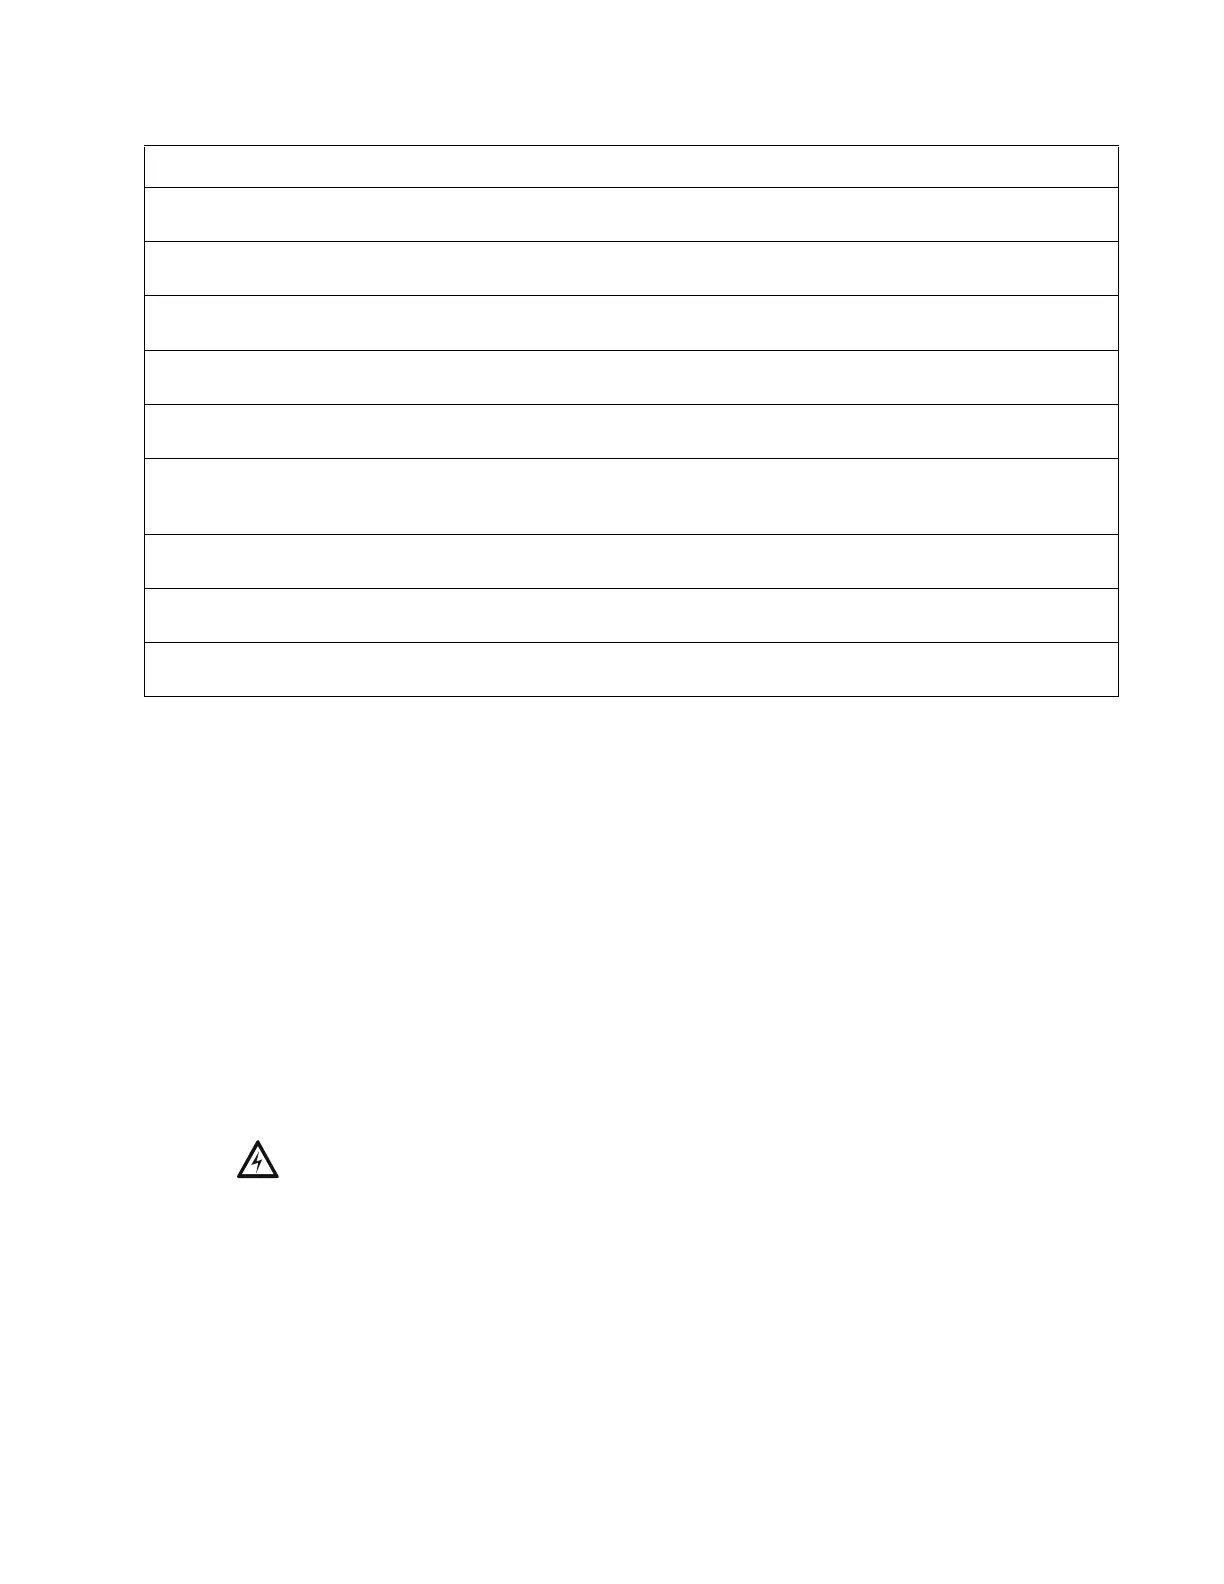
Table 3 Stand-off Lengths
From… To… Required Stand-off or Hardware
Chassis CHS-M2 Control panel or
module on first layer
Not applicable; integral to the chassis.
Control panel or
Option board, 1st layer
Option board, 2nd layer
(includes LEM-320)
4 male-female stand-offs of length 0.937 inch (23.8 mm)
P/N 42166.
Option board, 2nd layer Option board, 3rd layer 4 male-female stand-offs of length 0.937 inch (23.8 mm)
P/N 42166.
Chassis Option board, 4th layer
(flush with door)
Attaches directly to flanges on chassis. (Screws
provided with option boards & panel circuit modules)
Chassis Panel circuit module
(flush with door)
Attaches directly to flanges on chassis. (Screws
provided with option boards & panel circuit modules)
Control panel KDM-2 (upper edge) 2 stacks of male-female stand-offs:
•P/N 42185 (2.0 inch, 50.8 mm) and
•P/N 42186 (1.312 inch, 33.33 mm)
Chassis rail KDM-2 (lower edge) 2 male-female stand-offs of length 0.937 inch (23.8 mm)
P/N 42166.
Dress panel
DP-DISP or ADP-4B
NCA Attaches directly to dress panel.
(Nuts provided with NCA.)
Dress panel
DP-DISP or ADP-4B
Option board BMP-1 attaches to dress panel; option module attaches
to BMP-1 (screws provided with option module).
!
WARNING: For retrofit appications, verify the height of the backbox’s mounting stud on left side
under CPU, as shown in Figure 7 below. Stud height must not exceed 0.375 in. (9.525 mm). Early
versions of the CAB-4 Series backboxes and all CAB-3 Series backboxes have studs that require
shortening.
Failure to shorten this 0.625 in. (15.875 mm) mounting stud will cause damage to the control
panel’s CPU. Remove electronics from backbox, permanently mount empty CHS-M2 chassis to
backbox, apply nut to mounting stud to protect threading, then cut stud to proper length.
Reinstall electronics as discussed in the steps below.
 Loading...