5 - 22 en-938821/2
Wear offsets can be entered or cleared by:
- the operator (See below),
- by the PLC programme or part programme (parametric programming).
A wear offset is automatically reset when a new tool dimension is entered.
Requirements
No mode being executed (except automatic, single or dry run modes).
Basic softkeys displayed (See 3.1.4.2).
Actions
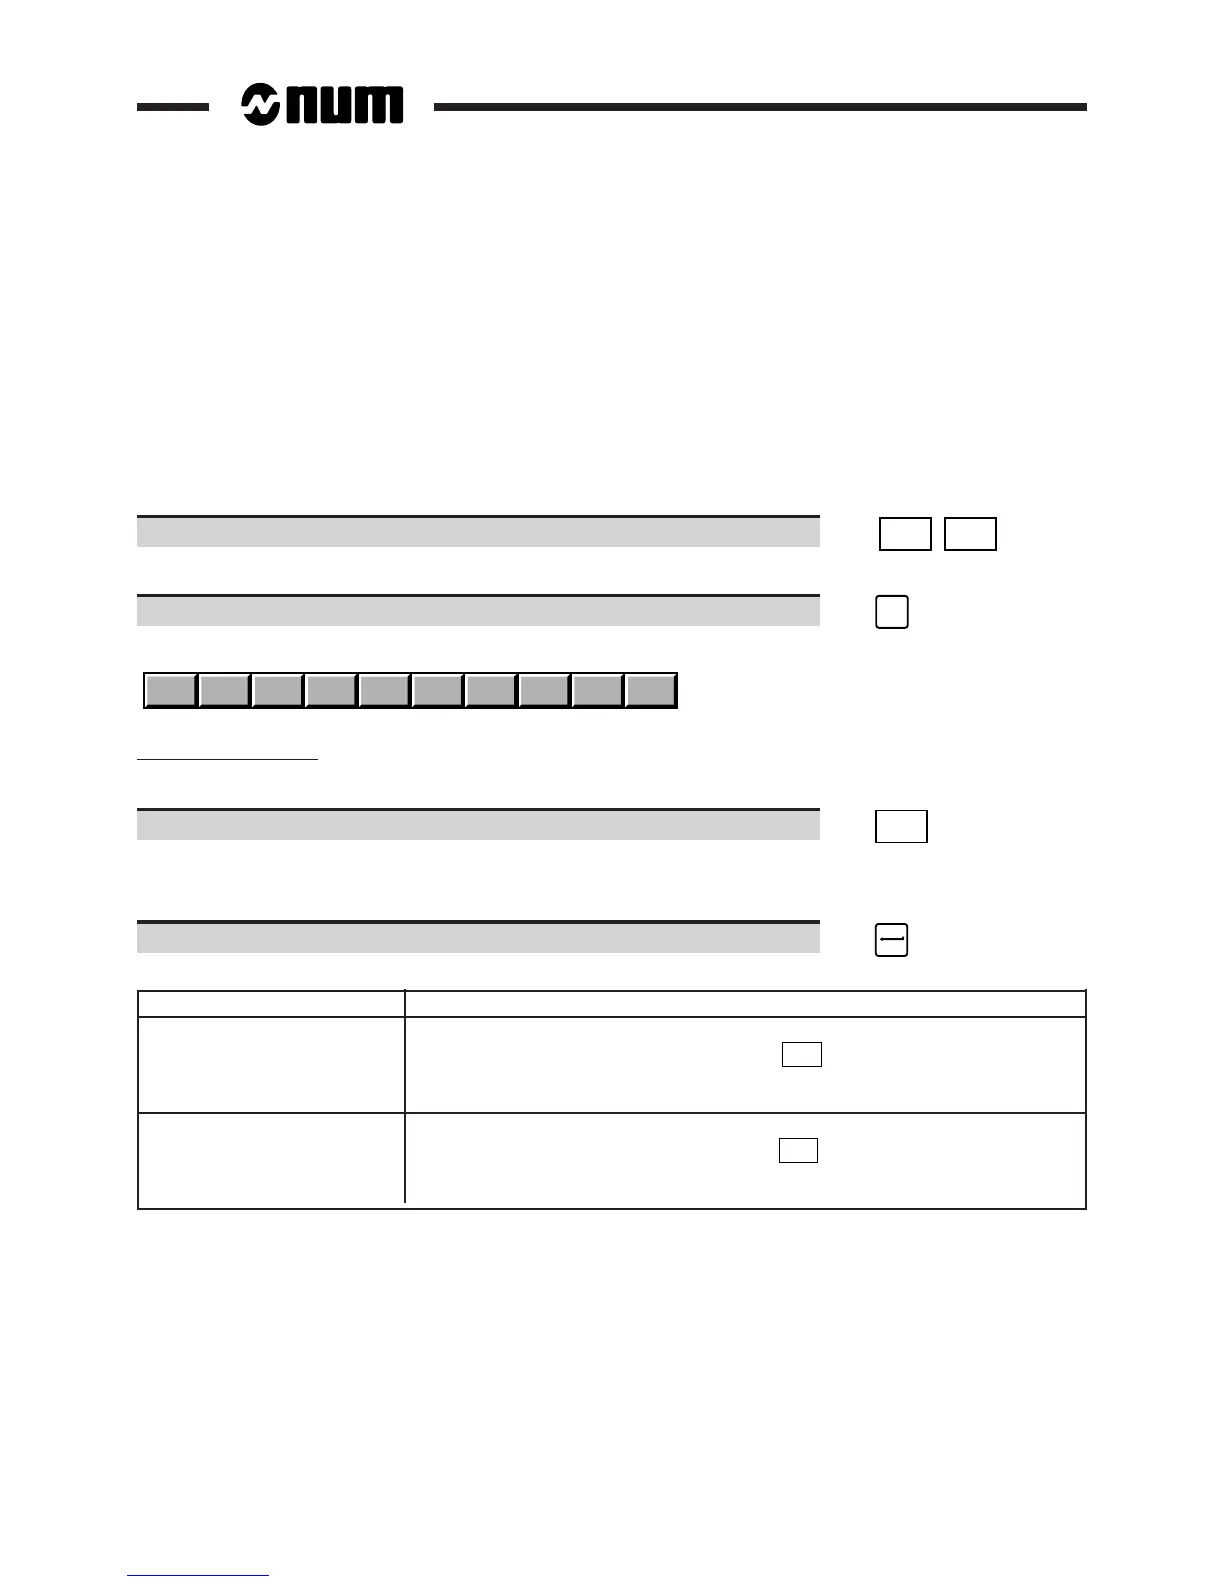
Select the "TOOL WEAR OFFSETS" page. ☞
TOOLS
TOOLS
Display of tool wear offsets (See 4.4)
Select the Tool softkeys. ☞
TOOL
Display of the Tool softkeys at the bottom of the screen:
TLCOMP
WEAR + L or X R or Z WEAR 0
Tool wear offset entry
For each offset to be entered:
Select the wear offset entry function. ☞
WEAR +
Display of tool wear offset entry function indicator in the status window (See 3.1.3).
Display of (INCR. WEAR OFFSET) in the dialogue line.
Enter the wear offset (See syntax below). ☞
Dimension to be corrected Syntax
Radius: R [Correction No.] R [offset value]
("R" can be entered via the keyboard or the
R or Z
softkey)
(the offset is between ± 0.999 mm or ± 0.3 mm when the internal unit
is 0.01 µm)
Length: L [Correction No.] L [offset value]
("L" can be entered via the keyboard or the
L or X
softkey)
(the offset is between ± 0.999 mm or ± 0.3 mm when the internal unit
is 0.01 µm)
The offset is added to the value in the tool wear offset page and the new value is re-displayed in the "TOOL WEAR
OFFSETS" page.
The tool wear offset indicator disappears.
 Loading...