UG8000-00 November 2002
Page 2-10
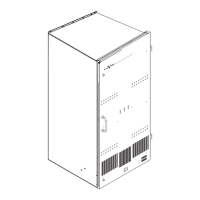
Installing the NV8256
To install an NV8256 router, follow the steps below:
1. Determine the placement of the NV8256 in the rack. The electronics frame
requires 22 RUs of vertical rack space, and the Power Supply frame requires 5
RUs. The Power Supply frame must be mounted close enough to the electronics
frame to allow connection of the two 6 foot (1.83 meter) power cables. Ideally, the
Power Supply frame should mount directly above the router frame.
2. Open the frame door and remove it by lifting the door upward off the hinges.
3. Referring to Figure 2-1., attach the supplied temporary installation handle to the
front of the Electronics frame as follows:
a. Note the keyhole slots on each side of the frame.
b. Loosen the wing nuts on each side of the installation handle
sufficient to insert the bolts through the keyhole slots.
c. Insert the bolts and slide the handle up so that the bolt is in the narrow part of
the slot.
d. Tighten the wing nuts.
4. Lift the frame into position and attach it to the front of the rack with the appropriate
screws, being sure to place screws in all frame mounting screw holes.
5. Loosen the wing nuts on the installation handle and remove the handle from the
frame.
6. Finish tightening all rack screws.
7. Reinstall and close the frame front door.
Note: The power cords supplied with this equipment provide the only means
of AC mains disconnection. The AC source power outlet must be near the
equipment and must be easily accessible.
Caution: To prevent damage to the frame door, do not use the door handle
to lift the frame.
Note: When attaching the frame to the rack, do not cinch the bolts down. You
must leave sufficient space to release the installation handle.
Warning: The ENVOY frame is too heavy for one person to lift. Use an
equipment jack or get the help of an assistant to lift the frame.
 Loading...