36
WARNING – Never exit the water with the Tissue Loading Bar Graph
in the red decompression zone. Doing so greatly increases the risk
of decompression sickness, and may result in injury or death.
A diver’s metabolism varies from person to person, and even from day to day.
If you are feeling slightly less than 100%, or you are in less than perfect
physical shape, use the Caution Zone as a visual reference to place a wider
margin of protection between you and the no-decompression limit.
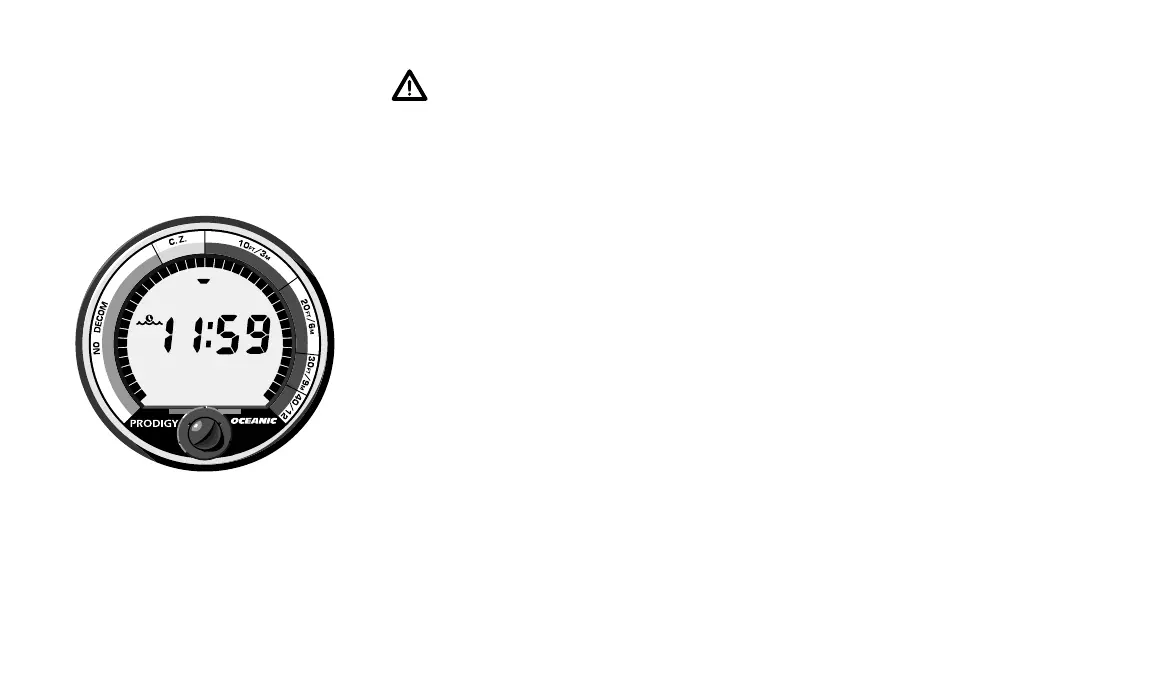
Fig. 28 – Gauge Mode
(above water display)
®