EN-8 MB95
3. INSTALLATION
In this section, you will learn how you unpack and install your new Moisture Analyzer and
prepare it for operation. On completion of the steps described in this section, your Moisture
Analyzer is ready for operation.
3.1 Unpacking and checking the standard equipment
Open the package and remove the instrument and the accessories. Check the completeness
of the delivery.
The following accessories are part of the standard equipment of your new Moisture Analyzer.
— 1 Box, Aluminum sample pans
— 1 Pan support
— 1 Glass fiber Pad
— 1 Draft shield
— 1 Tray Pan
— 1 Power cable
— 1 Pan Handle
— 1 Spoon
— 1 Quick Guide
Remove packing material from the instrument.
Check the instrument for transport damage. Immediately inform your Ohaus dealer if you
have complaints or parts are missing.
Store all parts of the packaging. This packaging guarantees the best possible protection for
the transport of your instrument.
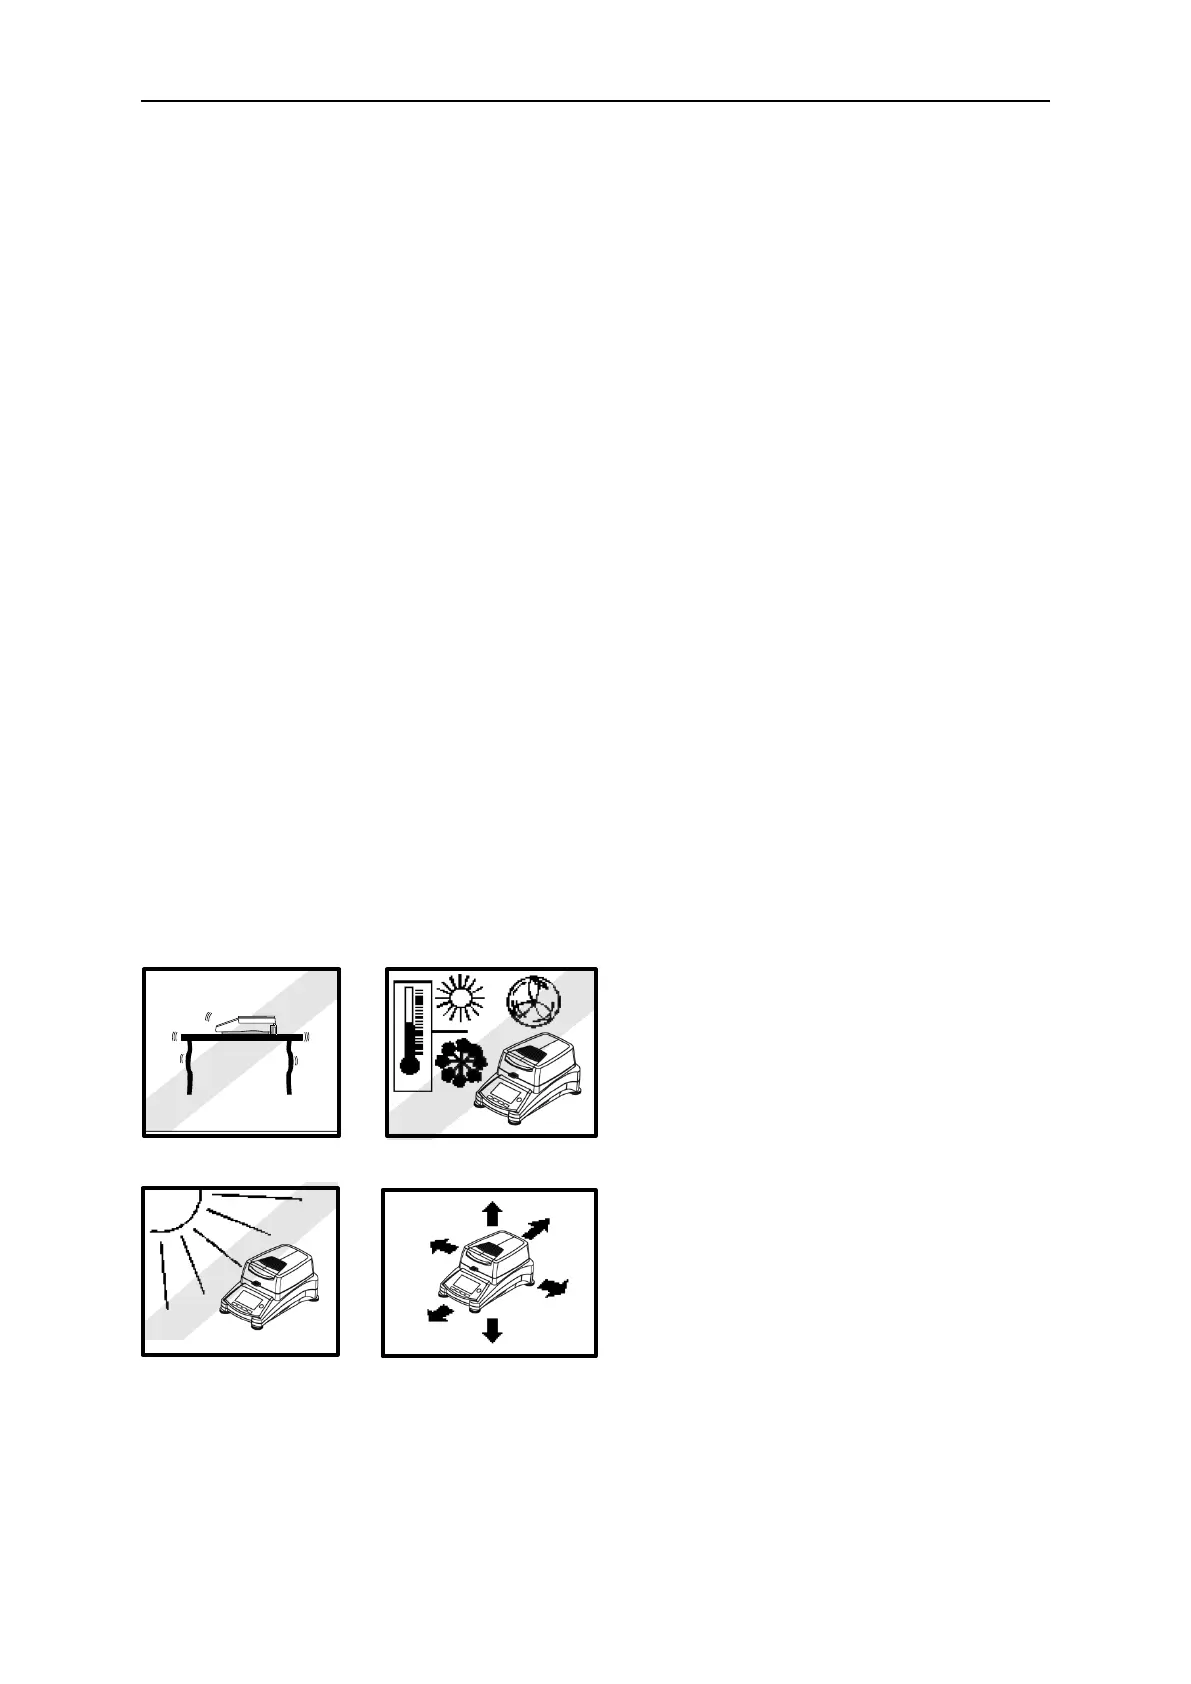
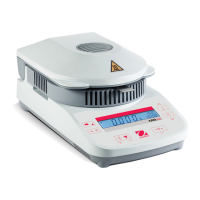
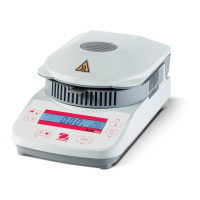
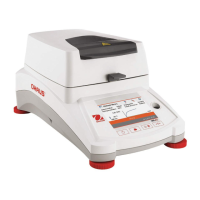
3.2 Selecting the Location
The Moisture Analyzer should always be used in an environment which is free from
excessive air currents, corrosives, vibration, and temperature or humidity extremes. These
factors will affect displayed weight readings.
DO NOT install the Moisture Analyzer:
• Next to open windows or doors causing
drafts or rapid temperature changes.
• Near air conditioning or heat vents.
• Near vibrating, rotating or reciprocating
equipment.
• Near magnetic fields or equipment that
generate magnetic fields.
• On an unlevel work surface.
• In confined areas, allow sufficient
space around the instrument for ease
of operation and keep away from
radiating heat sources.