Page: 40
Service Guide ML390/391
Chapter 3 Maintenance & Disassembly
3.2.01 Preliminary Items
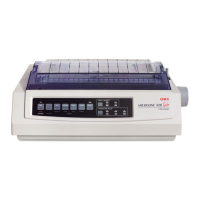
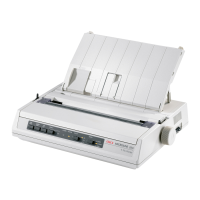
· Press the AC switch (1 shows location) and power OFF the printer.
· Remove the paper, if installed.
· Detach the AC power cord (2).
· Detach the interface cable (3), if installed.
P/N 56609701 Cord: AC 120 V All RSPL A B C
B.2.02
, B.2.03
P/N 56610801 Cord: AC (220 V) (ML Series) All Option RSPL A B C
B.2.02
, B.2.03
P/N 56616501 Cord: AC 240 V All Option A B C
B.2.02
, B.2.03
P/N 56624101 Cord: AC 220 V (ML) All Option A B C
B.2.02
, B.2.03
Right Angle
P/N 70000803 Kit: Parallel Interface Both Option A B C D N/A PlugnPlay Accessory
Copyright 1997, Okidata, Division of OKI America, Inc. All rights reserved. See the OKIDATA Business
Partner Exchange (BPX) for any updates to this material. (http://bpx.okidata.com)