Safety Accessories Supplementary Sheet
18 OMICRON
4.3 Connection
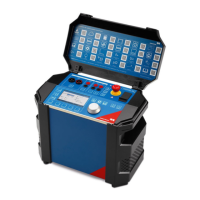
1. Make sure that the main device intended to be used with the SAA1 is switched off.
2. Press the Emergency Stop button on the main device or the test system (on VOTANO 100 the
Emergency Stop button on the SAB1 safety box) and lock the main device with a physical key
(CPC 80 and CPC 100) or by pressing the software lock button (TESTRANO 600 and
VOTANO 100).
NOTE! CIBANO 500 and COMPANO 100 do not have a separate physical key nor a software lock
function.
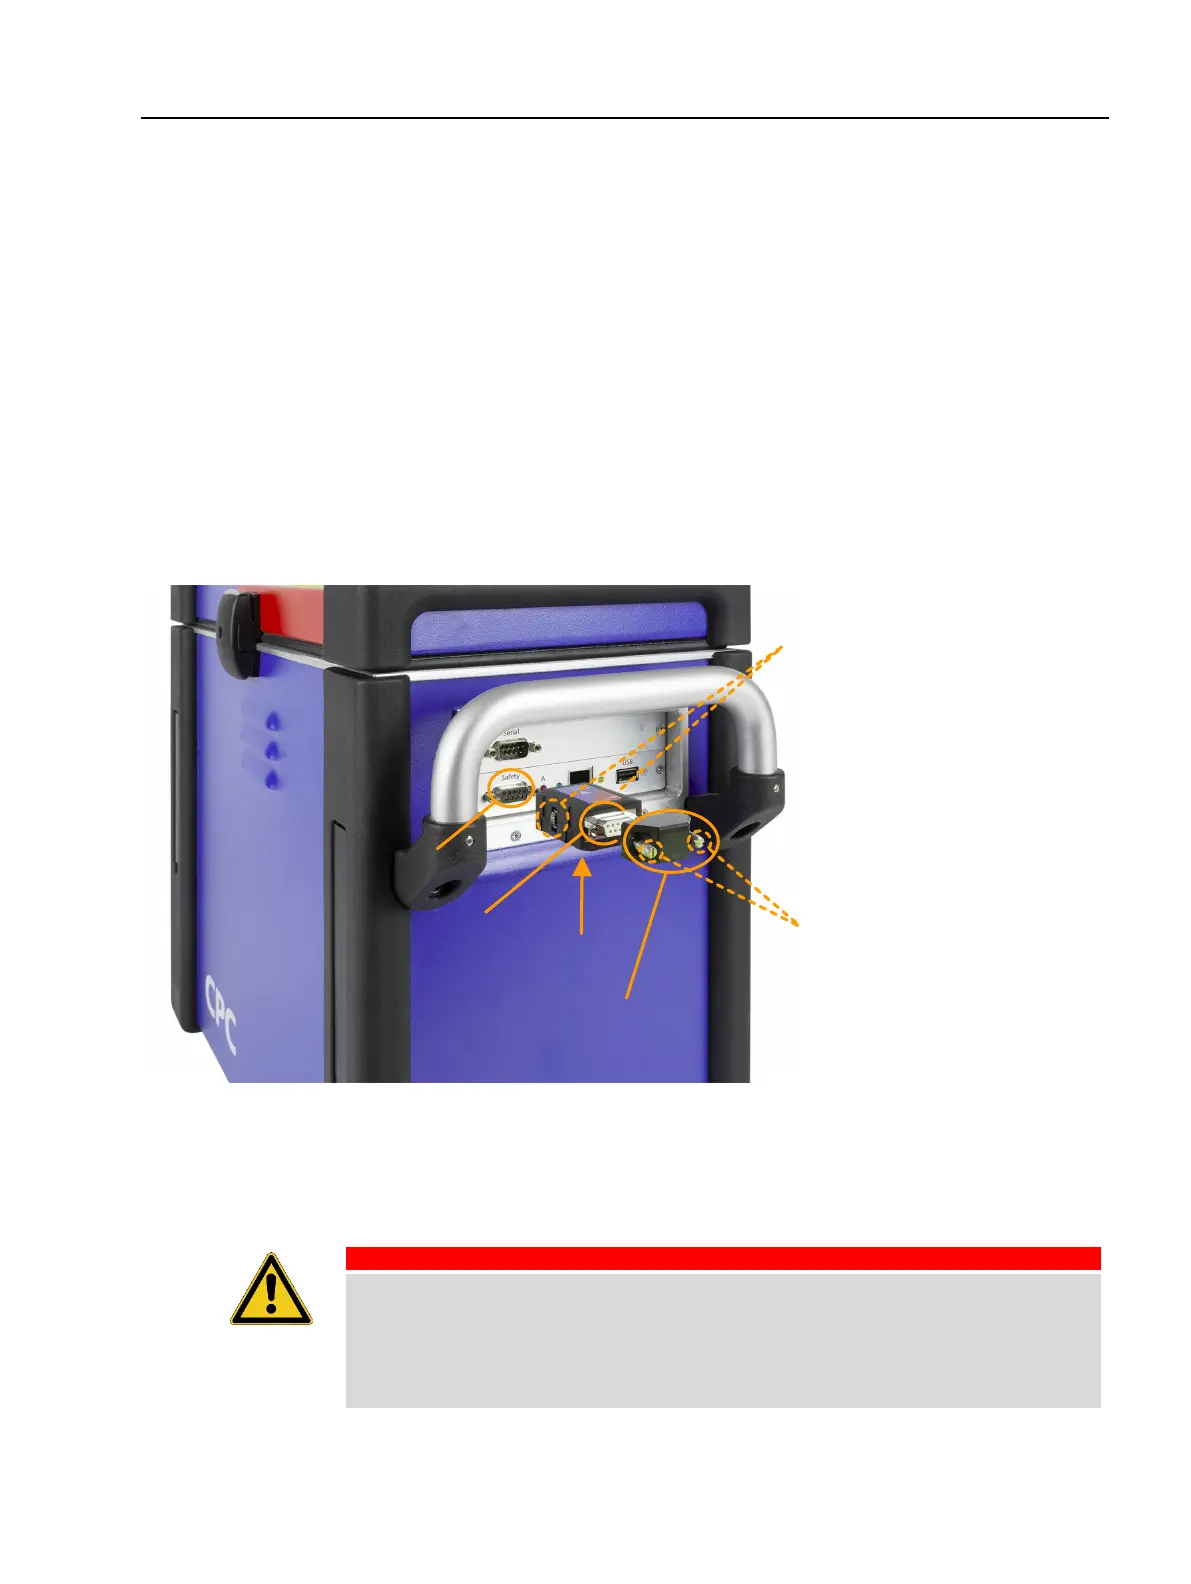
3. Remove the Safety Connector Dongle from the SAFETY output on the main device’s side panel
(does not apply to VOTANO 100 which does not have this dongle).
4. Plug the SAA1 in the SAFETY output and connect the Safety Connector Dongle to the SAFETY
output of the SAA1 or connect any other compatible OMICRON Safety Accessory to the SAA1
SAFETY output connector. In case of VOTANO 100 connect the SAB1 to SAA1 SAFETY output
connector.
Figure 3: Fixing the SAA1 Beeper Dongle and the Safety Connector Dongle (example main device: CPC 80/100)
5. Fix the SAA1 Beeper Dongle and the Safety Connector Dongle by turning the locking wheel on both
sides of the SAA1 Beeper Dongle and fastening the locking screws on the Safety Connector Dongle.
Death or severe injury caused by high voltage or current possible.
Do not remove the SAA1 while the test system's outputs are activated.
Removal of the SAA1 will cause the outputs to be disabled immediately,
which can lead to dangerous voltage spikes.
Locking wheels
MAIN DEVICE
SAFETY OUTPUT
Locking screws
SAA1
SAFETY OUTPUT
MAIN DEVICE
SAFETY CONNECTOR DONGLE
SAA1
TEST BUTTON