11
En
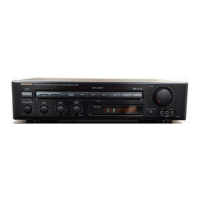
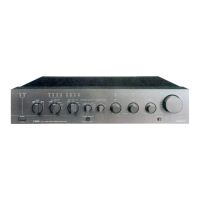
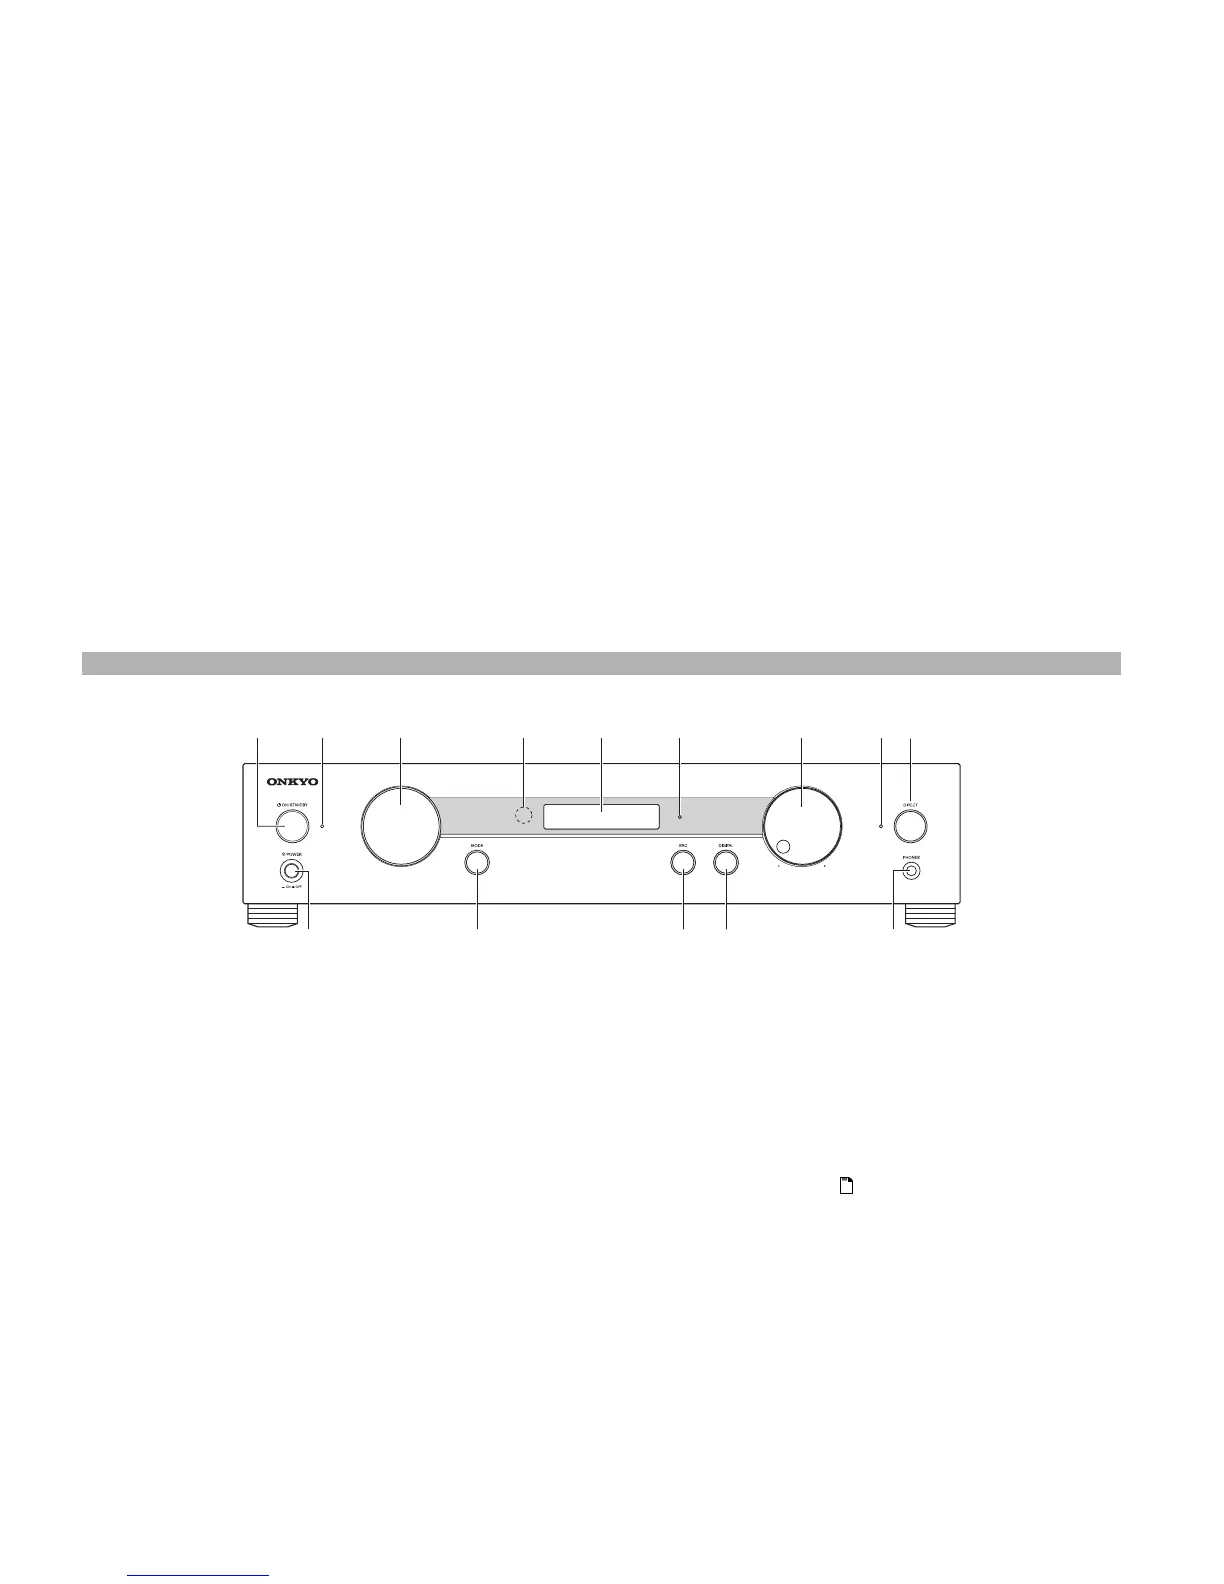
Getting to Know the Preamplifier
The page numbers in parentheses show where you can find the main explanation for each item.
a ON/STANDBY button (➔ 25)
Sets the preamplifier to On or Standby.
b Standby LED (➔ 25)
Lights when the preamplifier is in Standby mode.
c Multi jog dial (➔ 29)
Selects the input sources in sequence. The input
sources are “CD”, “LINE 1”, “LINE 2”, “LINE 3”,
“COAX1”, “COAX2”, “OPT1”, “OPT2”,
“AES/EBU”, “USB”
*,
“PHONO”.
It is also used for various settings.
*
You can select USB input only when the USB connector is
connected.
d Remote control sensor (➔ 10)
The sensor receives control signals from the remote
controller.
e Display (➔ 12)
See “Display”.
f Display Off LED (➔ 28)
Lights when the display is turned off.
Before entering standby mode with the ASb function,
the Display Off LED flashes 30 seconds before the
ASb function starts running.
g Volume controller (➔ 26)
You can set the volume.
h Direct LED (➔ 28)
Lights when the preamplifier is in Direct mode.
i DIRECT button (➔ 28)
Selects the Direct mode. Pressing this button again
cancels the Direct mode.
j POWER switch (➔ 25)
This is the main power switch. When set to the OFF
position (@), the preamplifier is completely
shutdown. It must be set to the ON position (^) to set
the preamplifier to On or Standby.
k MODE button (➔ 29)
Press this button to start the following settings:
“BASS”, “TREBLE”, “BALANCE”, “BIAMP”,
“HPLEVEL (headphone level)”, “LINEOUT (or
RECOUT)”, “ASb (Auto Standby)”, “L2 OUT”.
l SRC (Sampling Rate Converter) button (➔ 33)
This button is used to convert the sampling rate of the
input digital signal: “BYPASS (no conversion)”,
“FS x2”, “FS x4”.
m DIGITAL button (➔ 26)
This button is used to turn the digital input source
display on or off.
n PHONES jack (➔ 29, 34)
Stereo headphones with a standard plug can be
plugged into this jack.
Front Panel
i
d eb
j
l
c gf
h
m nk
a
Note
•The USB input does not support FS x4 (➔ 31).
 Loading...