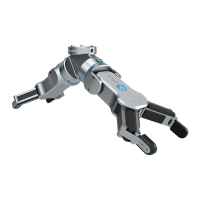
Installation
59
6.3 Wiring
Four kind of cables have to be connected to wire the system properly:
• Tool data cable between the tool(s) and the Compute Box
• The provided Digital I/O wires between the Computer Box and the robot controller
• Ethernet communication cable between the Compute Box and your computer
• Power supply of the Compute Box
6.3.1 Tool data
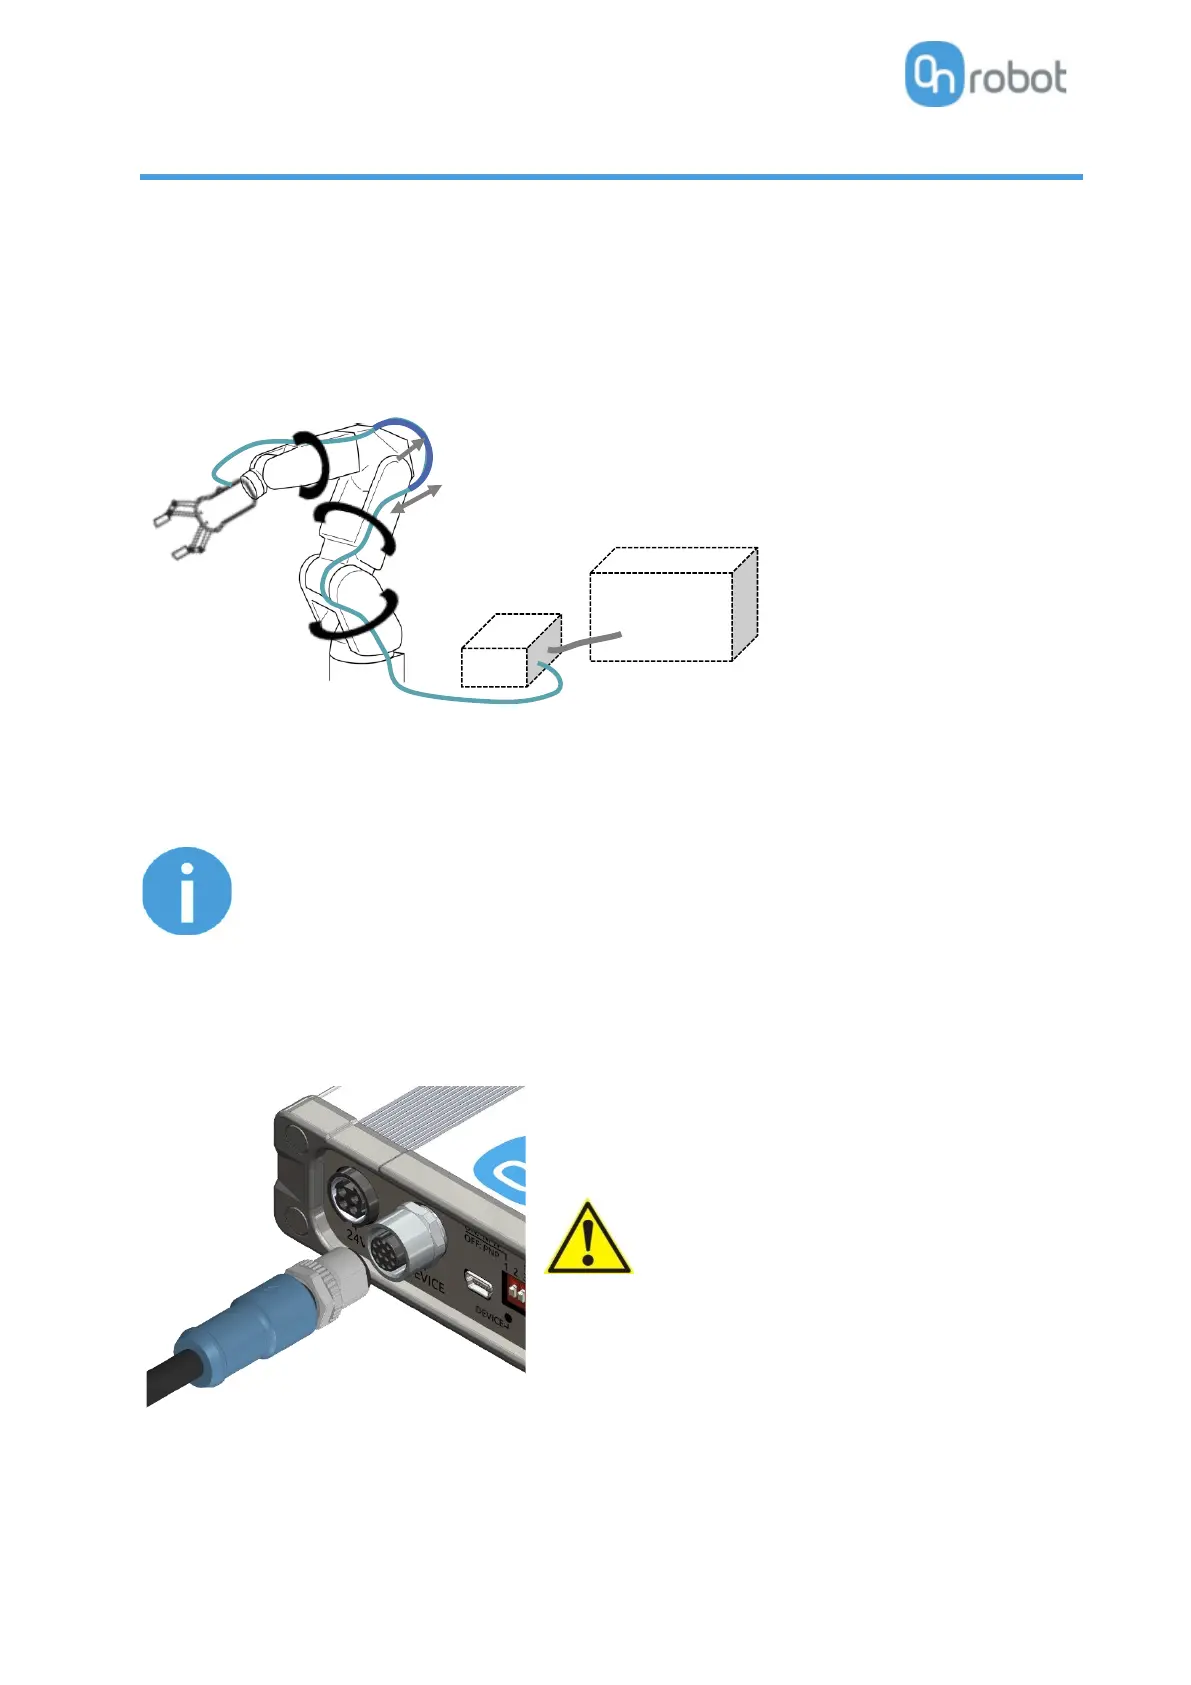
Connect the data cable to the tool(s) then route the cable (blue line) to the Compute Box (CB) and use the
supplied Velcro tape (black) to fix it.
Leave some extra cable length around the joints so that the cable is not
pulled when the robot moves.
Also make sure that the cable bending radius is minimum 40mm (for the
HEX-E/H QC it is 70mm)
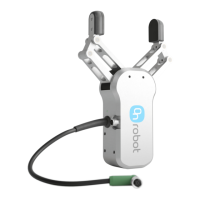
Then, connect the other end to the Compute Box's DEVICES connector.
Use only original OnRobot tool data cables.
6.3.2 Digital I/O wires
Inside the control cabinet, the CNIN I/O interface on the Mini I/O board (most common I/O board) could
be used connect the Compute Box to the robot controller.
bending radius
extra length