1 Quick guides
Installation
• Unpack the box (See What’s in the Box Section and the Unboxing
video: https://www.youtube.com/watch?v=SqK-ATtTP0E)
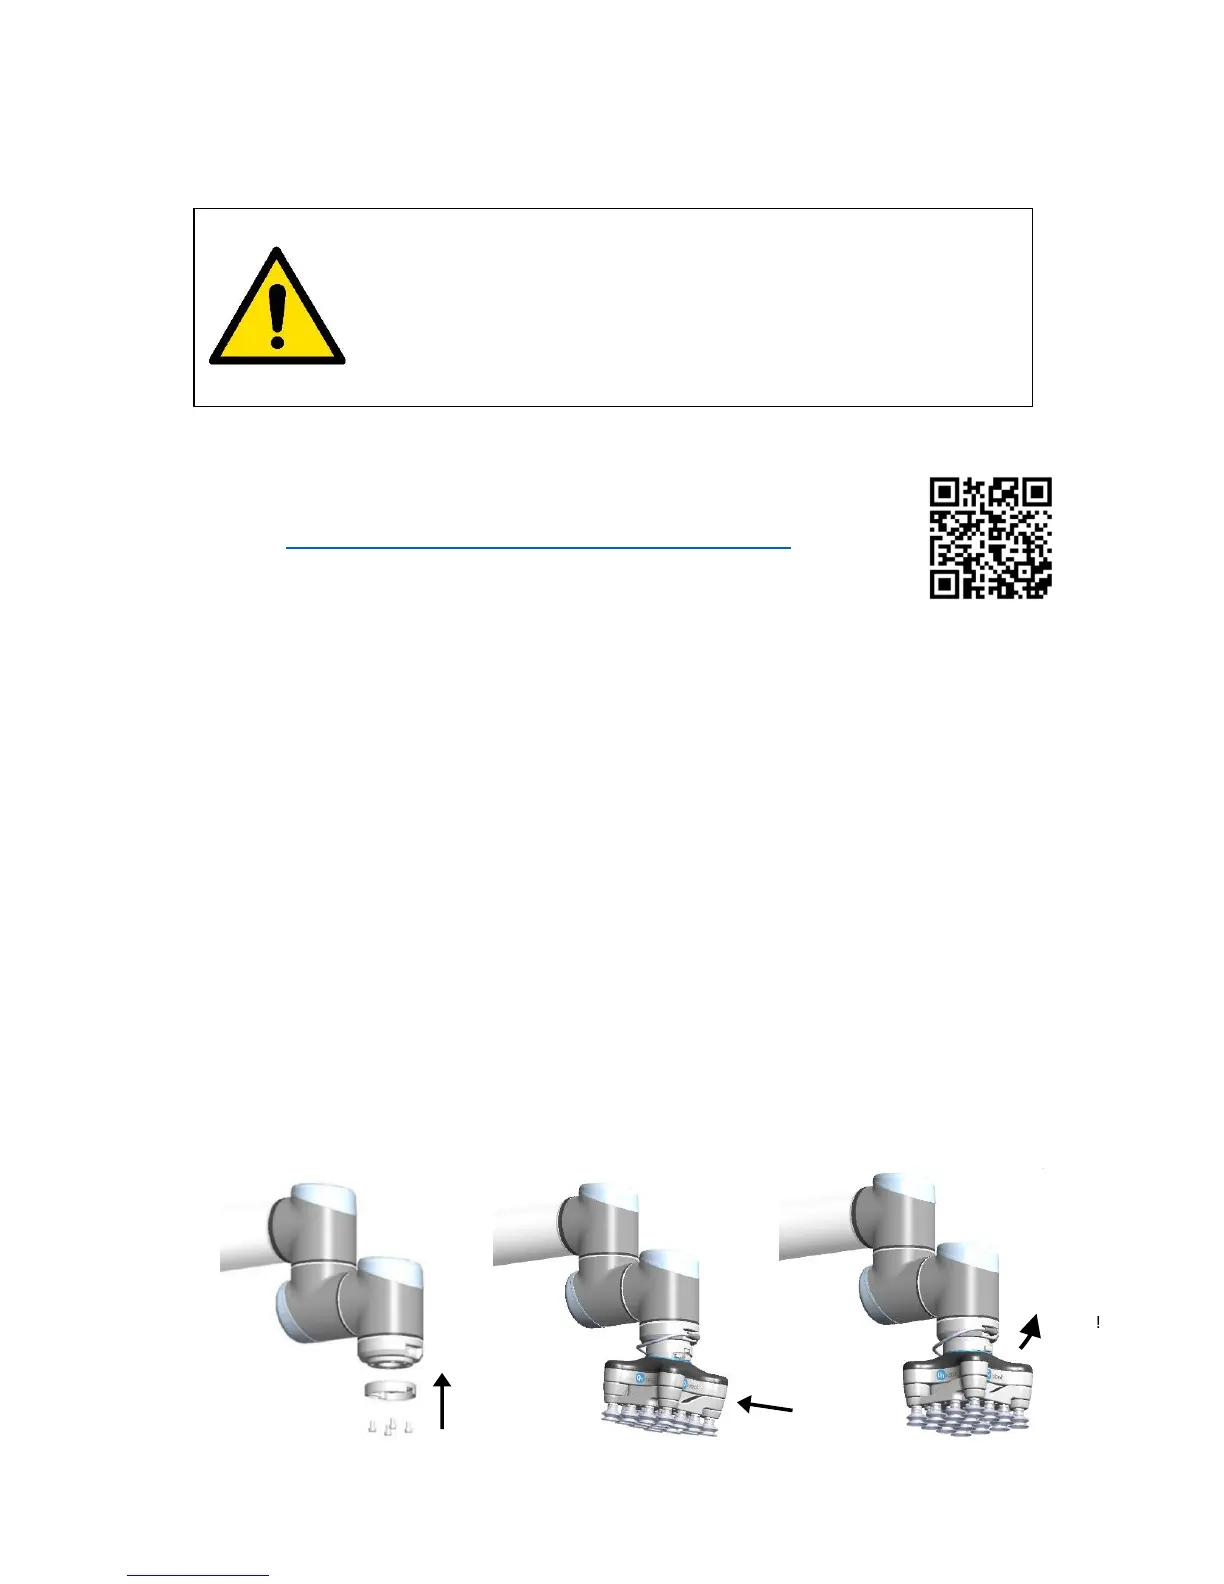
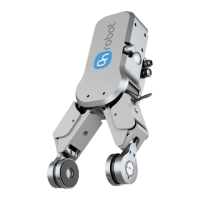
• Mount the tool changer on the robot:
- Orient the robot tool flange for easy access
- Unclick the robot half of the tool changer from the top of the VG10
- Screw it onto the robot using the four Torx T30 bolts, Torque = 6Nm (See Figure
1.1 below)
- Click on VG10 (See Figure 1.2 and 1.3 below)
• Mount the tool cable
- The cable fits smoothly 270º around the VG10 and tool changer (See Figure 1.3)
• Disable or uninstall other URCaps that use the tool connector
• Install the VG10 URCap
- Insert the supplied USB stick into the UR teach pendant
- UR Main Menu → Setup Robot → URCaps
- Press “+”
- Select USB stick → “VG10-URCap”
- Press “open”
- Press “restart”
• Ready
- Use the dedicated VG10 program structures to control the vacuum
- Move the four VG10 arms to your preferred angles; simply overcoming the
friction by hand
- Remove and add vacuum cups as you prefer; close unused holes with the blind
screws
DANGER
You must read, understand and follow all safety information in
this manual, and the robot manual and all associated
equipment before initiating robot motion. Failure to comply
with safety information could result in death or serious injury.