Chapter 6: Alerts, Auto-Response & Logging
124
2. Select Set up an advanced connection and click Next
3. On the Advanced Connection Options screen select Accept Incoming Connections and click
Next
4. Select the Connection Device (i.e. the serial COM port on the Windows computer that you
cabled through to the console server). By default select COM1. The COM port on the Windows
computer should be configured to its maximum baud rate. Click Next
5. On the Incoming VPN Connection Options screen select Do not allow virtual private
connections and click Next
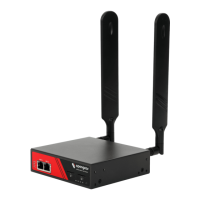
6. Specify which users can access this connection. These are same users who were given
Remote Desktop access privileges in the earlier step. Click Next
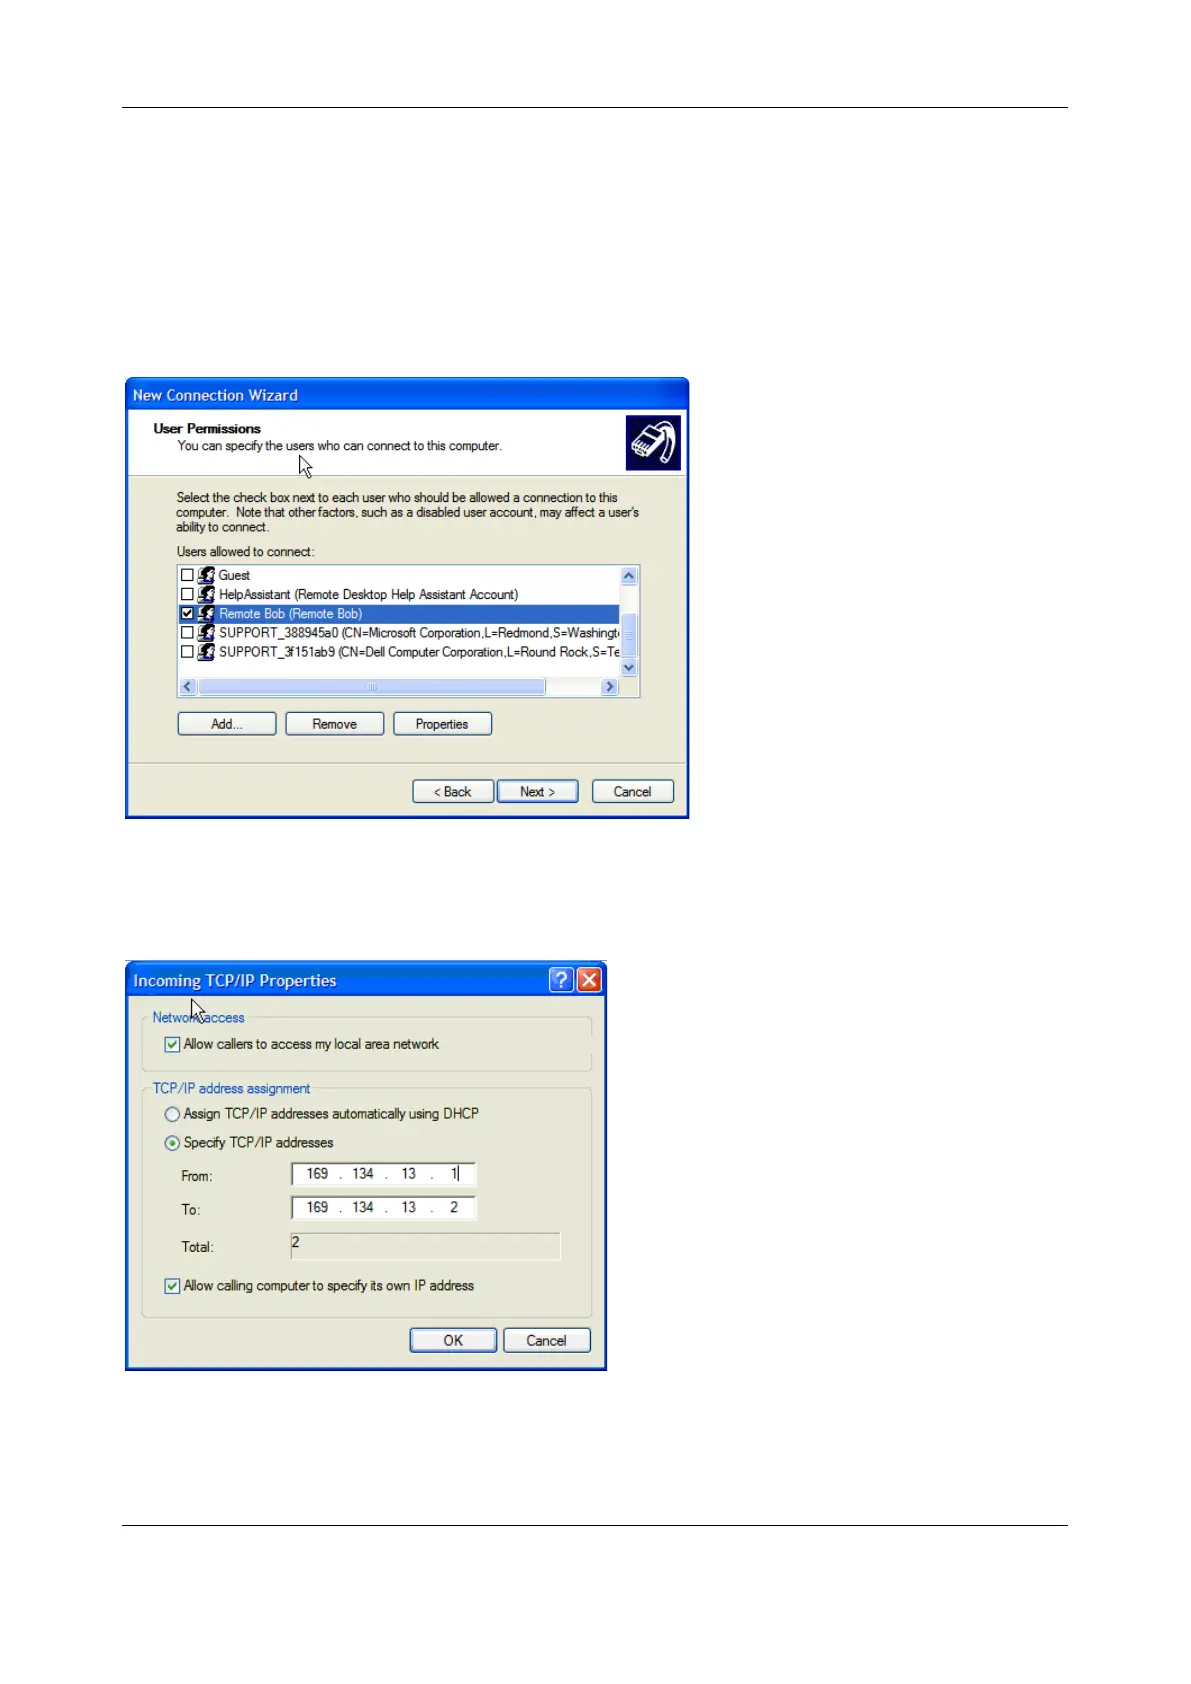
7. On the Network Connection screen select TCP/IP and click Properties
8. Select Specify TCP/IP addresses on the Incoming TCP/IP Properties screen select TCP/IP.
Nominate a From and To TCP/IP address and click Next
 Loading...