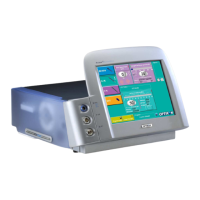
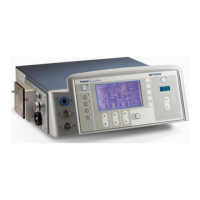
Pulsar
2
Service Manual
OPTIKON 2000
Cod. 111004SEN Rev.C
6-9
3. VENTURI PUMP AND VALVES Select I/A mode, install the I/A tubing,
select Venturi aspiration mode and a vacuum of 100mmHg or more.
Verify that:
Irrigation valve (close to the front of the equipment) is activated (de-
energized) at switch #1 of the footswitch.
Aspiration valve (rotor of the peristaltic pump) is activated (moved up)
at switch #2 of the footswitch. The Venturi pump starts aspiration at the
same time, it is possible to ear the air flow.
Reflux valve (smaller valve) is activated (de-energized) by rotating the
footswitch paddle to the left.
4. ASPIRATION Select “I/A” mode, connect a vacuum gauge (i.e. a
mercury column gauge) to the aspiration line from the I/A tubing.
a. Select Peristaltic mode, preset a vacuum of 300mmHg, panel.
Depress the footswitch beyond switch #2 and verify that the
vacuum rises gradually to the preset level. Vacuum rise time
depends on both the preset flow rate and rise time.
b. Select Venturi mode, preset a vacuum of 300mmHg, panel.
Depress the footswitch beyond switch #2 and verify that the
vacuum rises to the preset level. Vacuum rise time depends on
rise time. Select Linear vac mode and verify that the vacuum
increases/decreases by depressing/releasing the footswitch
gradually.
5. ULTRASOUND Select U/S mode. Verify that:
- With the handpiece unplugged, the message “Insert handpiece”
appears.
- Plugging the handpiece, the message “Please prime” appears.
Do not install the ultrasonic tip on the handpiece, depress the
footswitch beyond switch #3 and verify that the message “Please,
check tip” appears.
Install the tip and depress the footswitch beyond switch #3 while
keeping the tip in water. Verify that the handpiece is tuned.
Select in turn “Continuous”, “Pulsed”, “Single Burst”, “Multi Burst”,
“Continuous Burst”, “linear Power”, “Panel”. For each selection,
depress the footswitch beyond position #3 and verify that the ultrasound
is emitted as expected.
6. DIATHERMY Select Diathermy mode. Connect to the DIATH output front
panel connector the Diathermy testing tool. Verify that at the Power
level of 50% and 100% the indication of the gauge needle is within the
relevant green area.
Select Power level of 100% linear, push on the footswitch and verify that
the output power increases slowly as the footswitch is depressed.