EasyManuals Logo

Oracle Database Appliance X6-2-HA Owner's Guide

Oracle Database Appliance X6-2-HA
116 pages
To Next Page IconTo Next Page
To Previous Page IconTo Previous Page
Page #106 background imageLoading...
Page #106 background image
Install the System Into a Rack
106 Oracle Database Appliance Owner's Guide • March 2017
3.
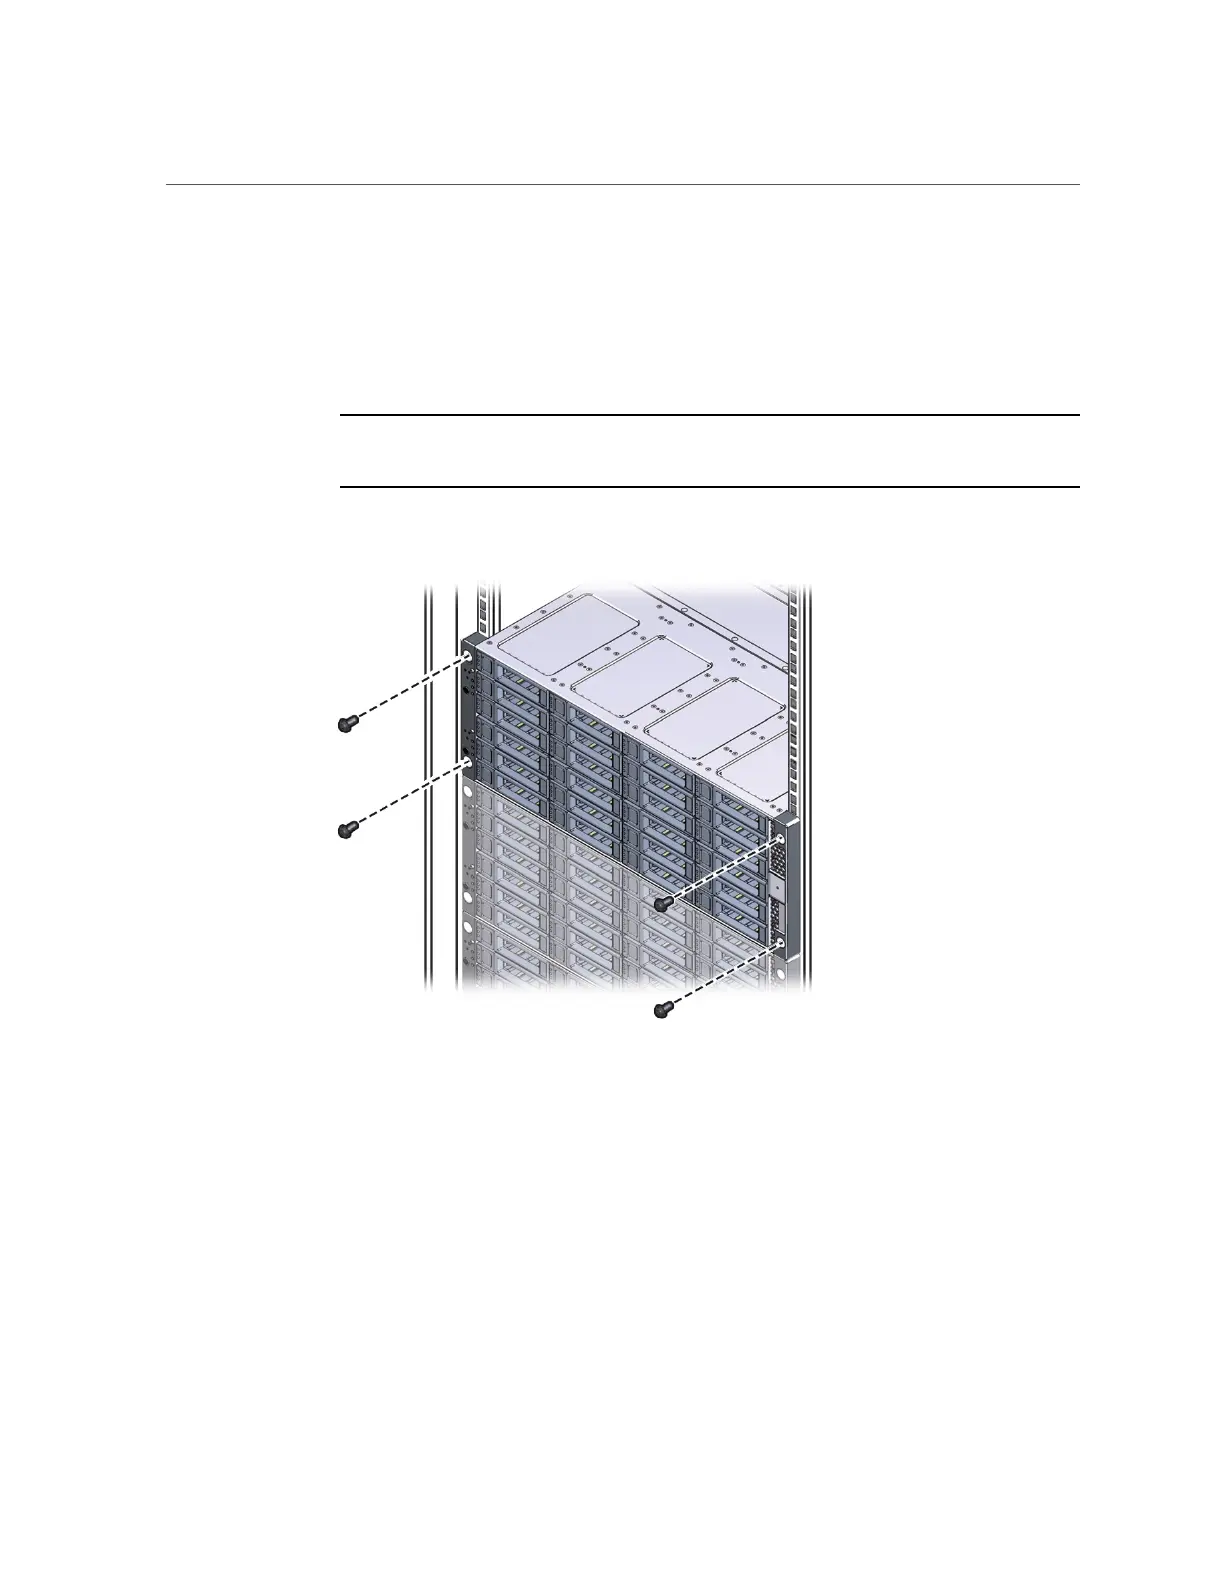
Use four screws to attach the front of the system to the front of the rack.
On a threaded, round-hole rack, use four M6 x 12 mm screws or four 10-32 x 10 mm
screws.
On a square-hole rack, use four M6 x 16 mm screws.
Note - On square-hole racks, the screws pass through the rack and thread into the adapter
bracket. On round-hole racks, the screws thread into the rack rails.
4.
To adjust the rear braces, do the following:
a.
Loosen the screws on the rear braces [1].
b.
Slide the rear braces down until they rest firmly on top of the system [2].

Table of Contents

Other manuals for Oracle Database Appliance X6-2-HA

Questions and Answers:

Question and Answer IconNeed help?

Do you have a question about the Oracle Database Appliance X6-2-HA and is the answer not in the manual?

Oracle Database Appliance X6-2-HA Specifications

General IconGeneral
BrandOracle
ModelDatabase Appliance X6-2-HA
CategoryStorage
LanguageEnglish

Related product manuals