Install the Oracle Database Appliance X5-2 DE2-24C Storage Shelf Into a Rack
78 Oracle Database Appliance Owner's Guide • March 2017
■
Ensure that your site meets the requirements in “Oracle Database Appliance
Specifications” on page 48
■
Ensure that the rack meets the requirements in “Rack Compatibility
Requirements” on page 60
■
Observe all precautions in “Safety Precautions When Rackmounting” on page 59
1.
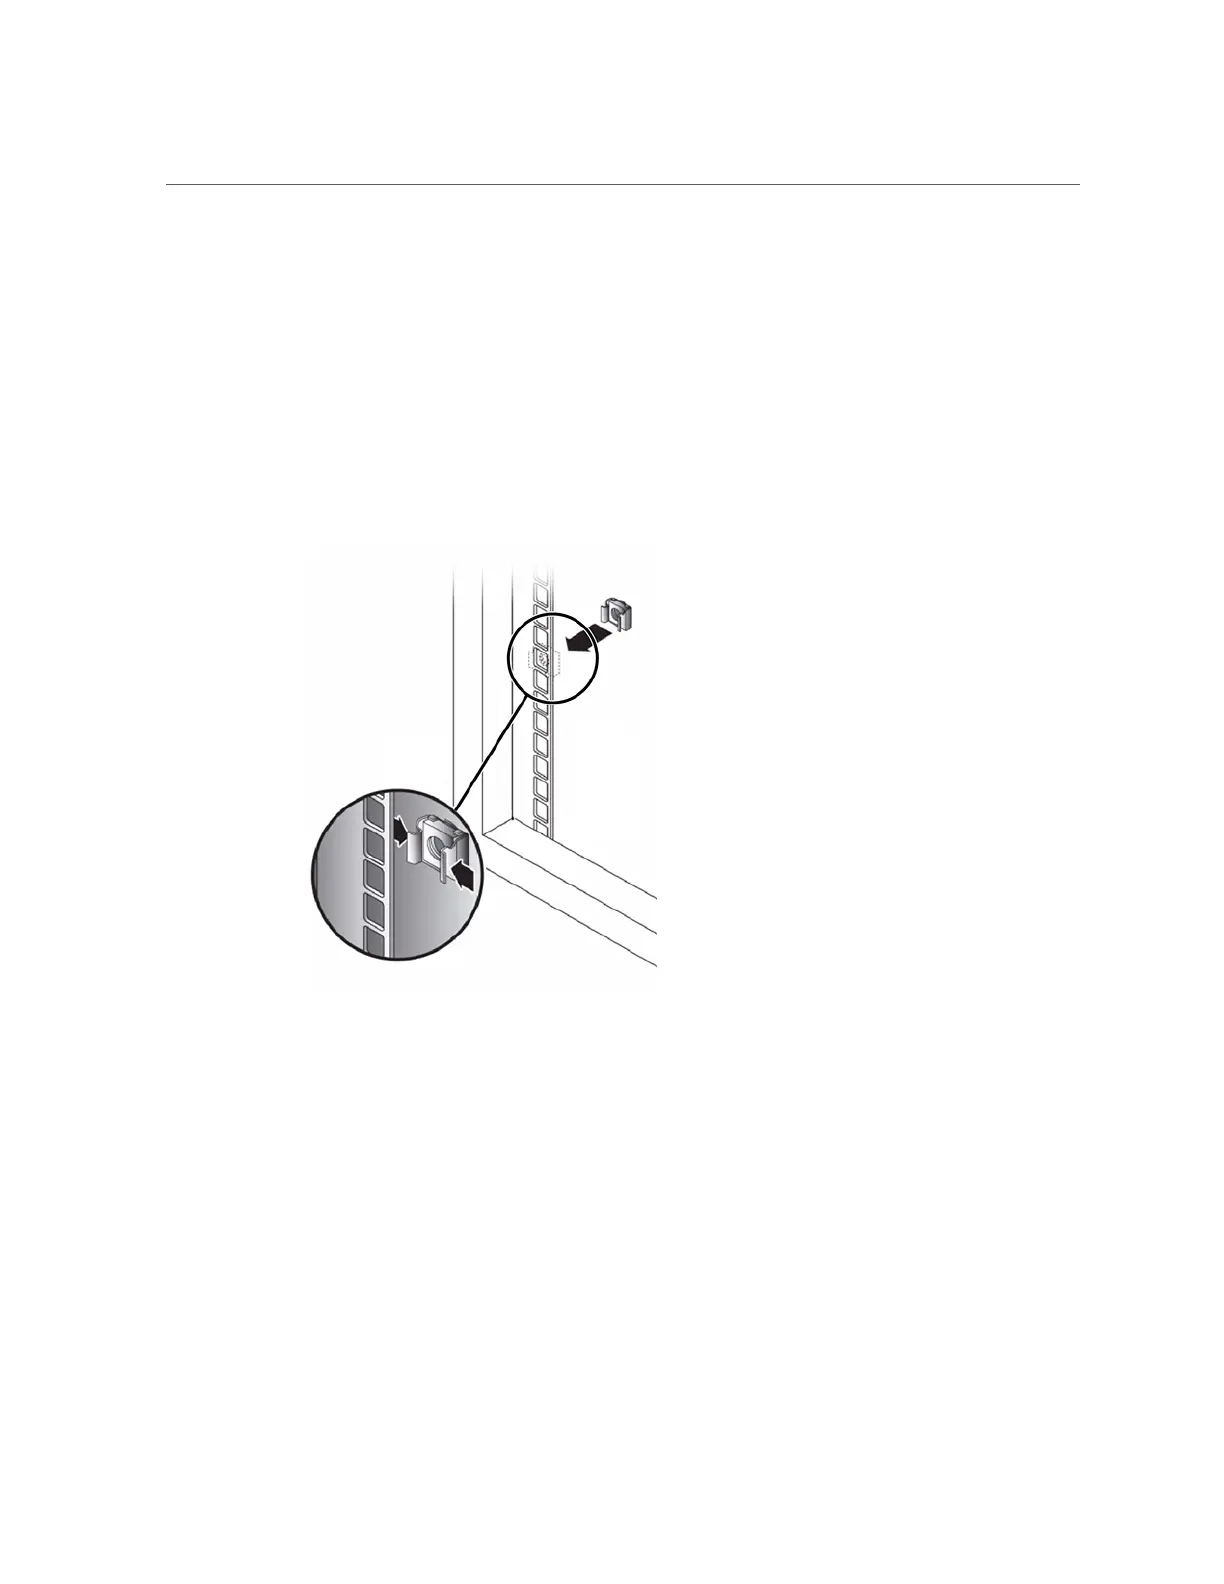
If using an unthreaded universal 19-inch or Sun Rack II cabinet, snap one
supplied cage nut into the 8th rack hole, counting upward, in each front rail of
the 4RU space.
2.
Prepare the screws in each rail end:
■
Square-hole unthreaded cabinet: No preparation.
■
Round-hole unthreaded cabinet: Remove the screws from each rail end and discard. Locate
the screws for round-hole cabinets and place aside.
■
Threaded cabinet: Remove screws and replace them in the opposite direction (from the
inside of the rail flange) so they act as location pins. Also remove the clip nut from each
front rail end and discard.
3.
Position the front of the rails inside the cabinet, with the rail flange inside of the
cabinet flange, and the rail label facing the inside of the cabinet.
■
Square-hole unthreaded cabinet: The screw heads fit inside the rack holes.

 Loading...


