Version 2.1 19
INSTALLATION
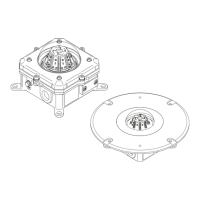
1.5 Installation of L85EX Recessed
1.5.1 Open the cover assembly
1. Open the cover assembly. Refer to section 2.3.
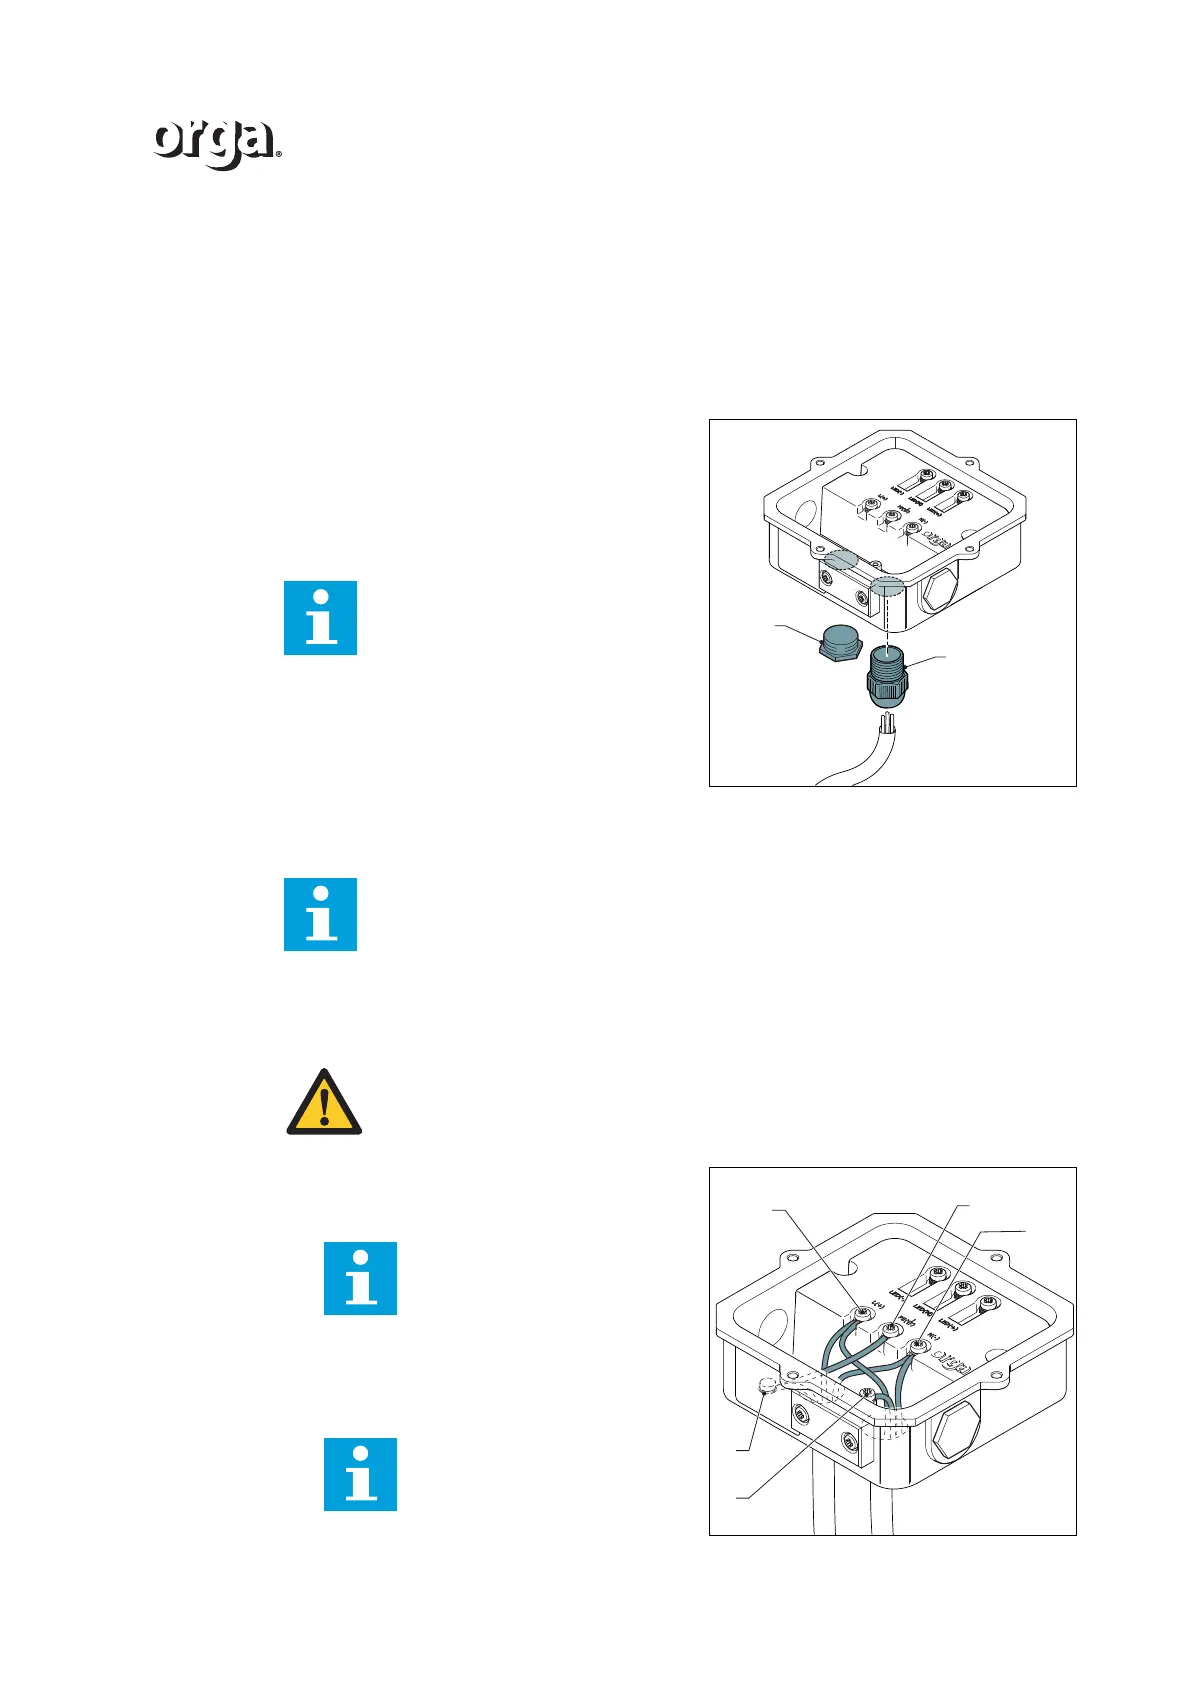
1.5.2 Connect the power supply cable
1. Fasten the power supply cable with the
cable gland (A)
2. Close the second cable entry with a blind
plug (B).
3. Connect the cable to the control panel (not
included).
1.5.3 Connect the wiring of the lighting fixture
Looping of the lighting fixture
1. Connect the live wire of the cables with
terminal L. Apply a torque of minimum
0.75 and maximum 1.25 Nm.
2. Connect the neutral wire of the cables with
terminal N. Apply a torque of minimum
0.75 and maximum 1.25 Nm.
Note
For looping (daisy chaining), use
two power supply cables and two
cable glands.
Note
The procedure below applies to each lighting fixture on the platform.
WARNING
Only use cable lugs of the eyelet type.
Note
In case of a DC execution, con-
nect the (+) wire to the (+) termi-
nal.
Note
In case of a DC execution, con-
nect the (-) wire to the (-) termi-
nal.