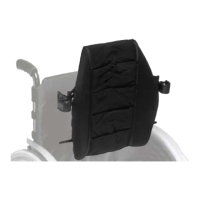
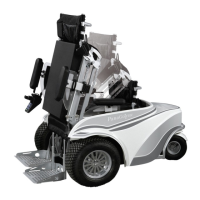
„The Back“28 | Ottobock
Adjusting the Inclination of "The Back" | Removing and Attaching the Floam Pad | Removing and Attaching the Upholstery
8 Adjusting the Inclination of "The Back"
1.
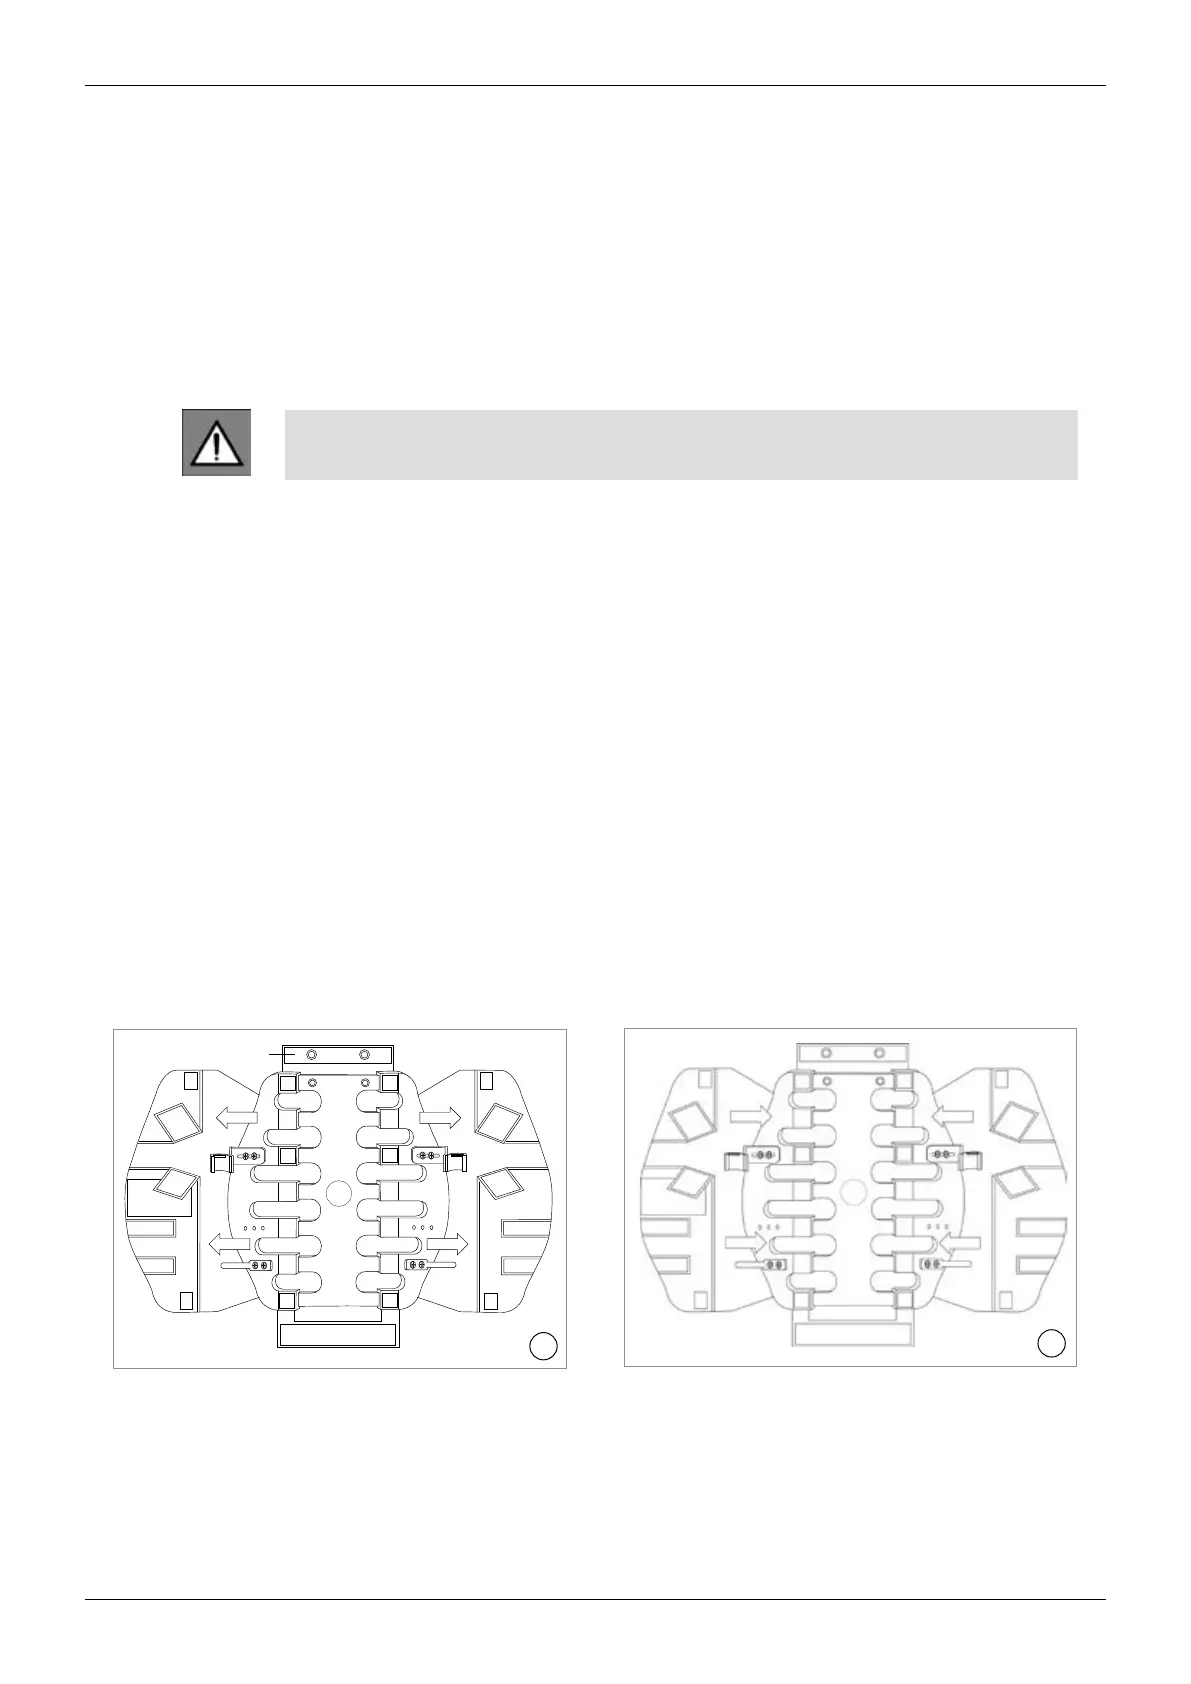
The upper assembly adapter hooks and adjustment angles are each connected with two
countersunk head screws (Fig. 4).
2. Loosen the two screws to adjust the inclination of "The Back". "The Back" is factory preset
at a 90° back angle. When installed, the posterior surface will be parallel to the back tubes.
3. It is possible to set a negative inclination up to (81°) or a positive inclination up to (102°).
4. As soon as you have adjusted for the proper inclination, retighten the two screws.
Attention!
Both screws must be used to ensure proper use.
9 Removing and Attaching the Floam Pad
1. Open the hook and loop closures at the lower edge (Fig. 7).
2. Open the upper two snap fasteners (Fig. 7).
3. To reassemble, proceed in reverse order.
10 Removing and Attaching the Upholstery
1. Loosen the lower hook and loop closures of the Floam pad (Fig. 7).
2. Open the upper two snap fasteners (Fig. 7).
3. Loosen the hook and loop closures and pull the cover and pads off the plastic retainer com-
ponents.
4. To reassemble, proceed in reverse order (Fig. 8).
8
7
1