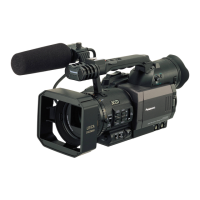
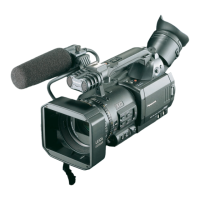
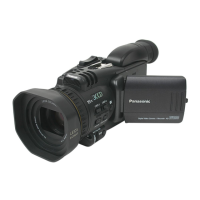
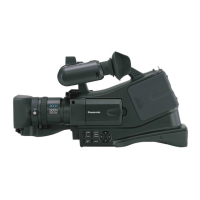
- 27 -
Viewfinder adjustment
≥ These settings will not affect the images actually recorded.
It adjusts the field of view to show the image on the viewfinder clearly.
1 Adjust the viewfinder to suit your vision so
that you can see the display images clearly.
≥ Be careful not to trap your fingers when moving the
viewfinder.
≥ The viewfinder can be lifted vertically up to
approximately 90o.
≥ Turn on the viewfinder.
2 Adjust the focus by operating the eyepiece
corrector lever.
It adjusts brightness and color density of the viewfinder.
≥ Use the jog dial to change the settings. (l 98)
1 Select the menu. (l 30)
2 Rotate the jog dial to move the cursor to the
value display A.
≥ Push the jog dial to select the value display.
3 Rotate the jog dial to adjust the setting.
≥ Pushing the jog dial will set the value you have selected.
≥ You can select a value between s16 and r16.
4 Select [RETURN].
≥ Select [EXIT].
≥ When the [LCD/EVF OUTPUT] is set to [LCD], this item cannot be set. (l 24)
≥ When [COLOR] is set to s16, images are displayed in black and white.
Adjusting the field of view
[EVF SETTING]
: [DISP SETUP] # [EVF SETTING] # desired setting
[COLOR]: Color level of the viewfinder
[BRIGHTNESS]: Brightness of the viewfinder
[CONTRAST]: Contrast of the viewfinder
A Eyepiece corrector lever
MENU
 Loading...
