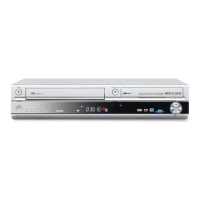
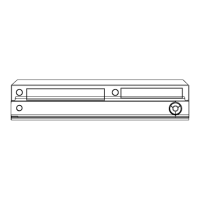
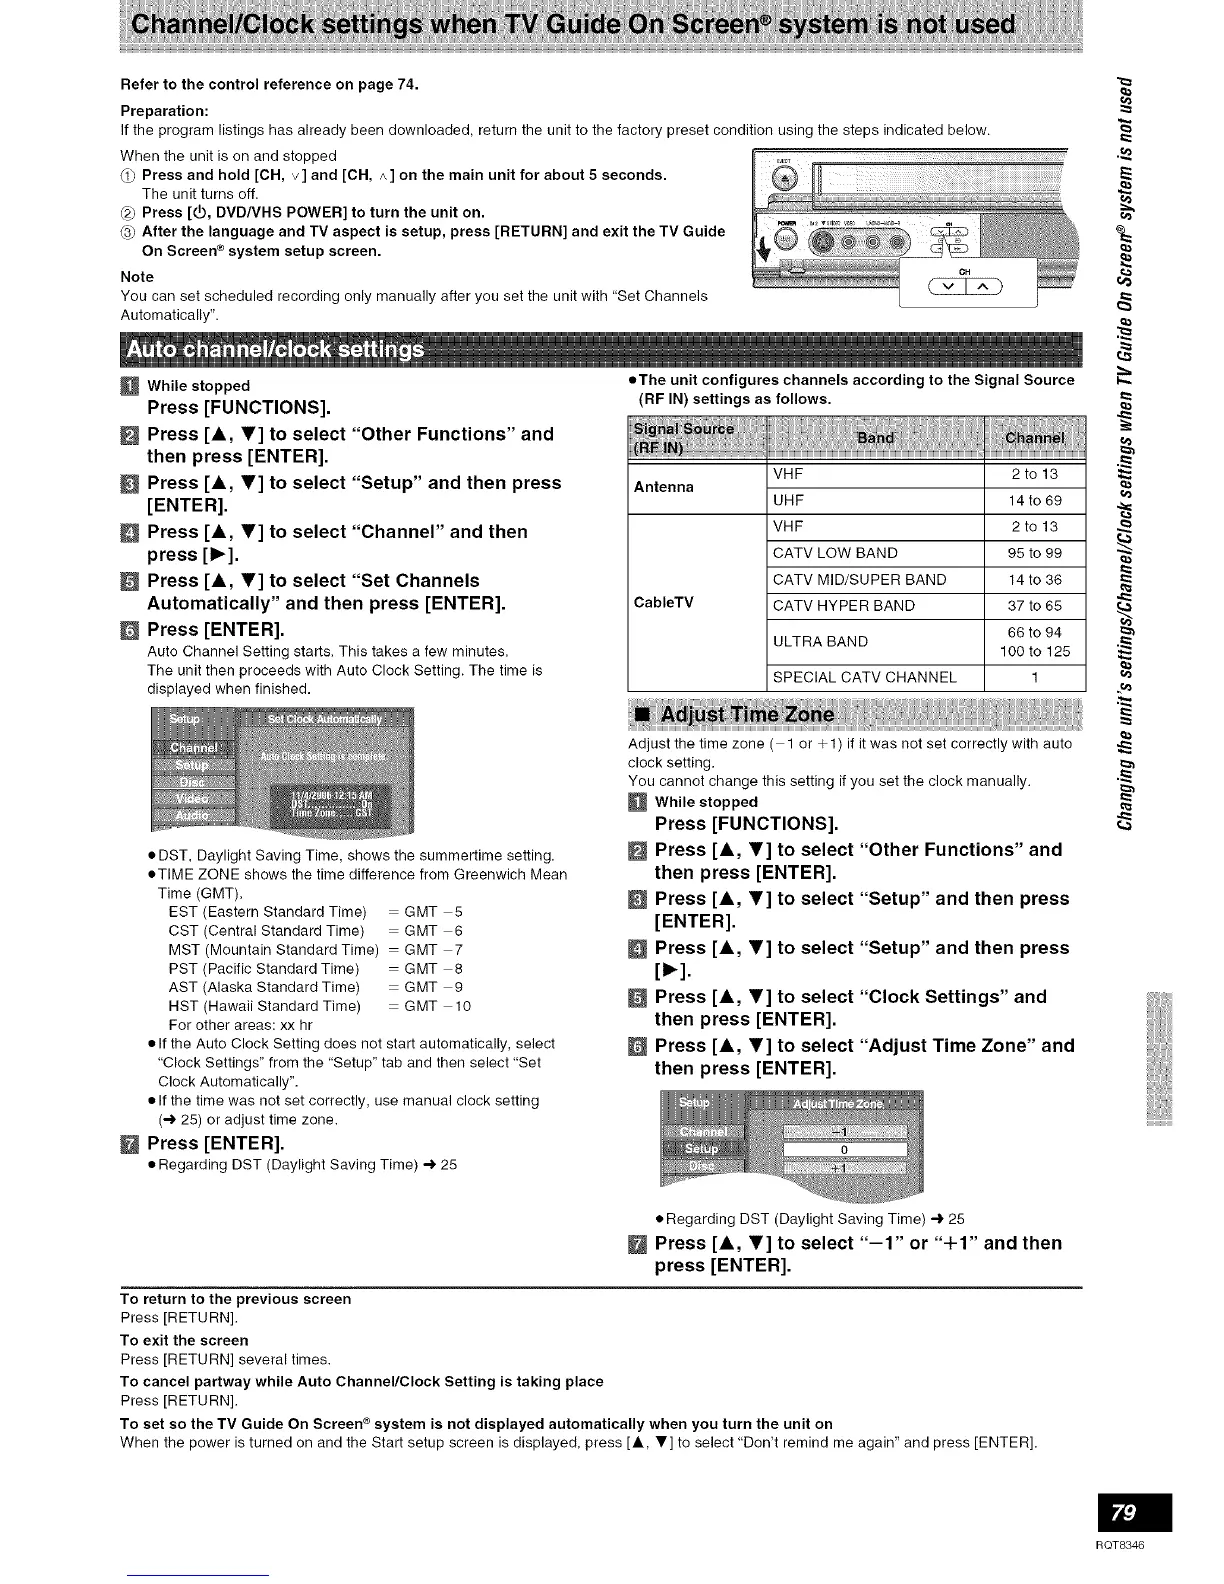
Refer to the control reference on page 74.
Preparation:
If the program listings has already been downloaded, return the unit to the factory preset condition using the steps indicated below.
When the unit is on and stopped
(1_ Press and hold [CH, v] and [CH, A] on the main unit for about 5 seconds.
The unit turns off.
_2_Press [5, DVD/VHS POWER] to turn the unit on.
@ After the language and TV aspect is setup, press [RETURN] and exit the TV Guide
On Screen ® system setup screen.
Note
You can set scheduled recording only manually after you set the unit with "Set Channels
Automatically".
C2EZ2
While stopped
Press [FUNCTIONS].
Press [A, Y] to select "Other Functions" and
then press [ENTER].
Press [A, T] to select "Setup" and then press
[ENTER].
Press [A, V] to select "Channel" and then
press [1_].
Press [A, V] to select "Set Channels
Automatically" and then press [ENTER].
Press [ENTER].
Auto Channel Setting starts. This takes a few minutes.
The unit then proceeds with Auto Clock Setting. The time is
displayed when finished.
=The unit configures channels according to the Signal Source
[RF IN) settings as follows.
VHF 2 to 13
Antenna
UHF 14 to 69
VHF 2 to 13
CATV LOW BAND 95 to 99
CATV MID/SUPER BAND 14 to 36
CableTV CATV HYPER BAND 37 to 65
66 to 94
ULTRA BAND
100 to 125
SPECIAL CATV CHANNEL 1
• DST, Daylight Saving Time, shows the summertime setting.
• TIME ZONE shows the time difference from Greenwich Mean
Time (GMT).
EST (Eastern Standard Time) GMT 5
CST (Central Standard Time) GMT 6
MST (Mountain Standard Time) GMT 7
PST (Pacific Standard Time) GMT 8
AST (Alaska Standard Time) GMT 9
HST (Hawaii Standard Time) GMT 10
For other areas: xx hr
• If the Auto Clock Setting does not start automatically, select
"Clock Settings" from the "Setup" tab and then select "Set
Clock Automatically".
• If the time was not set correctly, use manual clock setting
(4 25) or adjust time zone.
Press [ENTER].
• Regarding DST (Daylight Saving Time) 4 25
Adjust the time zone ( 1 or ÷ 1) if it was not set correctly with auto
clock setting.
You cannot change this setting if you set the clock manually.
While stopped
Press [FUNCTIONS].
Press [&, V] to select "Other Functions" and
then press [ENTER].
Press [A, T] to select "Setup" and then press
[ENTER].
Press [A, T] to select "Setup" and then press
[m,.].
Press [A, Y] to select "Clock Settings" and
then press [ENTER].
Press [A, V] to select "Adjust Time Zone" and
then press [ENTER].
%
.
• Regarding DST (Daylight Saving Time) 4 25
Press [A, T] to select "-1" or "+1" and then
press [ENTER].
To return to the previous screen
Press [RETURN].
To exit the screen
Press [RETURN] several times.
To cancel partway while Auto Channel/Clock Setting is taking place
Press [RETURN],
To set so the TV Guide On Screen ®system is not displayed automatically when you turn the unit on
When the power is turned on and the Start setup screen is displayed, press [&, Y] to select "Don't remind me again" and press [ENTER],
RQT8346
 Loading...