Getting started
VQT3F56
17
This unit is basically operated via the following method by
using the remote control.
To select and enter
Operating method can also be confirmed on the screen.
Operable functions and buttons used are displayed on each
screen.
Selecting screen for each operation is displayed when the
media is inserted, and you can access the operation screen
easily.
e.g., [USB]
≥Display items differ depending on what is recorded in each
media.
If the menu screen is not displayed, display it by
performing the following operation.
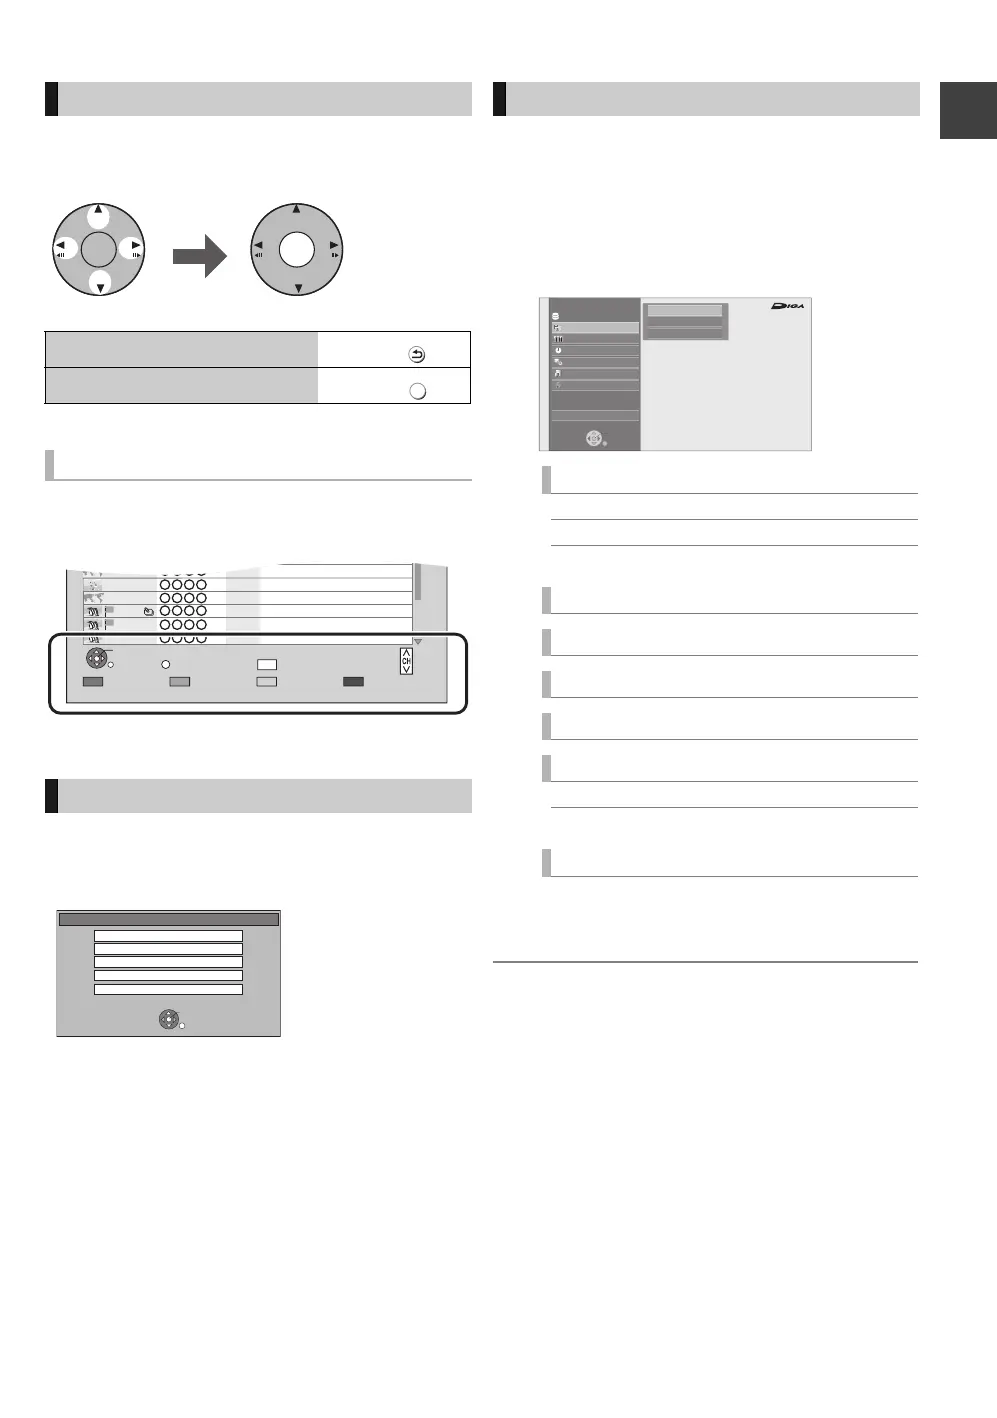
1 While Stopped
Press [OPTION].
2 Select “Drive Select”, then press [OK].
3 Select the media, then press [OK].
You can easily access the desired functions via the
FUNCTION MENU.
1 Press [FUNCTION MENU].
2 Select an item, then press [OK].
≥Repeat step 2 if necessary.
§
This is a display for when drive select is set to
HDD.
≥ Selectable items will change depending on the type and status of the
media.
Basic operation
To return to the previous screen:
Press
To exit the screen:
Press
Display Navigation
Menu screen
EXIT
Page 001/002
CopySelect
OPTION
LIVE CAT 2
SPORTS NEWS
World news
World news
05.01
08.01 2
10.01 1
1
1
1
1
03.02
PLAY
RETURN
PICTURE/MUSIC
KD2A
DOG
LIVE CAT
04.10
01.01
02.01
Delete
Page Up
Page Down
DEL
USB
OK
RETURN
USB device is inserted.
View Pictures ( JPEG )
Play Video ( DivX )
Play / Copy Music ( MP3 )
Copy Video ( MPEG2 )
Copy Pictures ( JPEG )
FUNCTION MENU screen
Playback Contents
§
Video (> 30)
Picture (> 46)
Music (> 52)
TV Guide (> 21, 25)
Timer Recording (> 26)
Copy (> 41)
Network (> 61)
Others
§
Flexible Recording via AV input (> 56)
Setup (> 67)
Drive Select
§
Disc / SD Card / USB
FUNCTION MENU
Drive Select
OK
RETURN
Titles recorded to HDD can be viewed,
edited, or deleted.
Timer Recording
Copy
Others
Disc / SD Card / USB
Network
Playback Contents
TV Guide
HDD
Video
Picture
Music
High Definition
DMRXW385GL-VQT3F56_eng.book 17 ページ 2011年2月8日 火曜日 午後4時38分
 Loading...