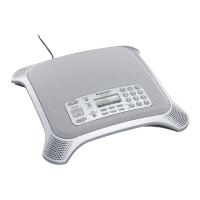
SIP Settings
To
use the unit as a SIP extension of the PBX, the unit
must be registered as a SIP extension through PBX
programming, the "Operation Mode" setting must be
set to "IP-PBX" (see page 28), and the following
settings must be set to match the settings of the PBX.
Consult your system administrator for the appropriate
settings. Refer to the PBX documentation to register the
unit as a SIP extension.
1. Press [MENU].
2. Select "Protocol Settings", then press
.
3. Select "SIP Ext. No.", then press
.
4. Enter the unit’s extension number (max. 32 digits),
then press
.
5. Select "SIP Password", then press
.
7. Enter the password (max. 32 characters), then
press [ENTER].
• Press
to switch between numeric and
alphabet entry modes.
• Press [ ] to change between uppercase and
lowercase character entry.
• See page 38 and page
40 for information on
entering characters.
8. Select "SIP User Domain Name", then press
.
9. Enter the IP address of the PBX, then press
.
10. Select
"SIP Proxy Server IP Address", then
press
.
11. Enter the IP address of the PBX, then press
.
12. Select "SIP Proxy Server Port Number",
then press
.
13. Enter
the SIP port number of the PBX or SIP proxy
server, then press
.
14. Select "SIP Registrar IP Address", then
press
.
15. Enter the IP address of the PBX, then press
.
16. Select "SIP Registrar Port Number", then
press
.
17. Enter the SIP port number of the PBX or SIP
registrar server, then press
.
18. Press [MENU].
Note
• If this setting is changed, the unit must be
restarted before the new setting becomes
effective (see page 47).
• To confirm the SIP extension number, press
[MENU]®"SIP Ext. No."®
.
Document Version 2010/02 Operating Instructions 27
Preparation

 Loading...