2.3.3 Driver installation
All users
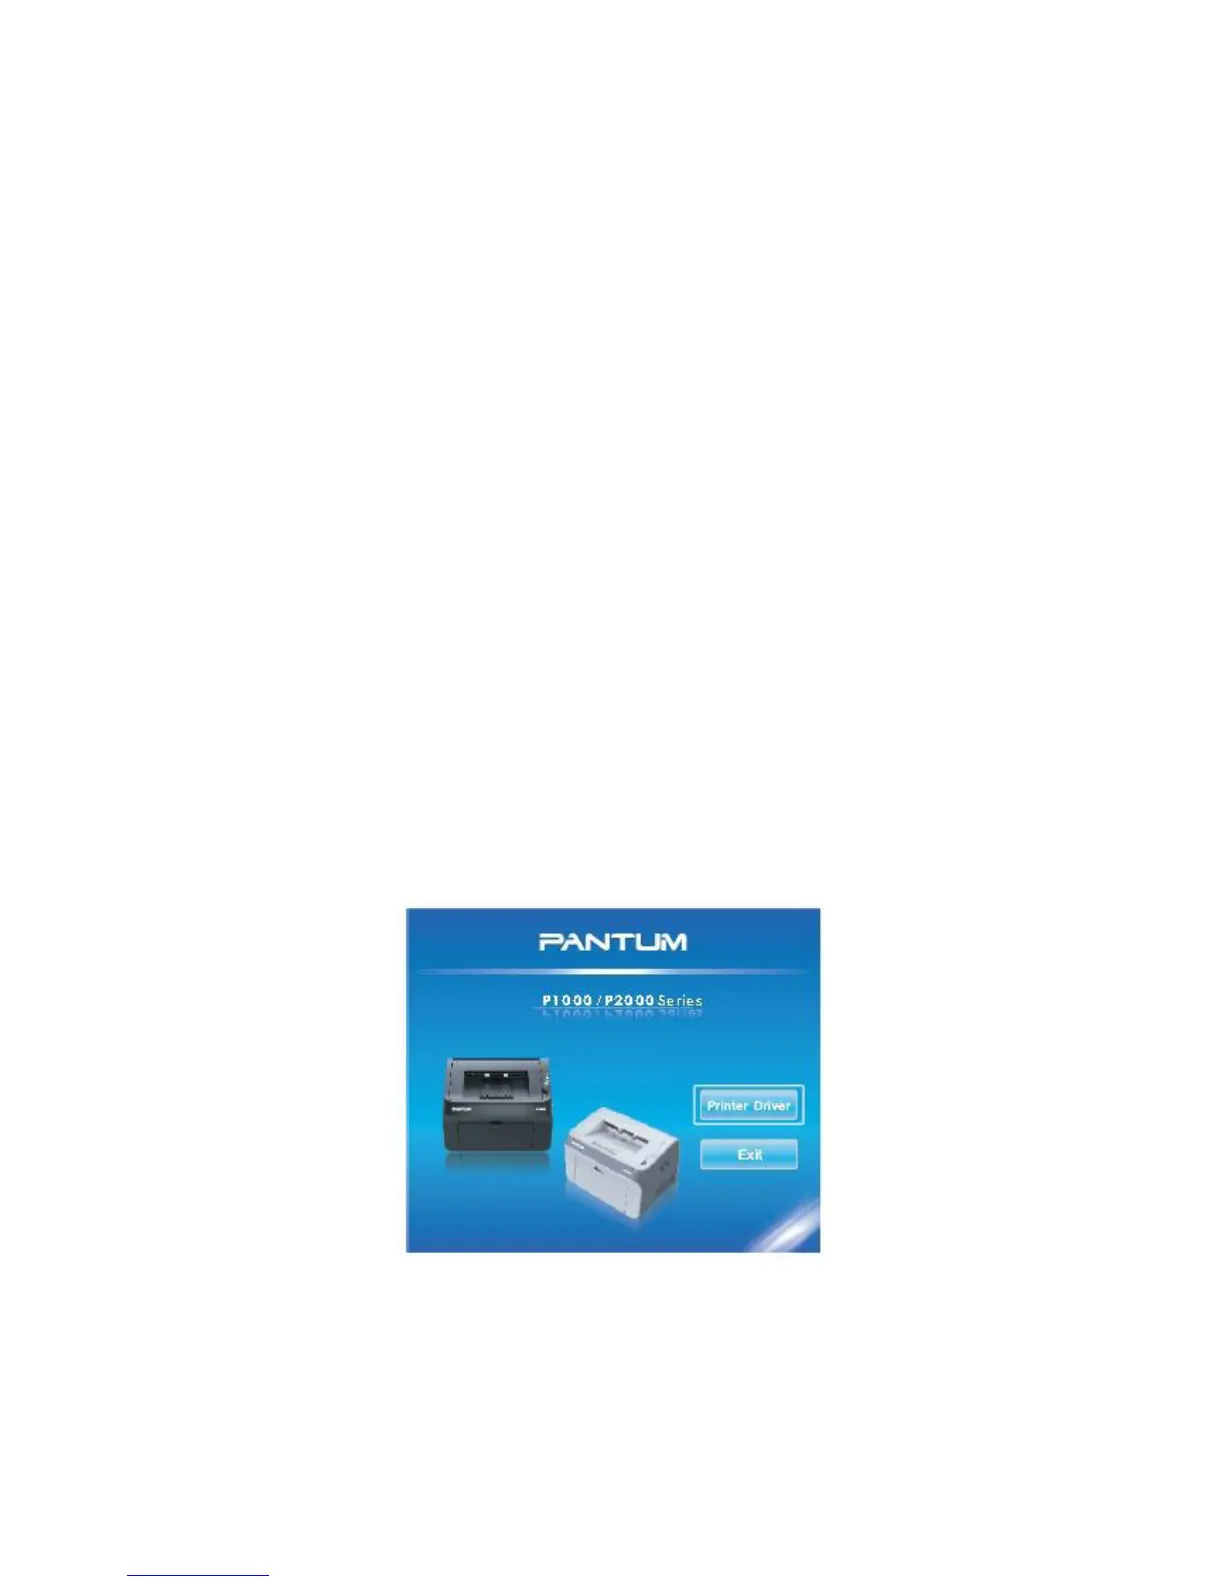
Switch on the PC; insert the accompanying CD-Rom into the CD drive. Installation program
window will automatically appear. Select the printer type and language.
Note:
It is not recommended to connect the power cable or USB cable when installing the driver,
If prompted by the User Account control interface in Microsoft Windows Vista/
Windows-7/Windows Server 2008, please click ‘Allow’ or ‘Yes’.
If the installation setup screen doesn’t appear, please click My Computer, and open CD-ROM,
and then double-click Setup.exe.
To install the printer driver:
1) Put the CD-ROM that came with your printer in the CD drive of your PC. The setup window
will appear automatically.
2) For Windows 7, Windows Vista and Windows Server 2008 users:
a) When you see the prompt ‘User account control interface’ click Allow or Yes.
b) If the PANTUM P1000/P2000 Installation screen does not appear click My Computer,
open the installation CD-ROM and double click Setup.exe then follow the installation steps
on the screen.
The installation steps are:
(1) Click the Printer Driver button to begin the installation.
 Loading...