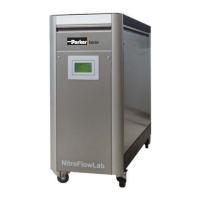
K3.1.142e Manual NitroFlow Lab - 47 -
9.3 Replace oxygen sensor
1. Switch off the NitroFlow
®
Lab.
2. Remove the front cover above the
touch screen from the NitroFlow
®
Lab
(no tools required)(refer to Fig. 9-1).
3. Carefully remove the sensor cap (E).
Do not pull the tube.
4. Unscrew the screw ring (D).
5. Disconnect connector (A).
6. Install the new sensor (C).
7. Switch on the NitroFlow
®
Lab.
8. Calibrate the oxygen sensor. Refer to §9.4
9.4 Calibrate oxygen sensor
1. Switch the unit off by
touching the front switch off
button
(refer to §6.2).
2. Let the system depressurize
3. Remove the sensor cap (E)
and expose the sensor to
ambient air.
4. Wait for 60 seconds.
Caution:
The sample flow is factory
preset by with FCV3 and
normally should not be
adjusted. Tampering with
this valve will have a major affect on the operation of the
generator.
5. If the sample flow needs to be verified, connect a low flow meter
coming out of tube (F) and measure flow rate. Flow Rate should be
300 cc/minute. If Flow Rate needs to be adjusted, unlock the
locking nut and turn black adjustment knob of the Sample Flow
Valve (FCV3). Counter clockwise increases the flow, clockwise
decreases the flow. Note: This is a very sensitive adjustment, turn
AB
C
D E F
Fig. 9-7: Replace oxygen sensor
AB
C
D E F
Fig. 9-8: Calibrate oxygen sensor