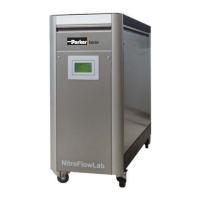
K3.1.142e Manual NitroFlow Lab - 50 -
11. Remove the new compressor from it s packaging. Remove the transit
support blocks. (Fig. 9-17)
12. Remove the pipe fitting, which can be
disposed of. (It’s only included for
manufacturer’s use). (Fig. 9-18)
13. Install the new compressor in reverse order
of removal.
14. Retain compressor packaging to ship old
compressor (if necessary).
15. Check for leaks before re-assembly.
9.6 Software updates
The issue number of the software version for the controller of the NitroFlow
can be found in the maintenance
-menu (refer to §6.3.6). When Parker
Filtration & Separation would update the software in the future you can
have full advantage of that. A new version can be put on the control system
by following the instructions below.
1. Switch the unit off.
2. Allow the system to depressurize.
3. Remove the SD-card
4. Place the SD-card in a card reader connected to a computer
5. On the SD-card are 2 bin files: io.bin & lcd.bin. Just for safety you
could save the old contents of the SD-card on your computer.
6. Replace the old files with new versions, which you receive from
Parker.
7. Replace the SD-card in the control unit.
8. Switch the power back on.
Fig. 9-15 – disconnect
multi-pin plug
Fig. 9-16 – remove
compressor
Fig. 9-17 – remove
transit support blocks
Fig. 9-18 – remove pipefitting