29
Settings
Table of contents
8.1.2 Setting the microphone sensitivity
You can customize the microphone settings to suit the recording conditions.
Adjust the recording sensitivity to avoid recording background noises and to
adapt to the recording environment.
1
In stop mode (start screen), press the menu key `.
2
Press h / b to select the record settings menu Ó.
3
Press the record key g to confirm.
4
Press h / b to select the Mic Sensitivity.
5
Press the record key g to confirm.
6
Press h / b to select the required recording quality.
X The selected microphone/recording sensitivity symbol will be
displayed.
º – high sensitivity, source far away
¹ – low sensitivity, source very near
7
Press the record key g to confirm.
8
Press the stop key j to exit the menu.
Tip
• Press the stop key j to cancel the operation without saving and return
to the stop mode.
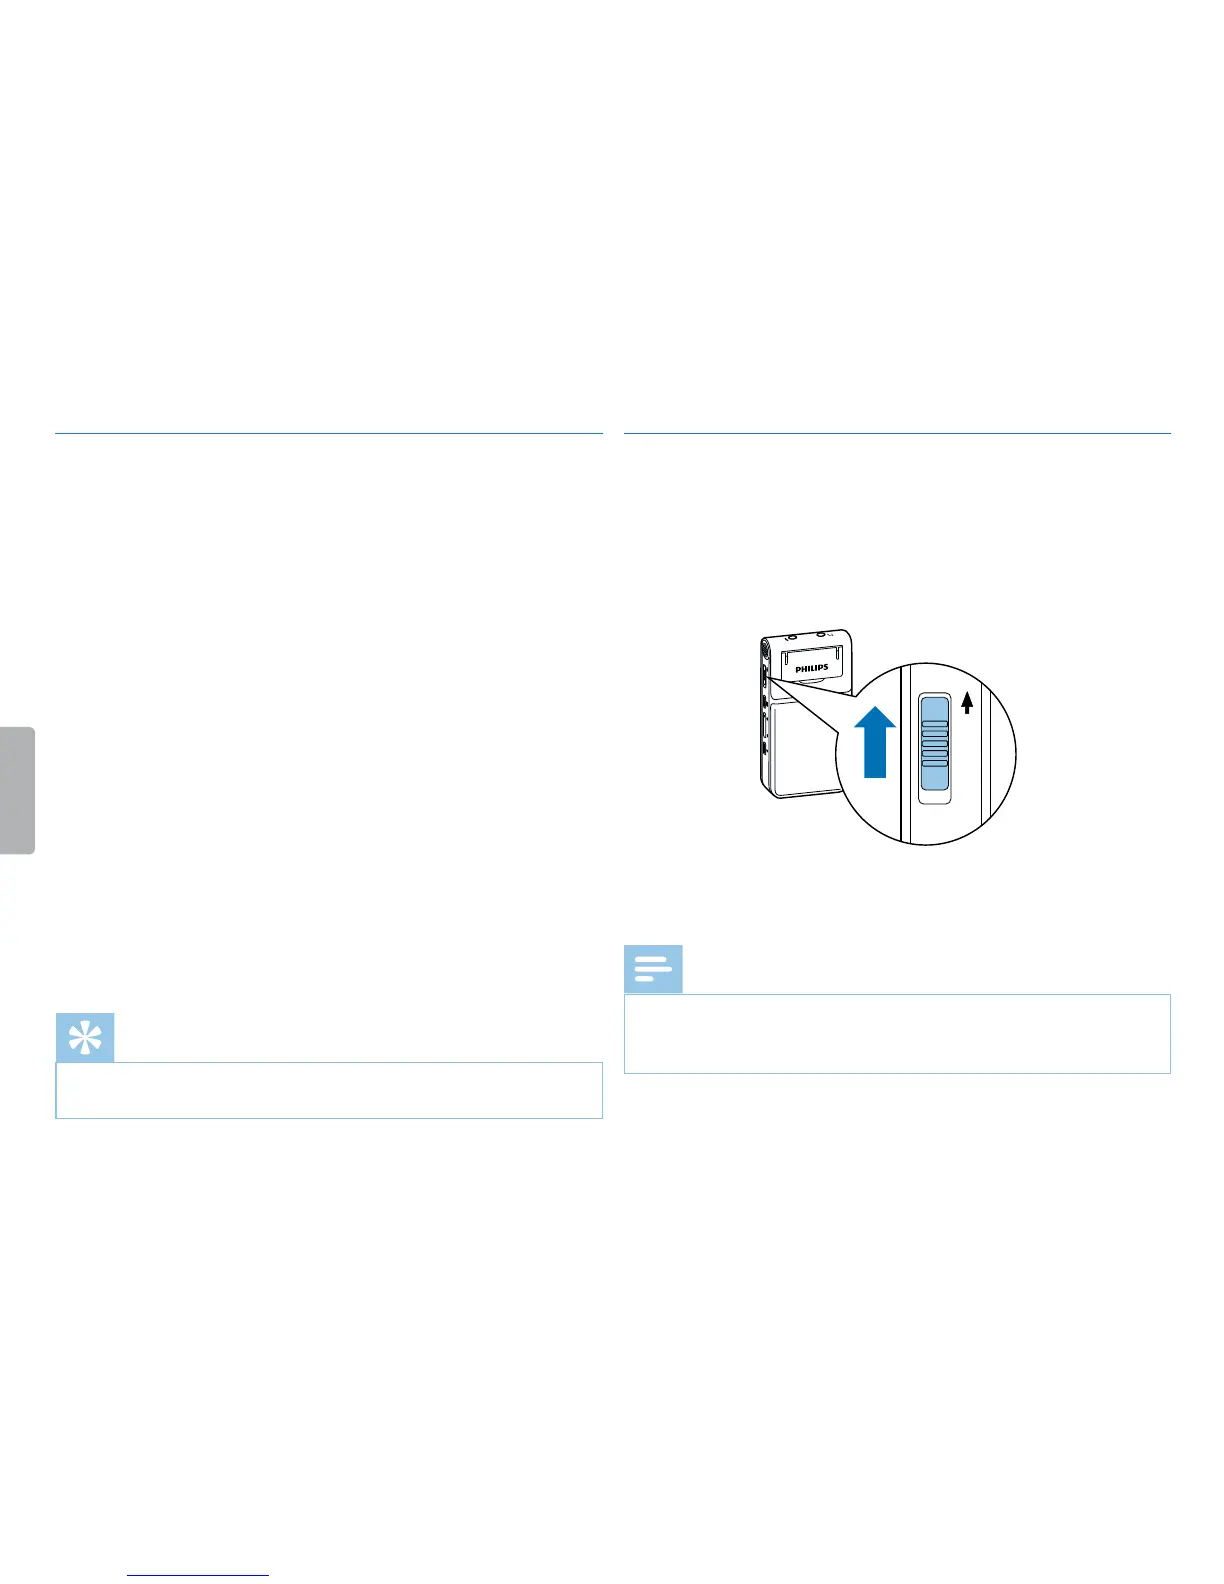
8.1.3 Enabling/disabling noise reduction
When you record in environments with a lot of background (e.g. while in
a crowd or traveling by train or car), you can enable the noise reduction
function to reduce the background noise.
1
In stop mode, slide the switch on the side of the device upwards into
the NOISE CUT position.
2
Press the record key g to start recording.
X If this feature is enabled, the \ symbol is displayed.
Note
• Noise reduction is only possible when using PCM recording quality €.
If you activate noise reduction, the device automatically switches to
PCM recording quality €.