11
English
7
After you have completed the brushing cycle, you can
spend additional time brushing the chewing surfaces
of your teeth and areas where staining occurs. You
can also brush your tongue, with the toothbrush
turned on or off, as you prefer.
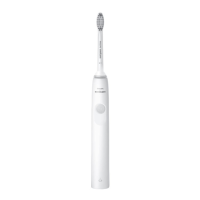
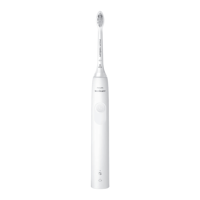
Your Philips Sonicare toothbrush should be safe to
use on braced (brush heads wear out sooner when
used on braces) and dental restorations (fillings,
crowns, veneers) if they are properly adhered and not
compromised. If a problem occurs, please follow up
with a dental professional.
Note: When the Philips Sonicare toothbrush is used in
clinical studies, the handle should be fully charged and
the EasyStart feature deactivated.
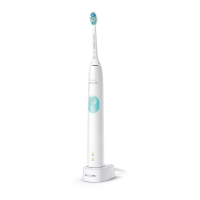
Charging and battery status
1
Attach the USB charging cord to a wall adapter, plug
the wall adapter into an electrical wall outlet.
2
Place the handle on the charger.
Note: The handle will emit 2 short beeps to confirm that
the handle is placed properly on the charger and is
charging.
Note: This Philips Sonicare toothbrush is designed to
provide at least 28 brushing sessions, each session lasting
2 minutes (14 days if used twice per day). The battery
level indicator shows the battery status when you
complete the 2-minute brushing session, when you pause
the handle, or while it is charging.
Battery status (when handle is on a working charger)
Battery status Battery indicator
Full Solid green (turns off after 30
seconds)
Charging Flashing green
 Loading...