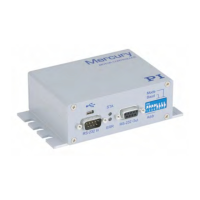
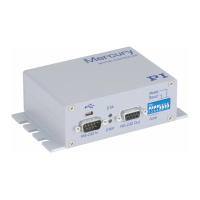
48 Version: 1.2.1 MS249E C-863.12 Mercury Controller
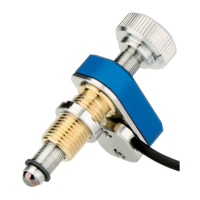
5.7 Connecting an Analog Joystick
You can connect an axis and a button of an analog joystick to the Joystick socket:
▪ Pin 4: Axis 1 of joystick 1
▪ Pin 6: Button 1 of joystick 1
You can use joystick axis to control the velocity of the positioner connected to the C-863.12.
The C-819.20 and C-819.30 joysticks, available as optional accessories, use pins 4 and 6 of the
Joystick socket. Pin 3 of this socket is used as power supply of the joystick.
You can use a C-819.20Y Y cable to connect two C-863.12 to a C-819.20 joystick. In this case,
power is supplied to the joystick by the C-863.12, which is connected to the X branch of the
cable.
Tools and accessories
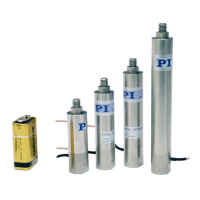
▪ Analog joystick from PI for operation with 0 to 3.3 V, available as an optional accessory
(p. 10):
− C-819.20 analog joystick for 2 axes
− If a C-819.20 joystick is to be connected to two controllers: C-819.20Y Y cable
or
− C-819.30 analog joystick for 3 axes
Connecting an analog joystick
➢ Connect the joystick to the Joystick socket of the C-863.12:
− If you want to operate a C-819.20 joystick with this controller only, connect it
directly to the controller.
− If you want to operate a C-819.20 joystick with two controllers (i.e., two axes),
connect the joystick to the C-819.20Y Y cable and connect both controllers to the X
and Y branches of the cable. The power is supplied to the joystick via the X branch.
For this reason, the X branch has to be connected to a controller even if joystick
control is not to be activated for this controller.
− If you want to connect an axis of a C-819.30 joystick, connect the corresponding
cable of the joystick to the controller.