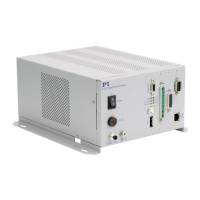
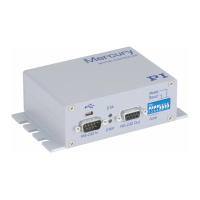
92 Version: 1.2.1 MS249E C-863.12 Mercury Controller
b) Mark the correct positioner name in the Select controller axis window.
c) Click OK in the Select controller axis window to confirm selection and close the
window.
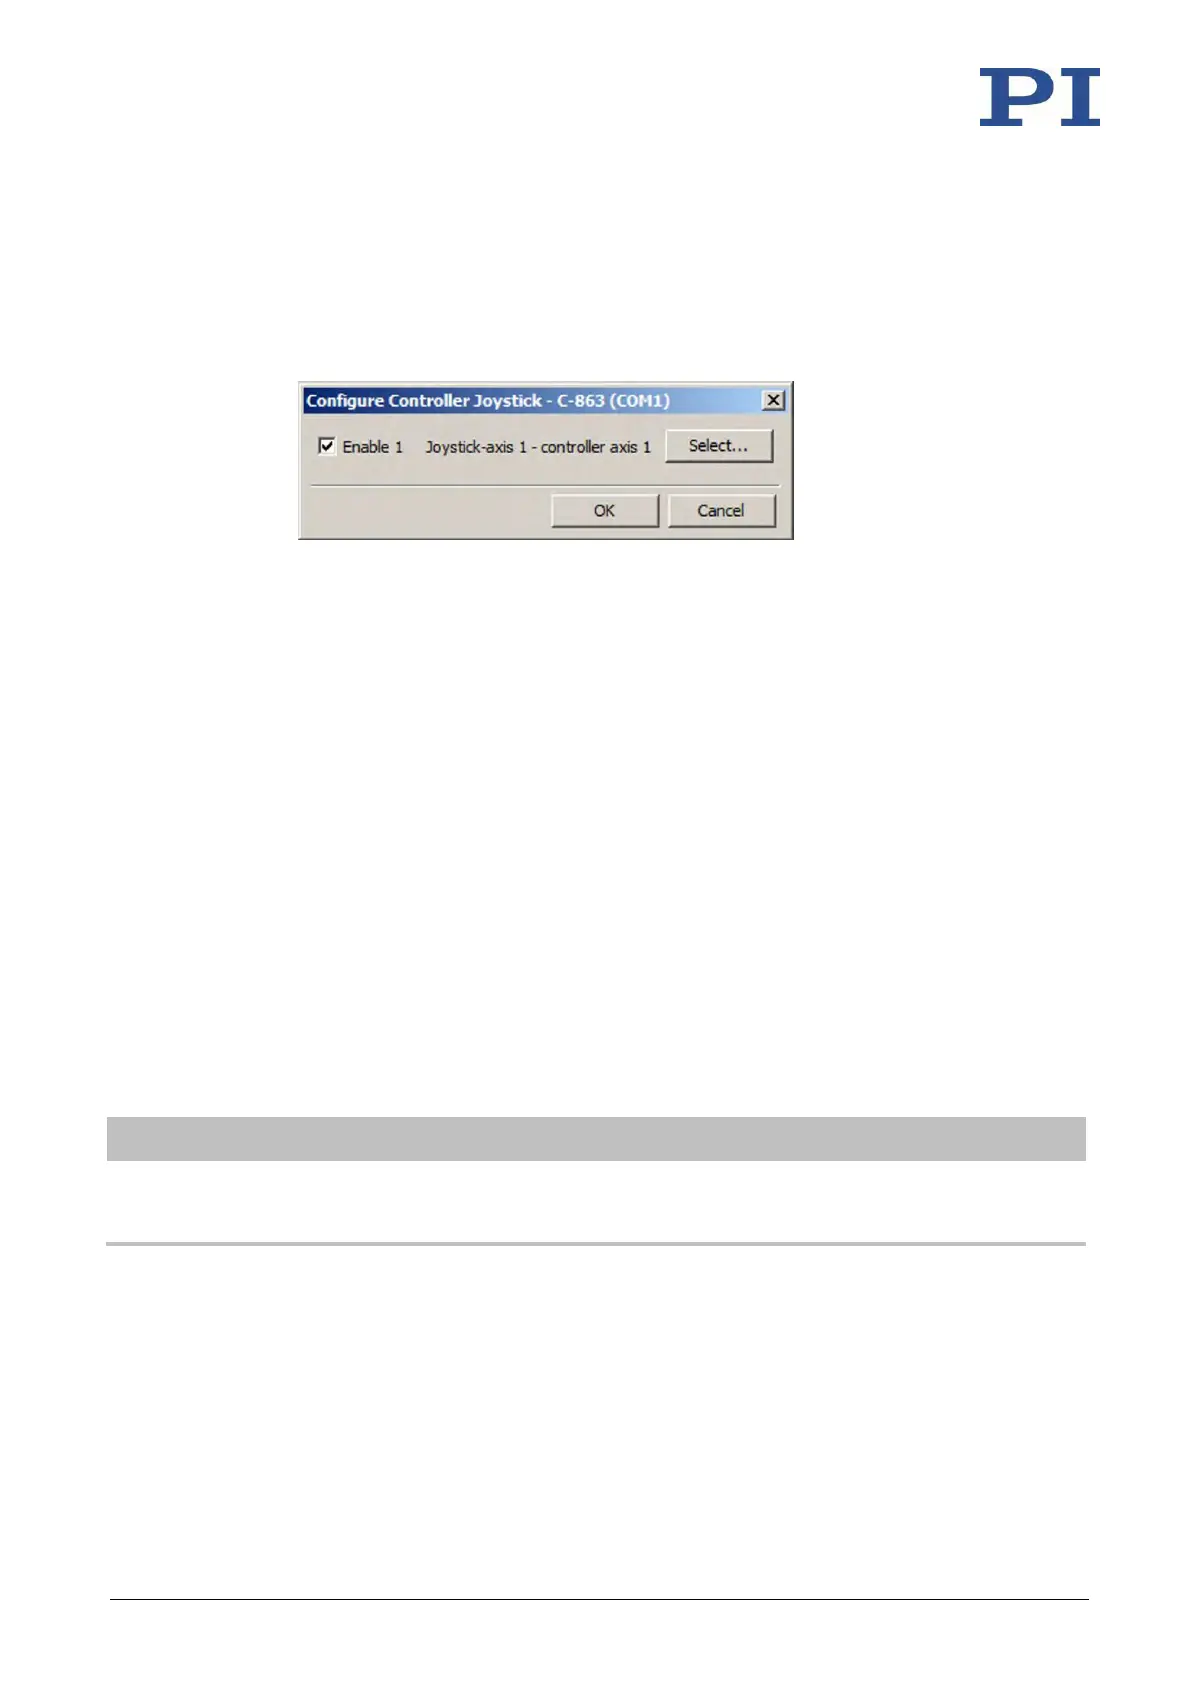
3. Activate the joystick in the Configure Controller Joystick window by checking the
respective Enable checkbox.
If joystick control does not operate satisfactorily or the positioner moves even though
you are not moving the joystick:
− Check whether the joystick is locked mechanically.
− Calibrate the joystick (p. 92).
4. Control the velocity of the positioner via the joystick.
5. If you want to deactivate joystick control, remove the tick from the respective Enable
checkbox in the Configure Controller Joystick window.
7.6.4 Calibrating the Joystick
Calibration of the individual joystick axes is recommended after connecting a joystick to the C-
863.12 for the first time.
Calibration involves the following steps:
▪ If corresponding operating elements are on the joystick: Adjusting the joystick axes
mechanically.
▪ Calibrating the joystick axes in PIMikroMove
The lookup table type to be used is selected or the lookup table is filled with custom values
when calibrating the joystick in PIMikroMove. To do this, a positioner does not need to be
connected to the C-863.12.
Calibration is necessary for proper joystick control in the following cases:
▪ After activating joystick control, the positioner moves even though you are not moving
the joystick.
▪ The response behavior of the joystick does not correspond to your requirements.
▪ You are using the Z axis of a C-819.30 joystick.