Commissioning
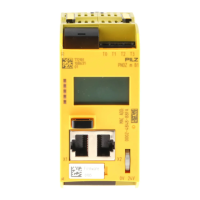
Operating Manual PNOZ m C0
1006013-EN-02
| 24
7.3 Load project from chip card
If you have a brand new device and a chip card containing a project is inserted, the project
on the chip card is transferred to the base unit's internal memory when the device is
switched on.
For devices that have already been used, proceed as follows:
} Insert the chip card containing the current project into the card slot on the base unit.
} Switch on the supply voltage.
} Remove the chip card as soon as the chip card has been detected by the base unit and
the Run and Diag LEDs flash.
The chip card must be removed no later than 3s after the chip card is detected.
If the chip card has been removed within the required time, the Diag LED lights and the
Run LED is off.
} Insert the chip card back into the card slot within 5 s.
When the chip card has once again been detected, the project is transferred into the base
unit's internal memory. The Diag LED flashes
} Once the project has been transferred successfully, the chip card can be left inserted in
the base unit or can be removed.
7.4 Load project via USB port
Procedure:
} Connect the computer containing the PNOZmulti Configurator to the base unit via the
USB port.
} Switch on the supply voltage.
} Download the project (see PNOZmulti Configurator's online help).
INFORMATION
If a chip card is inserted in the base unit when the project is loaded via the
USB port, then the project data is simultaneously saved on the chip card.
7.5 Function test during commissioning
CAUTION!
It is essential to check that the safety devices operate correctly
– After the project has been loaded from the chip card
– After the project has been loaded from the PNOZmulti Configurator
via the USB port
 Loading...