888-2408-002 2-5
WARNING: Disconnect primary power prior to servicing.
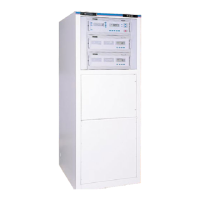
Installation & Initial Turn-On
2.5.4 3-Phase Power Supply Installation
The Z5 transmitter can be configured with either a 3-Phase or Single Phase power
supply. Operation of the supplies is basically the same with both using the dynamic
tap switching for efficiency. However, their physical make-up is different and
requires separate installation procedures. The 3-phase will be discussed first, then
the Single Phase will follow. Note that some transmitters may be shipped with the
power supply installed, depending on where and how it is shipped. If the power
supply is already installed and your measured AC voltage at the wall breaker
matches the Factory test data sheet and the tag on the main AC contactor in the rear
of the transmitter then skip the power supply installation and proceed directly to
"2.5.6 Transmitter AC Connections" on page 2-11. If there are any discrepancies
then the transformer tapping will have to be checked and possibly changed as
outlined below.
!
WARNING:
DISCONNECT AND LOCKOUT STATION PRIMARY POWER AT THE WALL
BREAKER BEFORE MAKING ANY CONNECTIONS.
2.5.4.1 Power Transformer Tapping
The power transformers are tapped at the factory for the primary AC voltage
specified by the customer. This voltage should be documented in the factory test
data accompanying the transmitter and tagged at the main contactor in the rear of
the transmitter. However, the voltage at the site and the transformer tapping should
be verified by the installation personnel. The input voltage and strapping chart is
shown on the Overall System Block Diagram along with the transformer schematic.
Verification and/or re-tapping will require opening the power supply access panel
on the front of the transmitter, disconnecting the supply and rolling it out (this is
only if the transmitter was shipped with the power supply installed). To remove the
power supply, refer to Section V, under the heading “Power Supply Removal.”