Page 29 of 43
8.1 Adding an info column
You can add a personal info column on the left side of the measurement report. To
create the info column you need a computer and a graphic software or you authorize an
illustrator to do this.
Note:
1. Create your information (text and images) with any graphic program in an exact
dimension of 3.300 x 583 pixels.
2. Store this information as an image on the supplied USB stick. The name of the image
may not contain any diacritical marks and must have a suffix of .png.
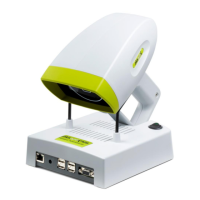
3. Switch on the plusoptiX A09 and wait until the start page appears.
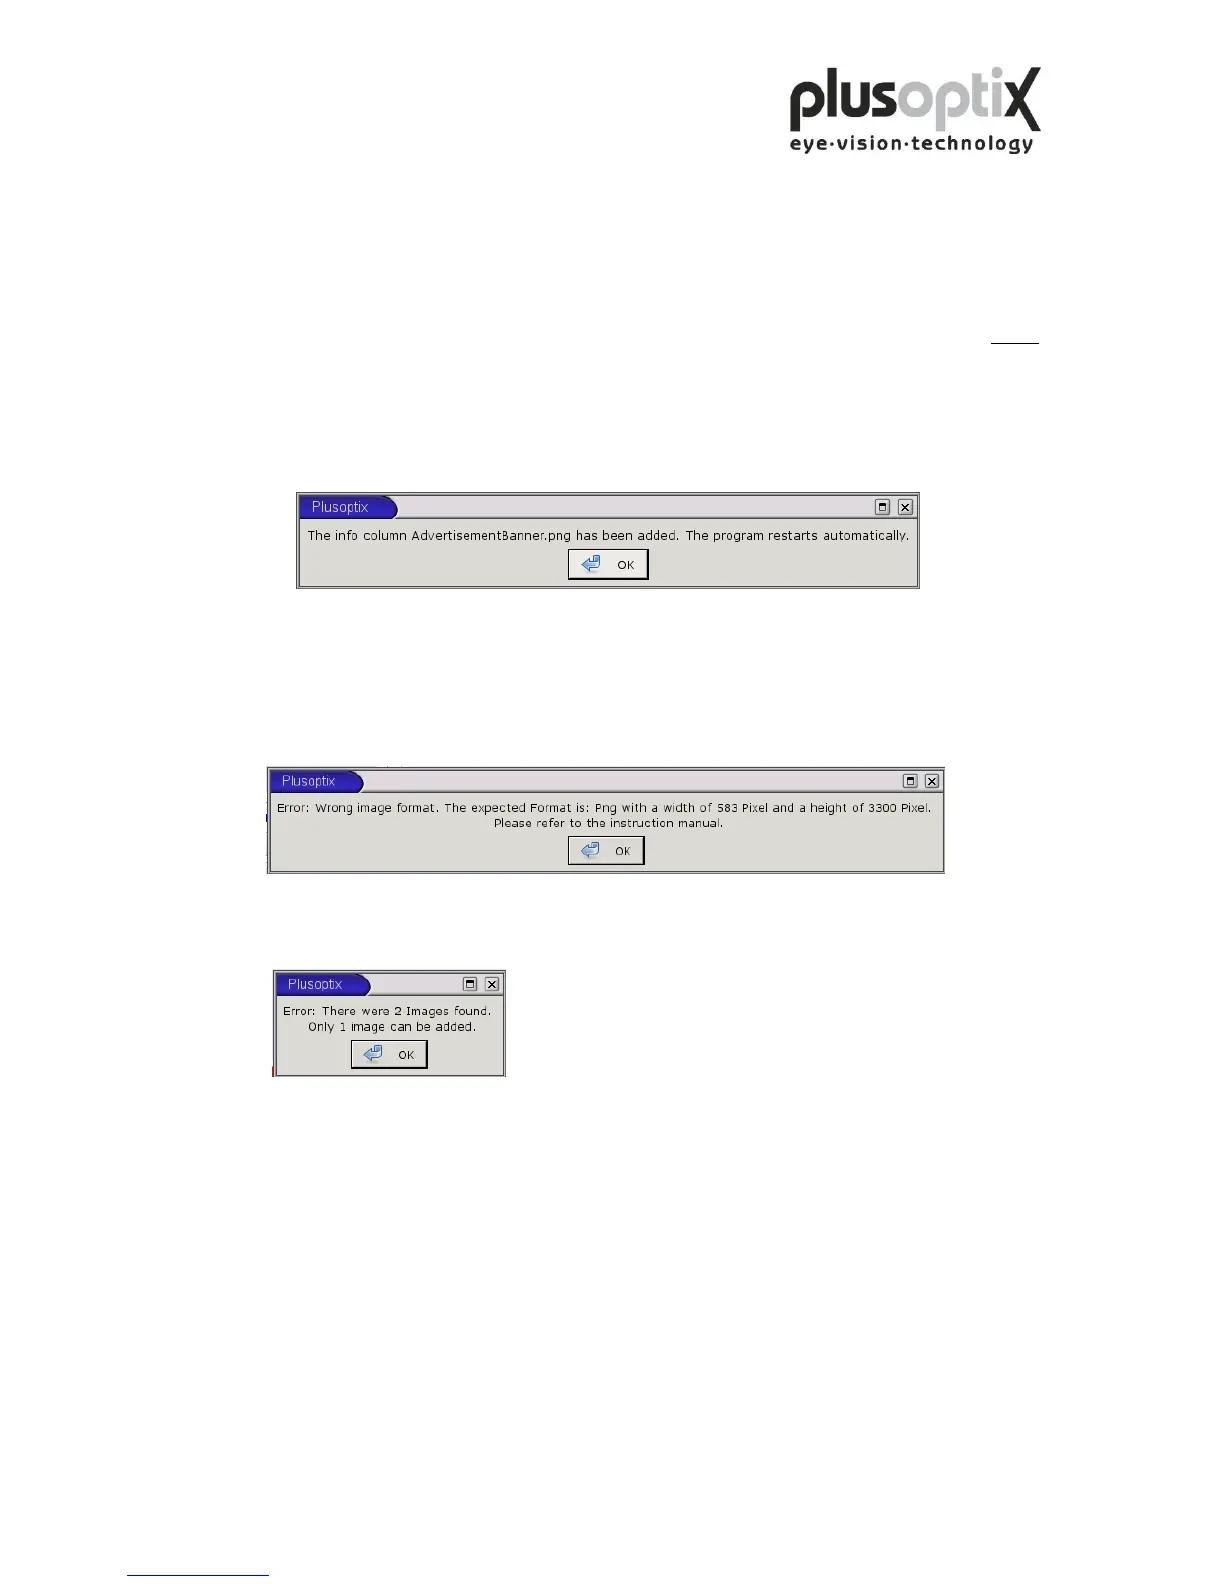
4. Insert the USB stick into the plusoptiX A09. Following window appears.
Click on “OK”. The program restarts automatically.
5. Remove the USB stick.
Following error messages can occur inserting the info column:
1.
The size of the inserted picture is not 3.300 x 583 pixels. Click on “OK” and change
the size of your picture into the requested one.
2.
Two pictures are stored on the USB stick. Click on “OK” and remove one.