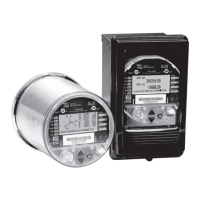
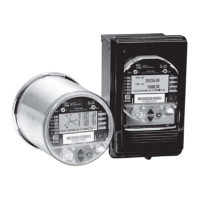
ION 8000 Series User Guide Configuring EtherGate Connections
Chapter 6 - Communications Page 85
the Ethernet device TCP/IP address
Configuring EtherGate Connections
The EtherGate protocol is a powerful communications tool that lets you
communicate to a meter and through a meter simultaneously. When a meter
installed on the Ethernet network has EtherGate enabled, a master device (such as
a workstation running ION Enterprise software) can communicate to the meter,
and through the meter to a serial network of devices wired to the meter’s COM port.
EtherGate is available on serial ports COM1 and COM2 in place of the ION,
Modbus Master, Modbus RTU, or DNP 3.00 protocols. The protocol permits the
direct transfer of data from up to 62 devices (31 devices per COM port).
Once you have the chain of serial devices installed, use Designer or the meter’s
front panel to change the COM1 or COM2 Protocol setting to EtherGate. The
transfer of data between protocols is then handled automatically.
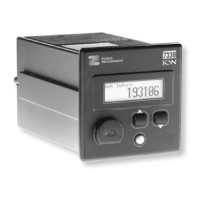
Using the front panel
1. Press and hold the Alt/Enter button for a few seconds to reach the Setup
screens.
2. Press the Up or Down arrow buttons to scroll to COM1 Setup (or COM2,
depending on your meter’s options). Press Alt/Enter to go to the COM1 Setup
parameters.
Ethernet
Specifying the TCP/IP Port
instructs the ION gateway
meter to:
7801—talk through COM1
7802—talk through COM2
Each device in the
serial network must
have a unique Unit
ID and operate at
the same baud rate.
 Loading...