38
PowerBox-Systems − World Leaders in RC Power Supply Systems
It is also possible to erase files – but caution: if you wish, for example, to erase a sound file for a telemetry alarm, then that alarm
will no longer function! Even though you can quickly copy the files back into the transmitter, you may well find yourself wasting a
lot of time searching for the cause of the error.
Before removing the USB stick, hold the USB symbol pressed in until the stick is ejected.
NOTE
3.16 Teacher/Student System
The Atom’s Teacher / Student system has been designed in such a way
that the Student transmitter can be almost any transmitter currently available
commercially. The whole system operates in the modern way with a radio
link, i.e. without a cable connecting the two transmitters. Apart from a Stu-
dent transmitter, all you need is a receiver bound to it which can generate a
standardized S.BUS or SRXL (UDI) signal.
This table provides an overview of which radio control systems are capable
of generating which signal. For all other current radio control systems please ask your supplier whether it generates one of the bus
systems listed here.
The Atom transmitter is always the Teacher transmitter, and is bound to the model. All functions, mixers and flight modes are set
at the Atom transmitter. The only requirement on the Student transmitter is that it must generate all the desired functions on a sing-
le channel. For example, only one aileron channel can be set, even if the model is controlled using two separate channels.
At the Student transmitter you therefore need to set up a model with throttle, aileron, elevator and rudder. If you want the Student
pilot to be able to assume control of landing flaps, retracts or other functions, these functions should also be set up. The channel
sequence at the Student transmitter is of no importance, as the channels are assigned later at the Atom transmitter. Set these
channels to ±100% at the Student transmitter, as this provides the same performance as with the Teacher transmitter. However,
you can also reduce the travels at the Student transmitter if you intend to help a beginner with those first attempts at flying.
Bind the receiver to this model memory.
Most systems will also require you to activate the S.BUS or SRXL output at the receiver. In the case of Jeti and Graupner this is
carried out using the receiver’s telemetry, but with M-Link the activation is carried out using the MPX Launcher program. No chan-
ges are required with Futaba systems: the S.BUS2 or S.BUS can be accessed directly at the receiver.
Connect the receiver’s Bus output to the Servo/PPM socket on the Atom transmitter using a patch lead. The Atom transmitter
provides power to the receiver.
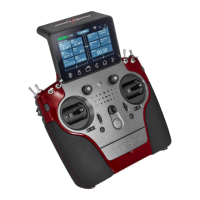
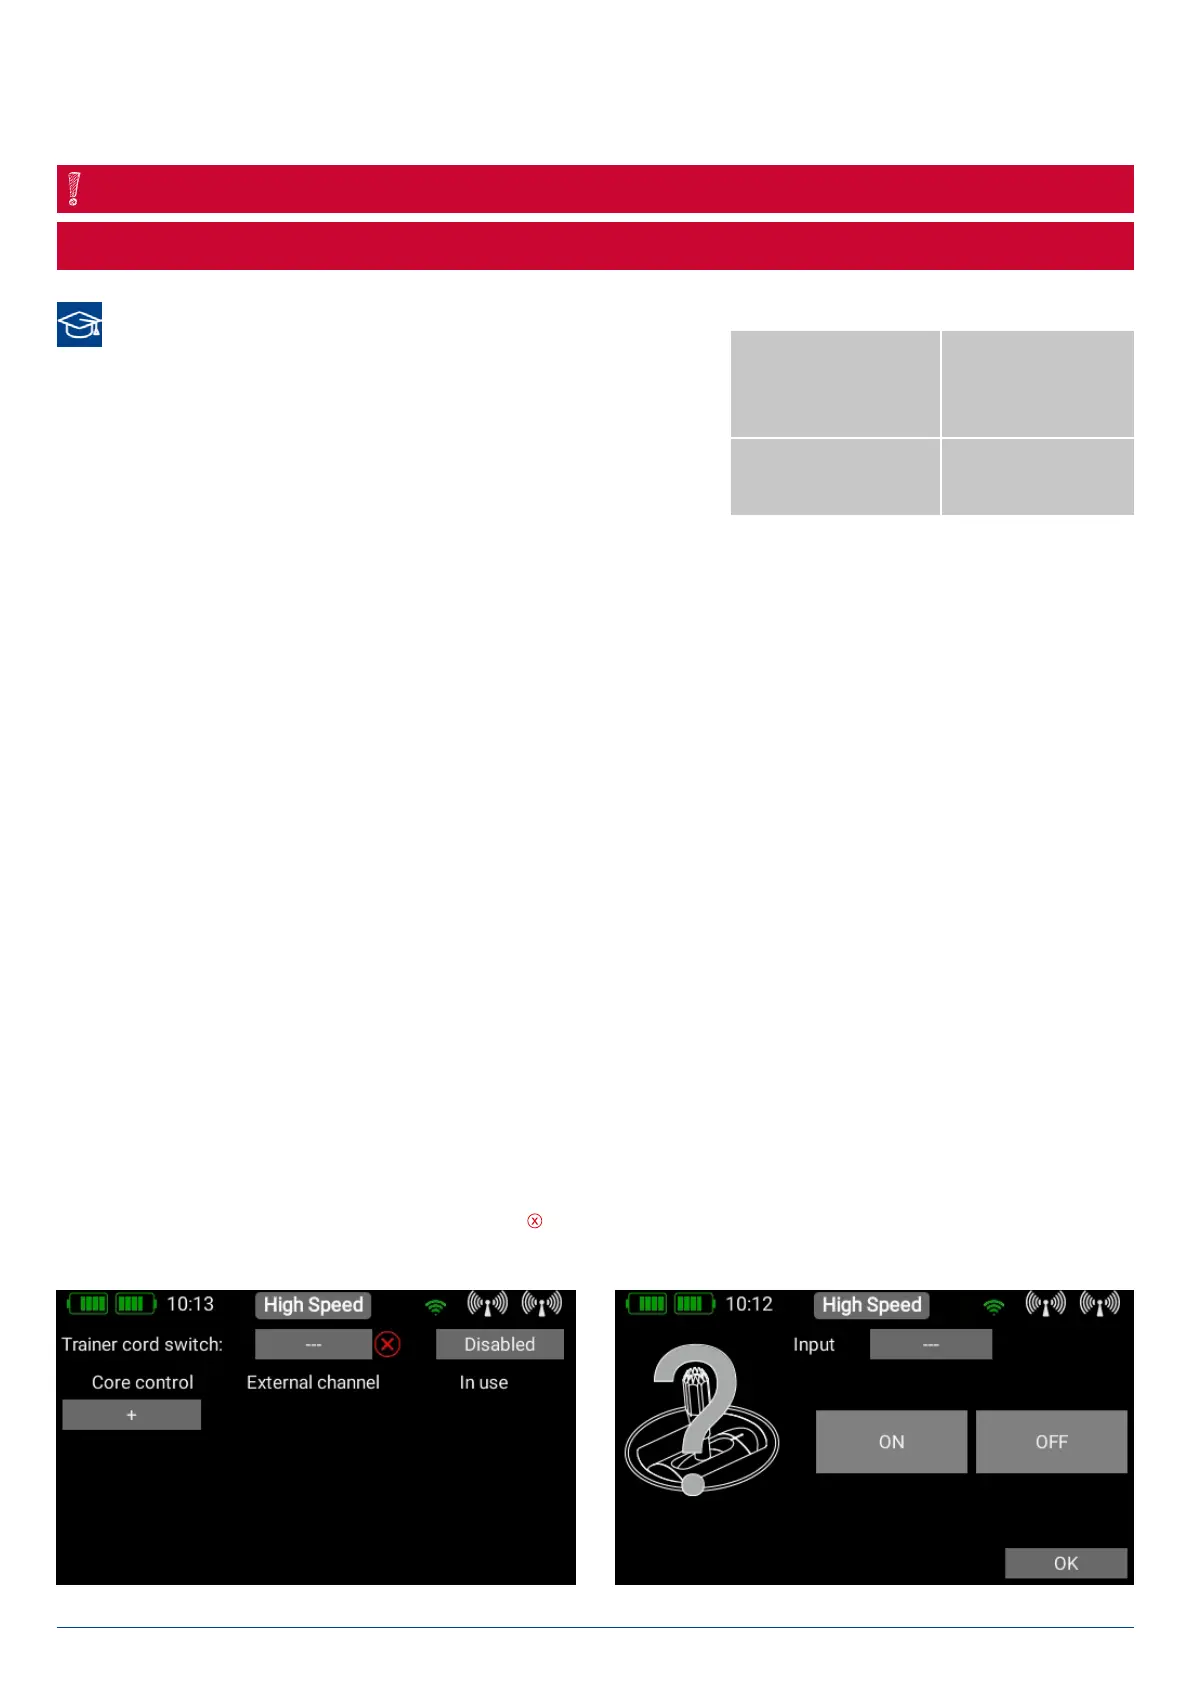
Now open the Teacher / Student menu and start by selecting the switch to be used to transfer control to the Student. To the
right of the Switch button, you will see either a red cross if the Teacher transmitter is active - or a green tick, if control has alrea-
dy been transferred to the Student transmitter.
Futaba
Jeti
Graupner
S.BUS
Multiplex
Jeti
SRXL / UDI