Maintenance
94
Powerware
®
9170
+
UPS User’s Guide S Rev B www.powerware.com
Power Module Replacement
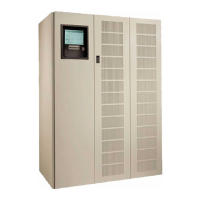
The Powerware 9170
+
hot-swap feature allows you to replace a power
module easily without disconnecting the load or damaging the UPS.
NOTE The UPS may switch t o internal bypass if the remaining power
modules are insufficient to supply the required power. If empty slots exist,
install replacement modules before removing original ones.
Use care in removing and installing power modules. To remove a power
module:
1. Remove the front cover panel.
The panels have spring latches on the left and right sides that
hold them in place.
2. Loosen the thumbscrew on the module handle. Press down on
thelatchreleaseatthecenterofthemodulehandleandpull
thehandledown.
Asthemodulehandlefullyextends,themoduledisconnects.
Slide the module slowly out of the cabinet.
3. Use two hands to support the module. When fully extended,
lower the front down slightly and lift the rear edge over the
safety stop on the center support rail.
4. Treat the or iginal and replacement modules with care to avoid
damaging connectors or internal circuitry. Label the original
module with masking tape or some other identifier. Record the
serial number of the replacement module for your warranty.
5. Insert the replacement module by sliding it carefully into the
cabinet. Lower the front down slightly and lift the rear edge
over the safety stop on the center support rail. Keep the
module handle extended until the module is fully inserted.
6. Raisethepowermodulehandletosecurethemoduleintothe
cabinet. Be sure the handle latch snaps into place. Tighten the
thumbscrew on the handle.
7. Reinstall the front cover panel.