Overview Getting
Started
Controls and
Connections
Cascading
Units
Technical
Information
2 GETTING STARTED PreSonus
™
FireStudio
™
Mobile
24
Overview Getting
Started
Controls and
Connections
Cascading
Units
Technical
Information
2.2 Studio One Artist
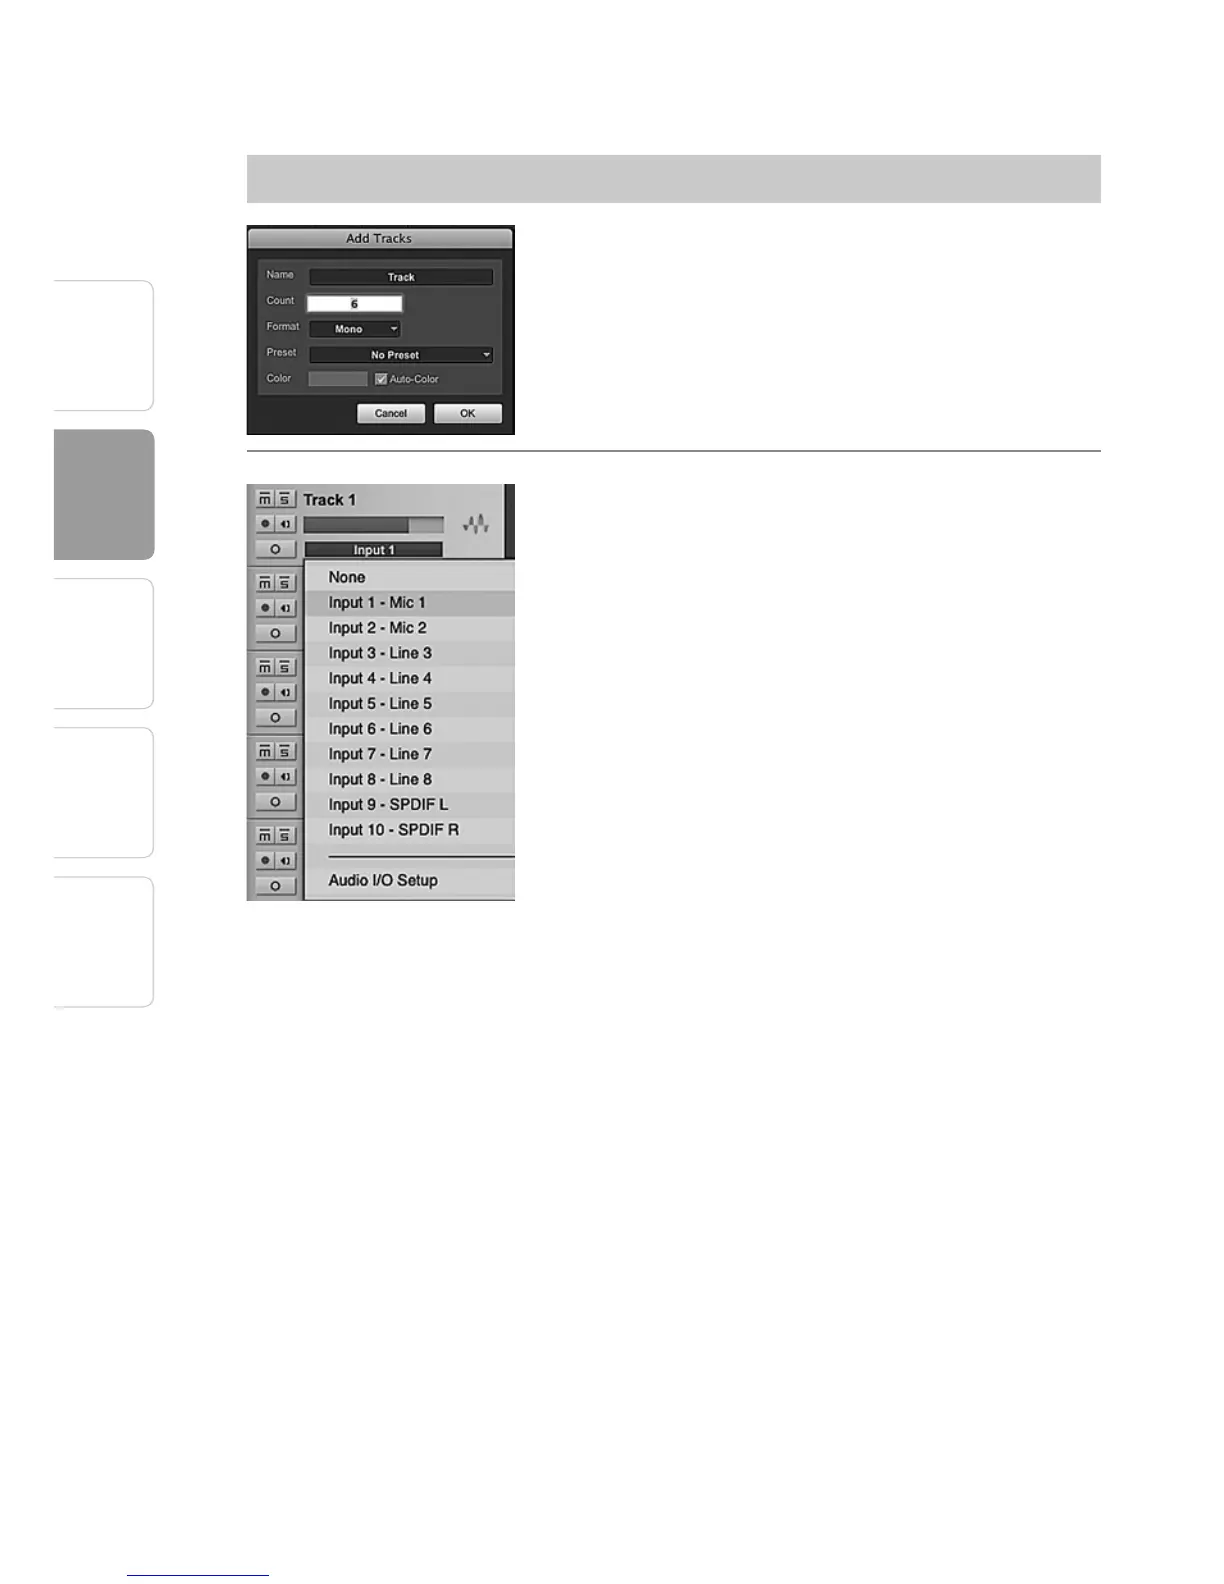
Creating Audio Tracks (continued)
In the Add Tracks window, you can select the
number and type of Tracks you’d like to create
(Mono Audio, Stereo Audio, Instrument, or
Automation) and can customize the name and the
color.
Once you have added your Tracks, you can assign
the input by simply clicking on the input to which
a Track is currently assigned. This will bring up your
inputs list. You can also access the Audio I/O Setup
from here.
If you would like to add a Track for each of the
available inputs and have the routing automatically
assigned, simply go to Track|Add Tracks for All
Inputs.
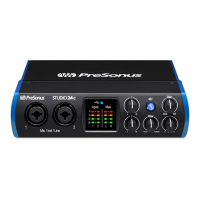
To begin recording, create an audio track, assign
it to Input 1, and connect a microphone or
instrument to Channel 1 on the front panel of
the FireStudio Mobile. Select Record Enable and
Monitor on your track in Studio One Artist. Turn up
the Channel 1 gain knob on the front panel of the
FireStudio Mobile while speaking or singing into
the microphone or while playing your instrument.
You should see the input meter in Studio One
Artist react to the input signal. Adjust the gain so
that the input level is near its maximum without
clipping.
Connect a set of headphones to the FireStudio
Mobile headphone output. You may also wish to
connect monitors to the FireStudio Mobile’s Main
Outs. You are now ready to record. For complete
instructions, please consult the Studio One
Reference Manual, which is located on your Studio
One Artist Installation DVD.